Colorful projects that will inspire you to create.
Create a Kawaii Pancake with Polymer Clay
04/25/2011
I had the recent treat to meet fellow Etsy crafter, Emi. She creates cute clay charms for her shop, Cat Bear Express, and luckily wanted to teach us to make a cute pancake!
I invited her to share her tutorial here and asked her to tell us a little about her shop and creations:
I created Cat Bear Express to spread cuteness around the world with my charms. Every piece is made by me with lots of love and care put into every detail, and I aim to bring a smile to everyone who receives a charm. I’m a gamer girl so a lot of my pieces are inspired by video games, and also anything cute, bright and girly! ~ Emi
Instructions
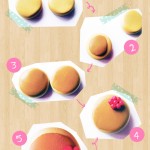
1. Roll out 2 pieces of light tan colored clay into flat circles
2. Roll out 2 smaller circles of a light brown clay and place one on each of the larger circles
3. Smooth down the edges of the inner circle by pressing down and pulling toward the outer sides
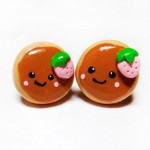
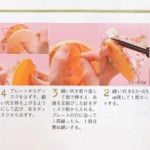
4. Add your toppings! For raspberries roll out 7 tiny red circles and arrange them in the shape pictured.
5. Bake according to the directions on the clay package and allow to cool. Paint on the face and attach to earrings or anything else you want.
6. Glaze or leave it for a matte look, and you’re finished!
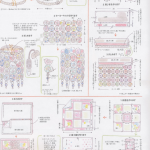
Gallery
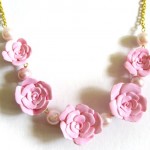
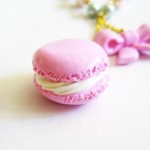
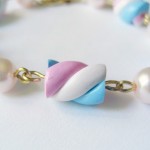
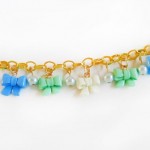
Here are some other adorable creations Emi has made and is selling on Etsy: