Browsing Category

Crafts

Crafts DIY

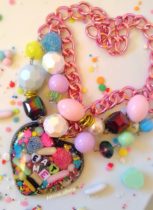
Lace for Your Jewelry: Resin Pendant Tutorial

11/15/2018

Resin can be a fun hobby or business for the crafty miseducated diva in all of us. The possibilities are endless, allow your creativity to run wild and create pieces that are quite unique and fun. With some initial prepping steps, you can suspend just about any material in resin.

In this basic tutorial I will be casting jewelry pieces with resin, but you can use resin for whatever else you would like to make like paperweights, coasters, soap dishes and many other things. There are even many different types of resin that can be used, for different types of desired uses.

I myself use a two part casting resin that is pretty user friendly. I am a novice at resin, just learning as I go and getting better each time. Its fun and I thought I would share some basic tips and give crafty divas something new to try…cause like me I know with all this creativity you have inside of you, you always want to try something new. So this is something for you gals who are aching for a new creative outlet.

I chose to cast fabric for the purpose of this tutorial. I have played with sprinkles, glitter, and candy before. So I thought I would try something new, so here goes….

resin

Supplies

  • Easy Cast Resin
  • 2 Plastic Cups
  • 2 Stir Sticks
  • Wax Paper
  • Paper Towels
  • Resin Molds
  • Fabric of choice
  • Mask
  • Gloves
  • Timer

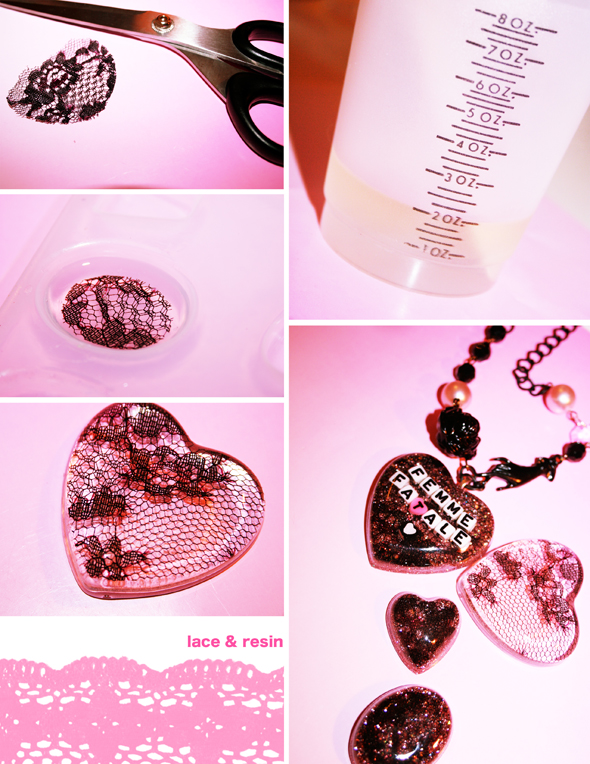
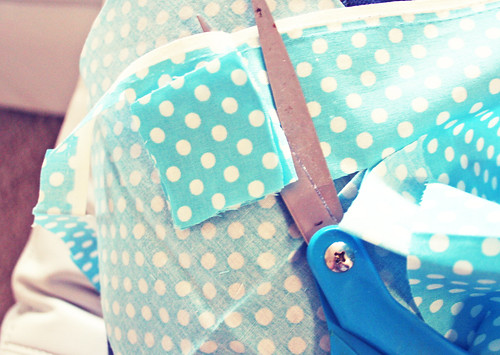
Before hand I prepped my pieces of fabric by cutting them a little smaller than mold shape, and sealed them off with mod podge, or you can use an acrylic sealer if desired.

Instructions

    1. Take a plastic cup and pour in 1 oz. of resin, then pour in 1oz. of the hardener in the same cup, so you end up with 2 oz. total. (Easy Cast has a ratio of 1:1)

    2. Take one of the stir sticks and gently mix the concoction, make sure not to whip as it causes air bubbles. Scrape the sides periodically and mix well for 2 minutes. The mixture will look cloudy at first but this will clear up after resin and hardener are mixed together thoroughly.

    3. Take this mixture and gently pour into your other clean plastic cup. Stir gently again for 1 minute this time. The mixture at this point should be clearer than before.

    4. Set mixture aside for 5 minutes, so the resin can self-degas. Take this time to clean up a bit and get your mold and fabric piece(s) ready.

    5. When ready, pour a little bit of resin into each mold, about a quarter full.

    6. Then place cut fabric, right side down into resin. You can use a toothpick to position and press fabric. This will also help remove any air pockets trapped underneath the fabric that can caused some bubbles.

    7. Then this is where you will need to practice some patience…let the piece(s) rest overnight or for several hours until cured. You can check if it is cured with a toothpick, this way no fingerprints will be left behind.

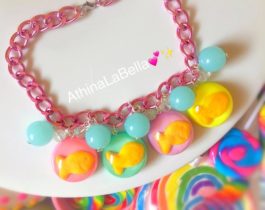
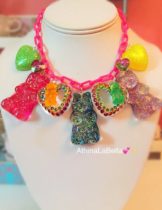
What I covered in this tutorial are the basics, but you can get more creative by adding different layers. Below are photos of some layer pieces I created, I hope you find them inspiring.

After your pendants are cured, you can jazz them up by drilling holes, adding jump rings, gluing on bails, posts, brooch settings, what ever you like, let your imagination run wild, its all up to you! Your end result will be beautiful and unique pieces.

A great source of reference and inspiration of mine is a book that I turned to when first approaching resin after multiple searches on Google, a book called “The Art of Resin Jewelry” by Sherri Haab. In this book she goes over in detail all different types of techniques with resin, like the so fun and yummy candy jewelry.

Athina’s Creations

See more in my shop here.

Originally published on 12/08/2009.
Crafts DIY

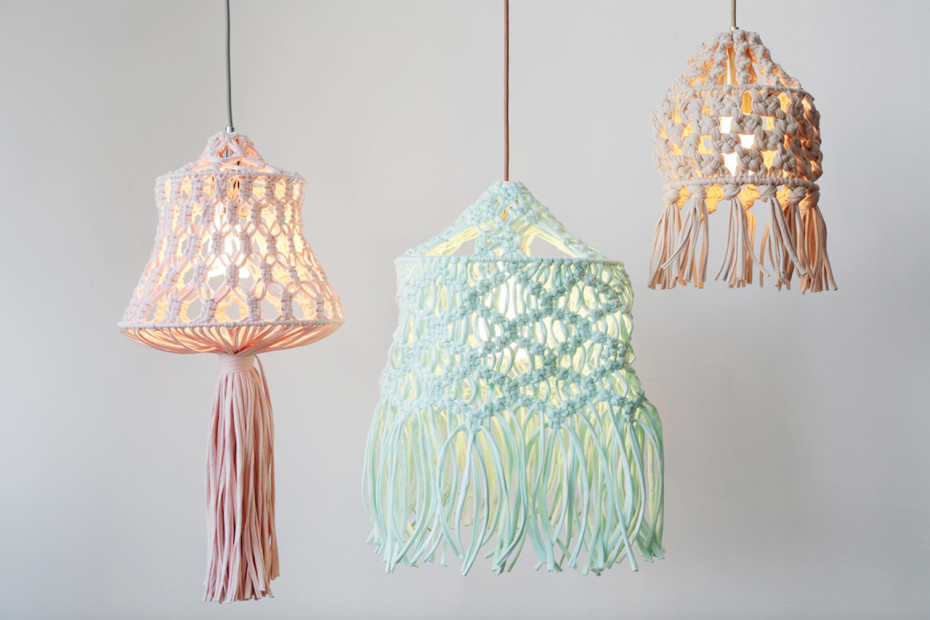
I Love Contemporary Macrame Designs

08/19/2016
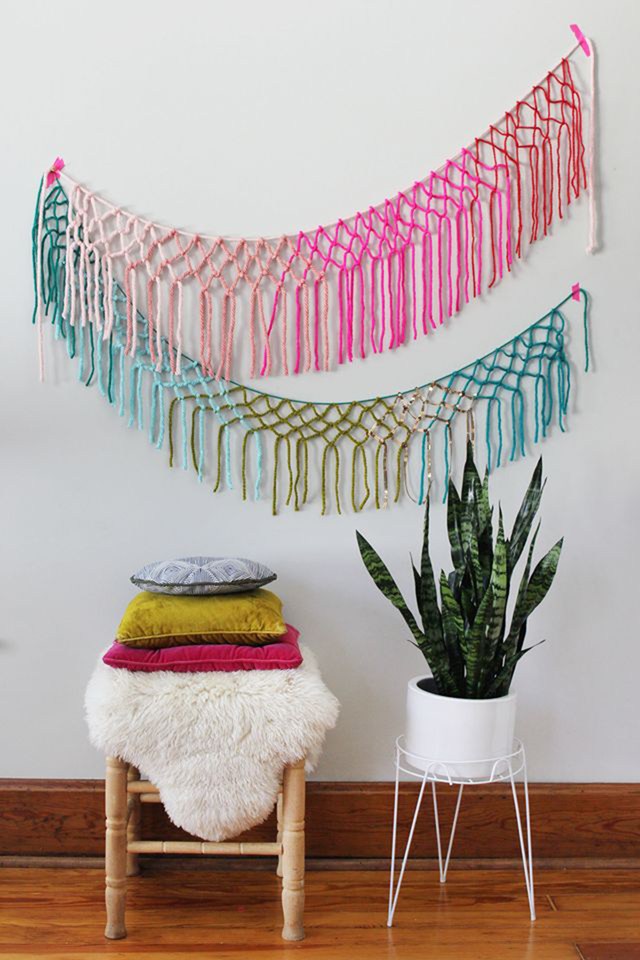
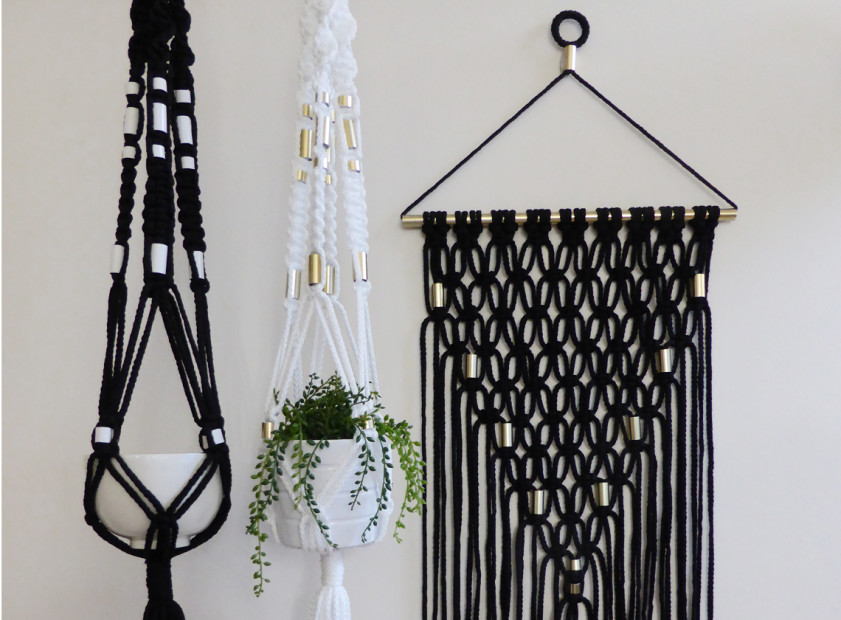
Get this DIY set at Wool and the Gang!

Get this DIY set at Wool and the Gang!

As a kid I remember my mother having quite a lot of craft projects she was in the process of completing. My mother was always into making/reworking things, cooking, gardening, crafts. I distinctly remember a 70s mushroom rug she made that I would die for today, macrame tapestries and planters, layered candles with a 70s color palette. Of course when I came along things took a more cartoon-y feel with care bear pillows, pastel bunny paintings and bright rainbow everything. I didn’t appreciate all of the 70s beauty as a kid because I had been jaded by the bright rainbow hues I had grown accustom to being surrounded by. I despised quite a bit my polkadot brown, orange and yellow mushroom bed skirt, the psychedelic carpet, the orange velvet chairs. I started to hate brown, orange, yellow, green and red. I steered from the palette and wanted nothing more than bright pops of color, neons and pastels. I proceeded to cover myself and my room in these colors. I absolutely gagged at macrame; the hemp-y natural browns and mustard owl tapestries.
I partly feel that the time (1980s) I was born (both design wise and technology wise I lived in both worlds, pre-tech natural and post-tech digital) is one reason I have a constant battle going on within my brain of palettes and designs for my personal projects and home decor. Do I stick with 60s or 70s hues and keep loading my shelves with vintage, psychedelic beauties? With mushrooms and daisies? Do I cut back on the brights and pastels? Do I lean more towards my preference for modern Japanese-esque decor or my appreciation for the antique and ornate French decor? Do I engulf my home in the modern, minimal Swedish designs or run to the psychedelic bohemian love nest with drapes, floor pillows and tapestries? Will it ever just work together? If you know me you know my closet is the same. I do not and have not ever “matched.”

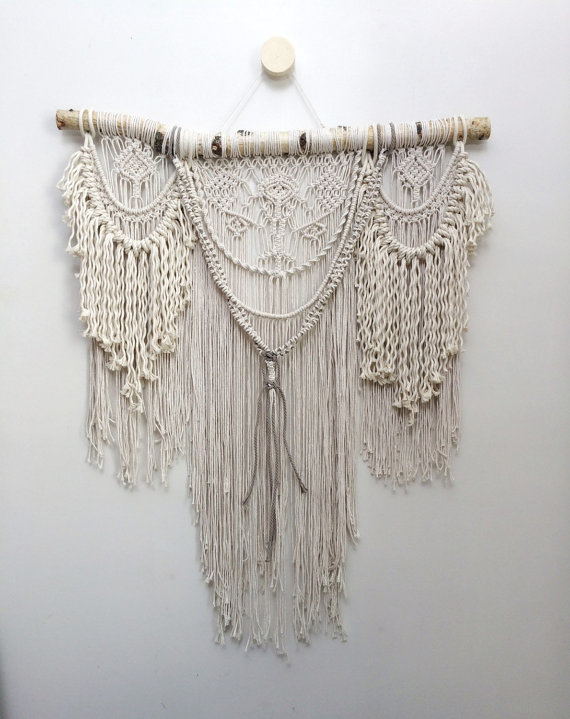
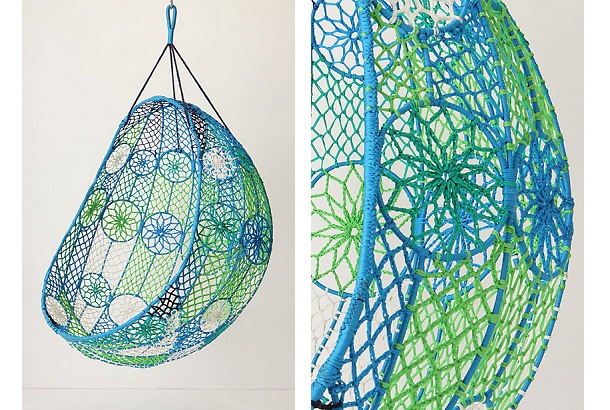
And here I find this visually-overloaded attention deficit again.. I have such an appreciation for crafts and handmade goods. I cannot seem to stick with crochet, knitting or sewing long enough to decide “that’s the one!” and so here I find myself admiring macrame and wondering why I once despised it when now I cannot imagine a better “fun” goal than taking on a project such as making a macrame chair or an advanced tapestry. This came about as my love of gardening has grown and expanded to the point that now I have plants here I cannot keep outside because of this (WACKY) Indiana weather. All of these plants would love being hung from the hooks in the dining room while the color pop of a macrame string excites me to a point I can hardly communicate. It’s likely because of the macrame goodies you can find on a quick google image search, the kind of search that sends you into a rabbit hole of, “I HAVE TO BUY, OWN OR MAKE THIS. It is my destiny.” So there I am. Color charged and obsessed. As obsessed as I still am with my recent hobby of raising chickens and learning enough about wood working to build a colorful coop with my husband.

What new craft or hobby are you finding interest in? Can you relate to the inability to pick one and stick with it? Are you always wanting to do more?

Photo from A Beautiful Mess Blog

Photo from A Beautiful Mess Blog

572

2424

WW_1_copy

Black_Gold_Macrame_Wall_Hanging__42135.1417071404.1280.1280

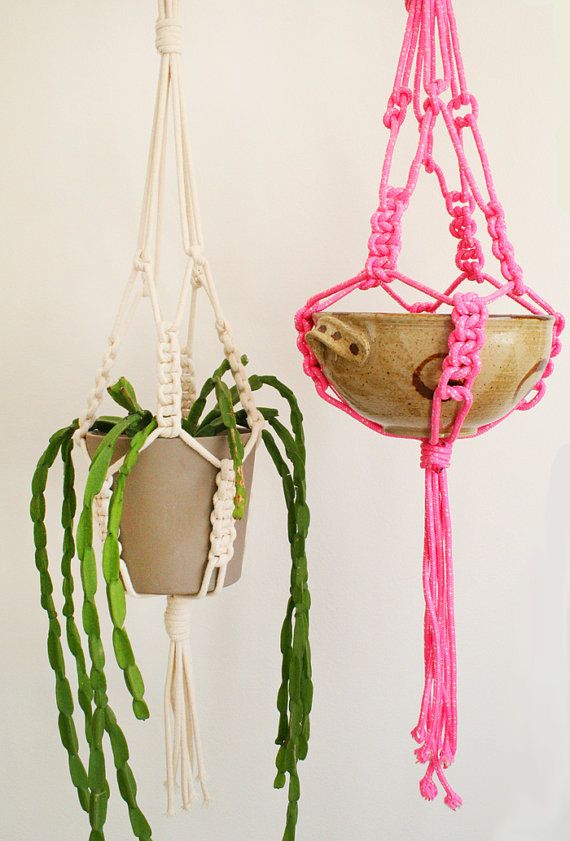
Get this beauty at Niroma Studio

Get this beauty at Niroma Studio

macrame chair

Macrame Tutorials

  • Macrame Cushion (complete with pompons!)
  • Macrame Straps for Tube Top
  • Macrame School
  • Macrame Wall Hanging
  • Macrame Plant Hangers
  • Wool and the Gang Tutorials
  • Crafts DIY Visual Splendor

    I love ZINES: How to Make, Browse and Buy Zines

    06/17/2015

    zines

    What are ZINES?

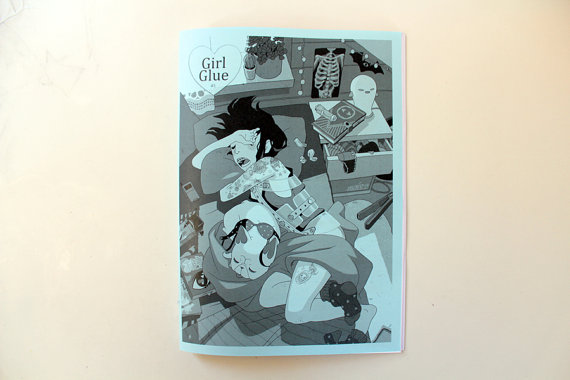
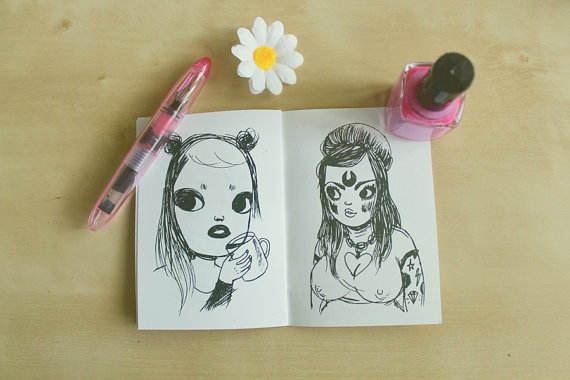
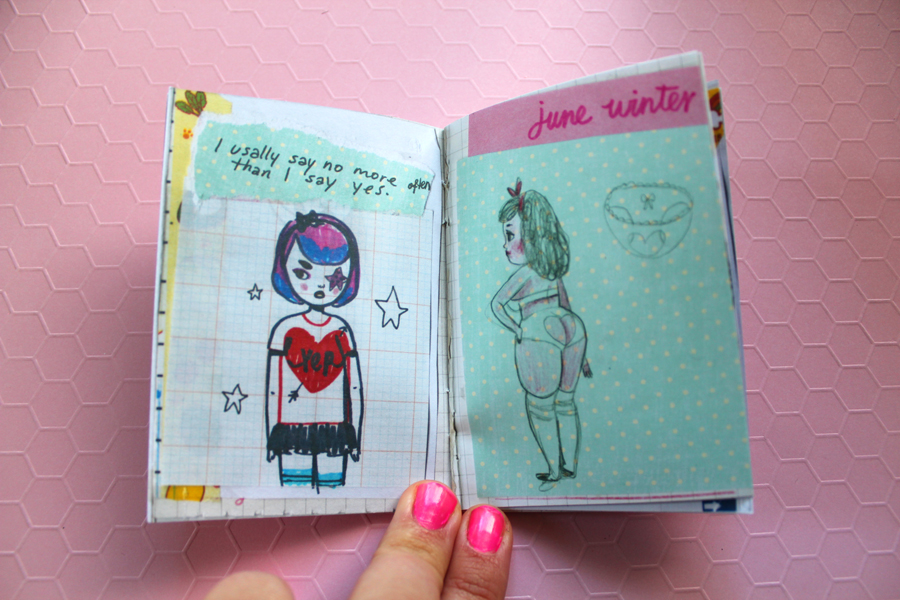
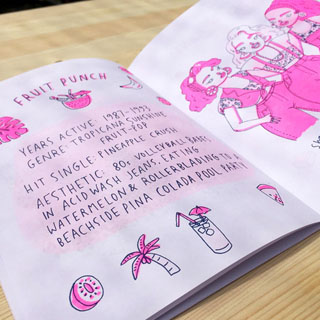
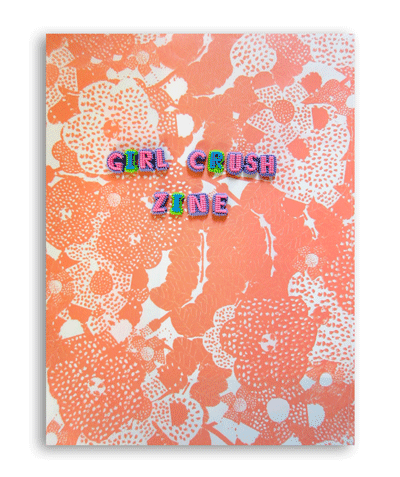
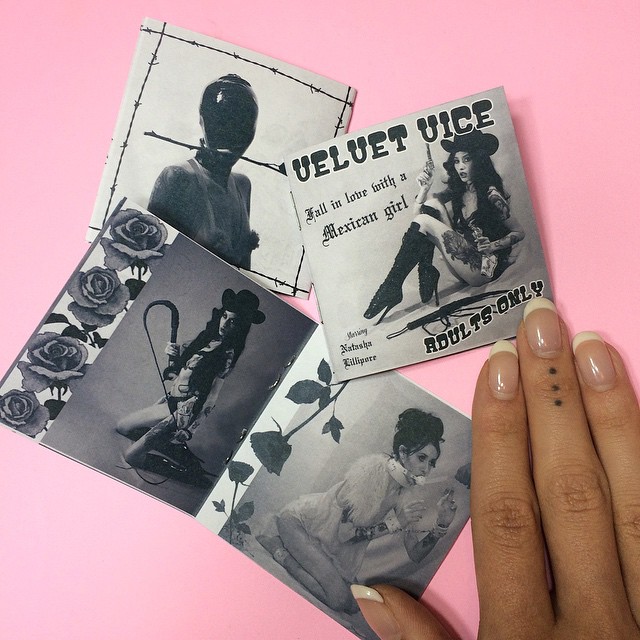
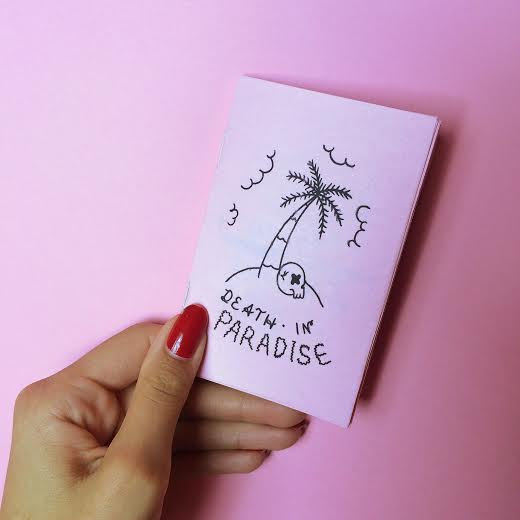
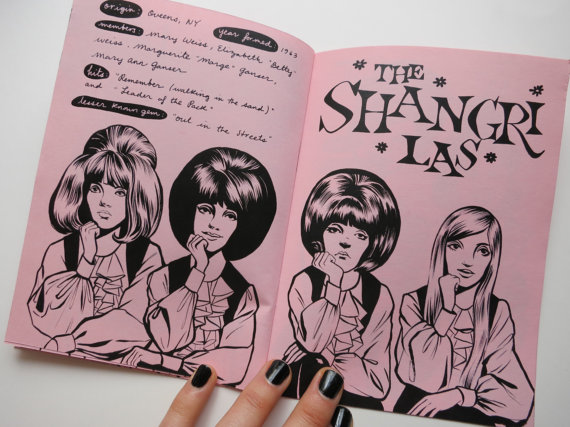
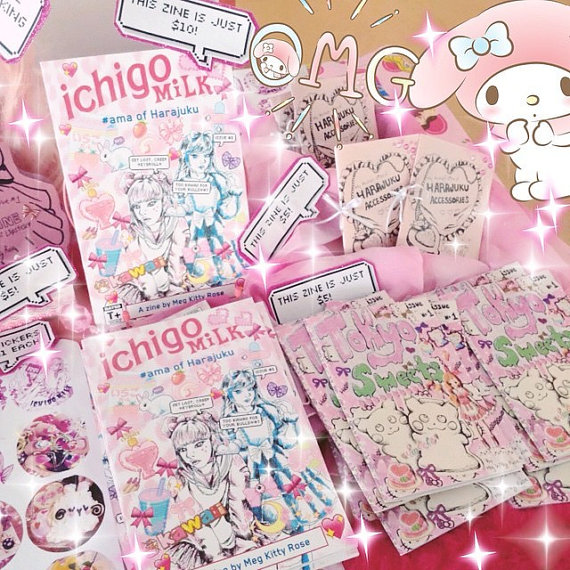
    Zines are small-circulation, usually self-published, publications that come in many shapes and sizes. And I love them. All shapes and sizes of them.

    Why do I love zines?

    I wrote this article long ago but I looked it up just today and it had NOTHING of substance so I’m rewriting it. You see, when I started Miseducated as a blog it was my version of a zine because I had ignored the blog movement for so long. I kept my site solely an artistic and nonsensical web site, self-made with hand-coded CSS and HTML. After I started having odd dreams about starting a zine shop (like some hippie record store with lots of incense, shag rugs and pouffes to sit on around tons of zines to read/buy) with my wares on display, I decided this was my brain asking sub-contiously to be involved online again. To be involved in making instead digital zine-like articles with collage art via blogging.

    A lot of our OLD beginning articles are like that: a page out of a zine just pasted on here with a few words. This article was one of those. I was a woman of few words and a ton of time to create personal and purposeless art back then. I did little more at home than sit around in my psychedelic robe drinking tea and smoking while playing my ye-ye collection and collaging nonsense together for this blog. I had no kids and no motivation to do much else.

    My job made me feel like a monkey in a factory so I did whatever I appreciated at home. My home was a 2-story 60s lounge pad and when I didn’t have a few friends over I was entranced by my world of pop culture archaeology carefully collected from others like me as well as thrift stores. I am not that girl anymore but I’d be lying is I didn’t admit that sometimes I do miss her. I’d certainly like to ask her advice on a few things I’ve been planning and making. She was too sad and too lonely though. Too much of a downer to relate to anymore.

    In case you can’t tell by now, I have a major soft spot for zines. I have a cherished a big collection of them organized in my studio (they almost got ruined with our last big rain because I had them out by the open window!). I’ve collected such an array of them that I’m going to start showing some of them via you tube videos so you can view/read out-of-print zines along with me. I even have zines from Japan because I collected them while I lived there.

    Zine Methods

    Generally zines that arrive in my mailbox are copied onto white or colored paper using the cut and paste method. This is similar to scrap-booking, each page is created using printed/written text and graphics or photos and then copied and reproduced using a copy machine (it’s a plus to work somewhere with a xerox). Although today many zines just use a few sheets of printer paper and are cut and stapled in home offices. There are some (fancy) zines who use color printing and there even are a few creators who still hand write and illustrate each and every zine. <3 In fact, I even made a PDF of an old zine I used to print because the color printing became too expensive to charge for the zine and in my opinion selling ads for zines is a big no-no. Nothing can bias a special, unique, self-made zine quicker than ads for companies who are simply paying you to be included.

    Drool-Worthy Zines

    Create Your Own

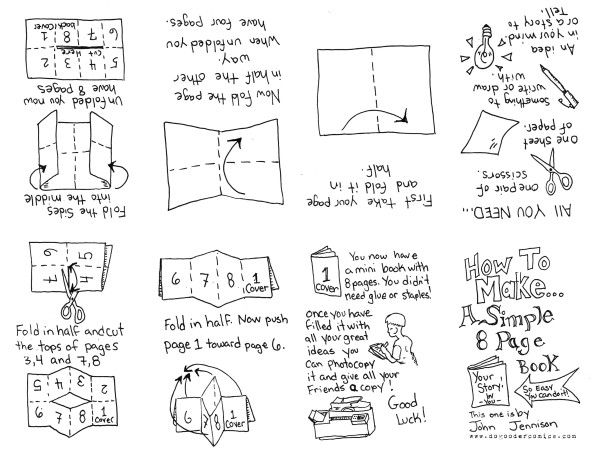
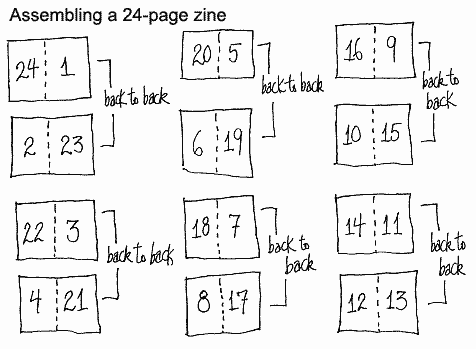
    Want to create your own mini-zine? There are a few patterns to try out floating around online. You can make your first one easy on yourself (sometimes the paper layouts when putting together advanced zines can be mind-blowingly confusing at first as I found when I used to print Tulip). If you need some help or inspiration (or contributions) for your zine LET ME KNOW. I’m a strong believer in supporting small-press.

    8 Page Zine

    makeazinezine
    Learn to make a zine by printing out this template onto 8.5 x 11 paper and making it into a DIY zine thanks to Dogooder Comics~

    24 Page Zine

    24-page-zine-assembly

    Featured Zine-Friendly Links

  • LA Zine Fest
  • We Make Zines – a rad zine community
  • 24 Hour Zine Thing
  • Zine World
  • Light Gasp – San Francisco zine/underground press distro
  • Cafe Royal – UK zine/underground press distro
  • Microcosm Publishing – independent publisher
  • Stolen Sharpie Revolution
  • Zine Wiki
  • Gluestick: Indianapolis’ Zines & Small Publishing Advocate
  • Irvington Vinyl & Books – zine events and shop in Indianapolis
  • Chicago Zine Fest
  • Crafts DIY Vlog

    Artist Trading Cards DIY: Make and Collect

    12/16/2014

    Inspired by the many trading cards of the past, artist trading cards (often called ATCs) are another fun way to trade with a personal flair. I have a feeling that even non-proclaimed-artists should create ATCs — what a cool way to revive aged-pop cultures? I plan to attach bubblegum to mine so let me know if you’d like a bite~

    The cards must be 2.5in by 3.5in or 64mm by 89mm (no exceptions ^^). They are also generally made as limited editions (it’s a time to relax and handmake something small and exclusive) and should probably contain your name, theme, contact information and anything else you’d like to include! If they’re part of a series you can also number them, ex. Moon Cats 3/6. It might be a cool idea to use different themes or criteria for each series to keep it fun~ challenge yourself and be creative!

    Pattern

    ATC envelope pattern.

    Swaps & Collecting

    ATCs For All Forums
    Swap Bot
    Altered Art Swap List
    Etsy ACEOs

    Business Features Crafts

    MADE WITH CODE: 3D Print a Free Bracelet ala Google

    09/10/2014

    MADE WITH CODE by google and shape ways

    I am really into the MADE WITH CODE project. It’s gorgeous and positive. As a once very young coder (11 years old) I would have exploded confetti to see such a movement on or offline. Have you heard? Shapeways (D printing marketplace and community) and Google (you know.. Google) have teamed up to promote the successful design and innovations (AND CODING!) of girls and women around the globe.

    Design & Print a Free 3D Bracelet

    Not only is this a gorgeous project but you can also make a 3D bracelet on your computer that Shapeways will print (FOR FREE) with their 3D printer (if you live in the US).

    Unknown

    Join the Code Community

    “Today, less than 1% of girls are majoring in CS. Tomorrow, we can make that number go up.” – Made With Code

    Get Future Female Coders Involved

    Maybe your daughter will be the next big designer? Let her try these adorable projects and have fun together being creative.

    Learn More

    Made with Code is an initiative to champion creativity, girls, and code, all at once. The movement is designed to do three things: To inspire girls by celebrating women and girls who are using code to do great things; to engage girls to try coding through introductory projects and resources; and to sustain their interest by creating alliances and community around girls and coding.

    Join the movement and have fun. We sure are.

    Crafts DIY

    DIY: Neons vs Pastels » Craftspiration

    04/03/2014

    Because I can never decide which one is better so all of my pastel-coated paintings always have a little hot pink strewn through-out and same for my collages. Why choose one when you can have both? Have a hot pink Easter.

    acd27d96ddd66ad82b3258b806492a10

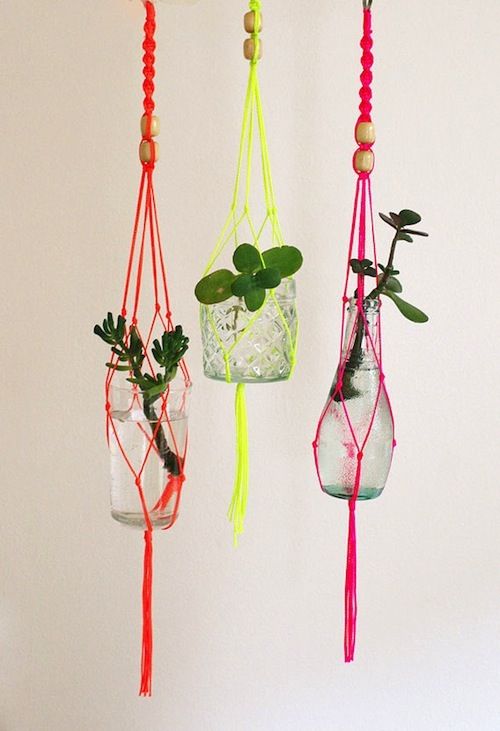
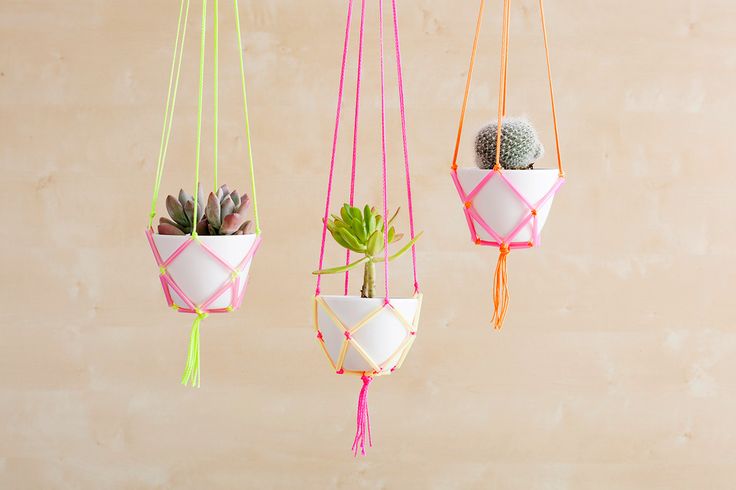
    Easy Neon Hanging Planters Tutorial by Brit + Co

    6cf0cdc3e15d511f1ee10652a732d236

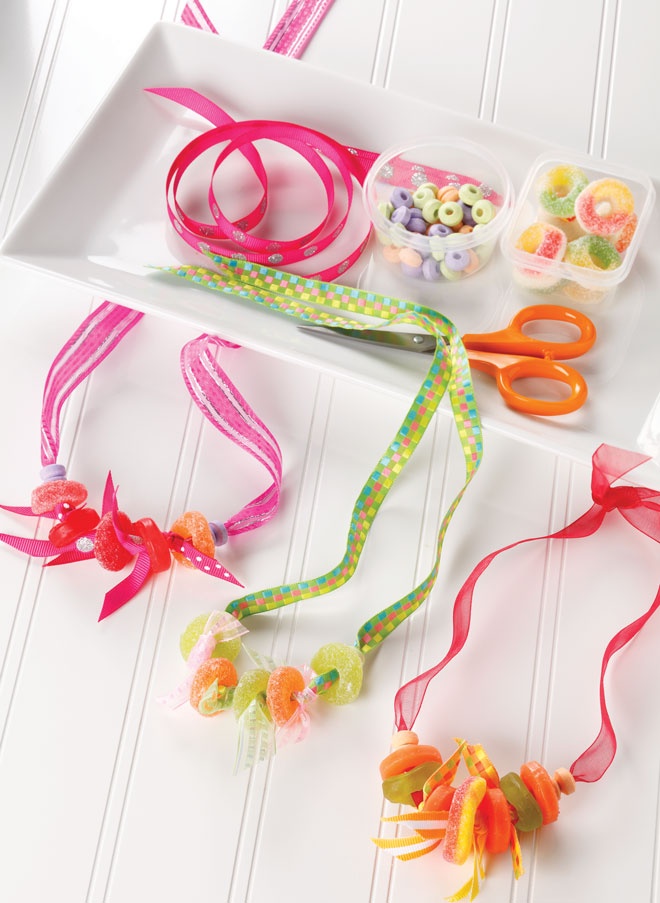
    Candy Necklace Inspiration by Love the Day

    89de91bf10cb582702c376ba53c450f3

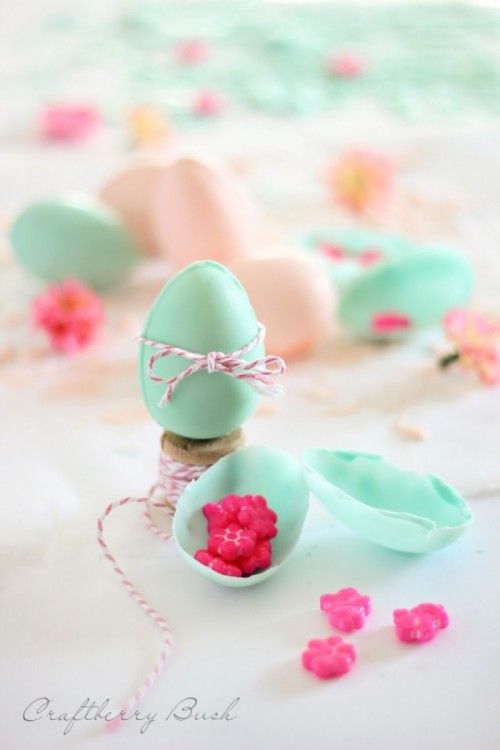
    Chocolate Surprise Egg DIY for Easter

    79e1cffc88b2f91b9975e91b0676942d

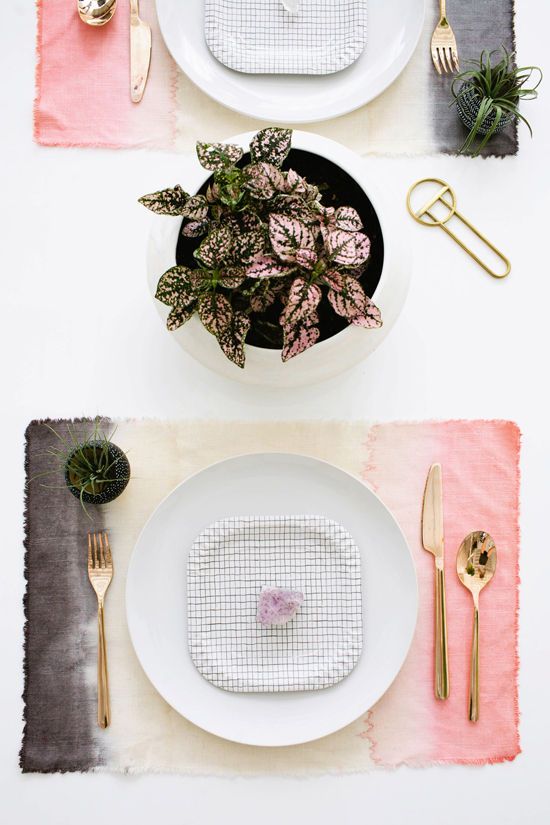
    Dip Dye Placemats by Design Love Fest

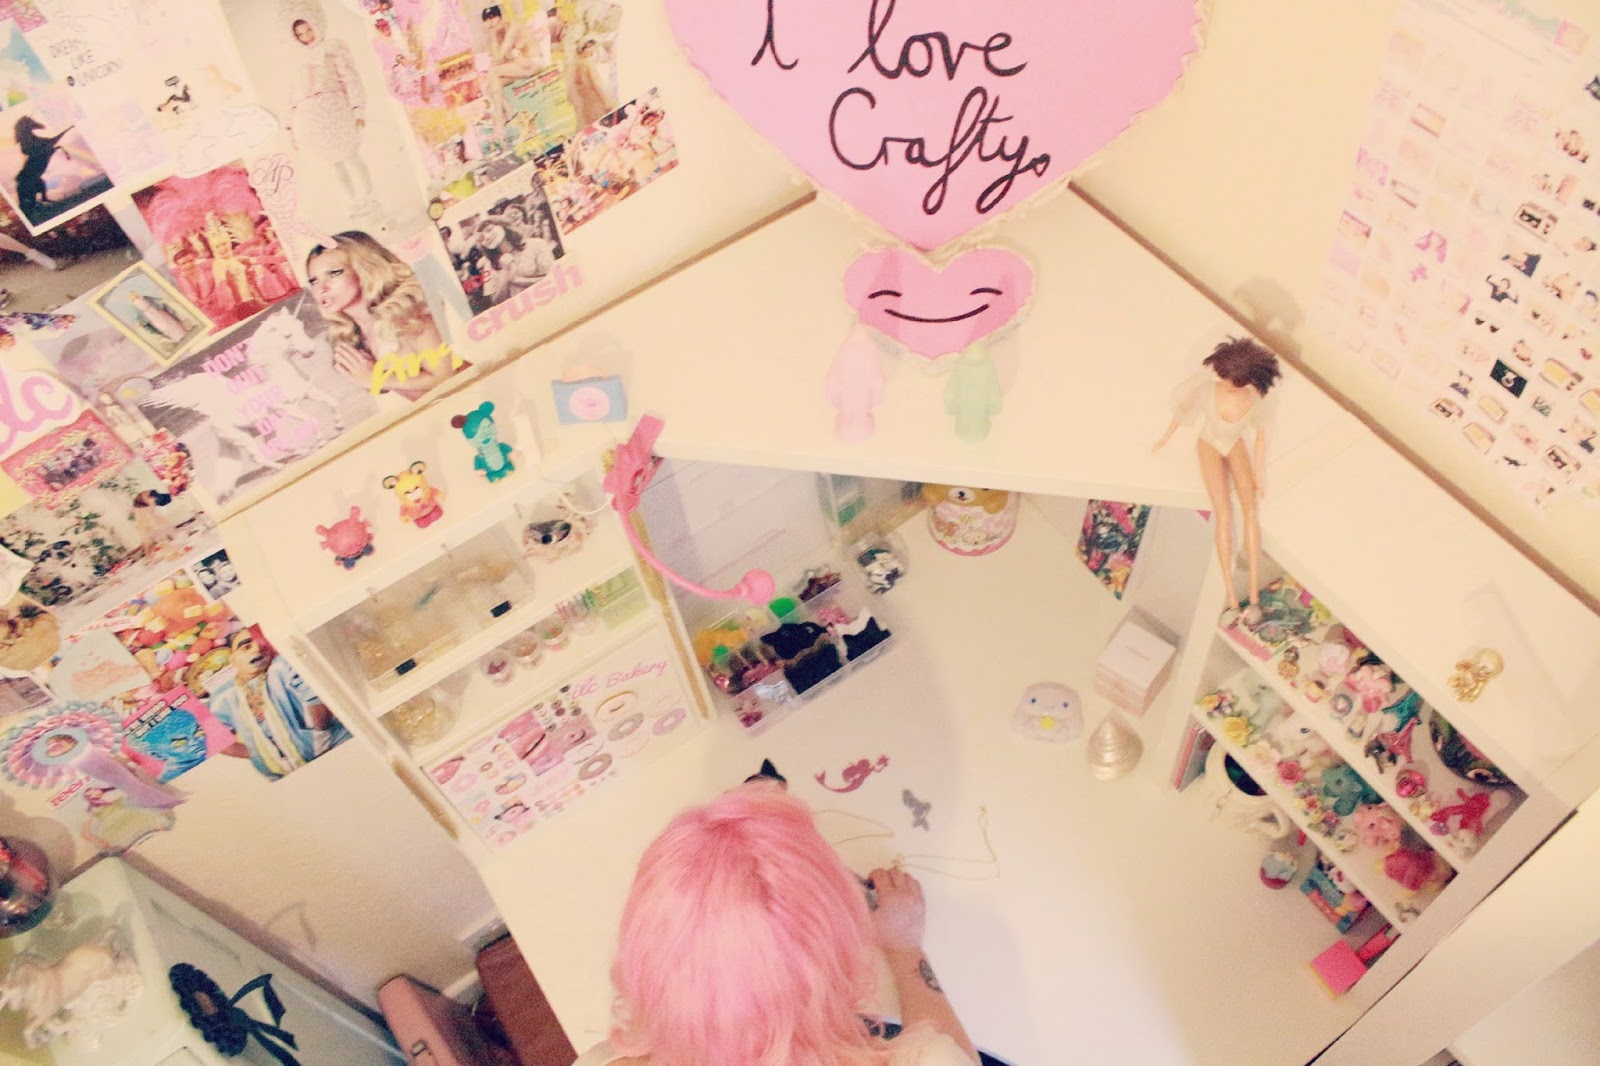
    and lastly a breathtakingly beautiful home office and craft studio to inspire you to design your work space to fit your inspiration ala I Love Crafty:

    new office 14

    new office 31-1

    Crafts DIY

    How to Make Citrus Peel Potpourri

    12/28/2013

    potpourri

    Need an easy and sweet little gift for friends? Want to add some deliciously spicy scents to your environment, closets or dresser drawers? Why not make potpourri? It’s easy, comforting and smells wonderful! This year at our Holiday party I made a big bowl of potpourri in one of Mistereducated’s handmade, sparkly bowls. It was a combination of citrus peels from the fruit salad we made, dried orchids from the flowers he raises, roses from bouquets he’s given me, spices, herbs we grew and tended together, etc. It was filled with lots of love and the spirit of our happy home. I placed the bowl in the center of the table and on the edge I placed silky white sachets filled with the potpourri for guests to take upon leaving.

    1. Peel orange, lemon or grapefruit trying to keep large pieces of peel.
    2. Cut into peel-shaped slivers or your own shapes with sharp scissors.
    3. Lay out on a tray with no peels touching each other and let dry for a few days.
    4. When dry, add peels into glass jar with cloves, cinnamon sticks cut into smaller sections, nutmeg, small pinecones and dried flowers such as pink rose petals.
    5. Add 3 drops cinnamon essencial oil and 3 drops orange essential oil.
    6. Lid and shake jar. Keep closed for several months making sure to shake or stir each month.
    7. Voila! Open and place potpourri around house in bowls, baskets or in sachets.

    Citrus Stovetop Potpourri

    1. Grab a pot.
    2. Add fresh orange peels from 2 oranges (no need to dry).
    3. Add spices of your choice: cloves, nutmeg, cinnamon, vanilla, etc.
    4. Put enough water to soak and submerge ingredients.
    5. Simmer on stove over low heat to achieve scents, turn stove off when done.
    6. Can last a few days if you want to re-simmer tomorrow.

    slice

    Want to use SLICES of oranges to make potpourri?

    1. Slice the orange into thin, even slices.
    2. To dry in your oven, set the temperature to 100 degrees F and put in oven for approximately 4 hours. The dried slices should be brittle when removed.
    * Make sure to rotate and shift the drying trays every half hour and turn the food occasionally to ensure even drying.

    Crafts DIY

    Quilt an Easy Blythe Doll Duvet

    11/15/2011
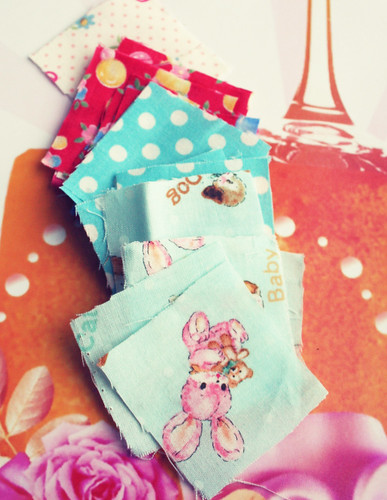
    pile of squares

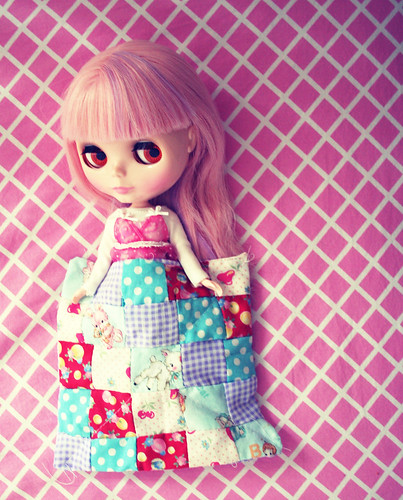
    This is an easy charm quilt pattern for a beginner. I am COMPLETELY new to quilting. In fact this is my very first quilt so I’ll be learning along with you! Because I am so new I looked at a few patterns, one for a rag quilt, one for a charm quilt and one for a baby quilt, and altered them a bit for my Blythe-sized doll quilt. Remember this is a rag doll quilt so it’s not going to look pristine unless you are a seasoned quilter which I definitely am not. Also be sure to read to the end of this post for things learned upon making this. 😉

    cutting the squares
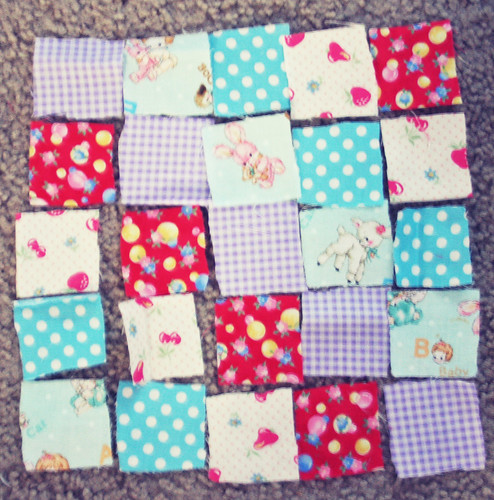
    line them up (blurry!)

    First cut out 25 1.5 inch wide squares of your chosen fabric(s) and lay them out as you would prefer them to look by your sewing area. If you want a rectangular quilt you’ll need to cut 5 rows of 8 squares = 40 squares.

    sewing charms
    sewing messily

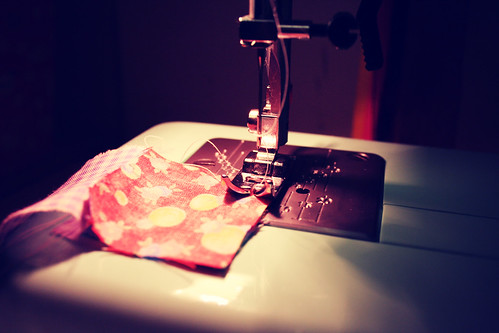
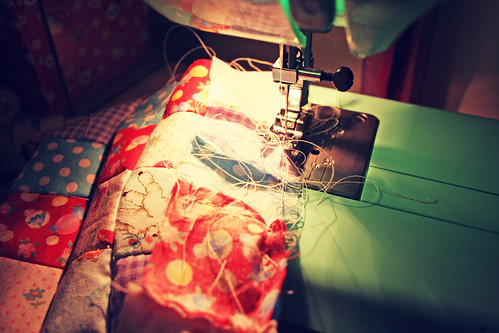
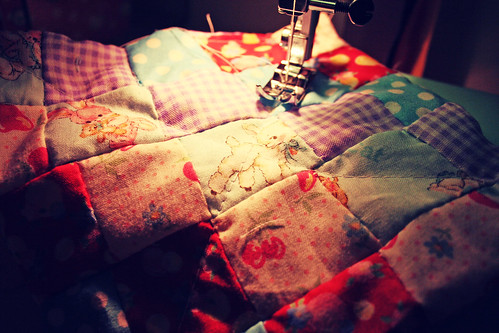
    Next sew 5 rows of 5 squares each with a 1-2 cm seam allowance. After you’ve sewn all of your rows press them and sew them in numerical order to each other (see how messy I sew??).

    Next cut out a thin piece of fabric in your desired pattern the size of your quilt and piece them off sides together if you’re quilt stitching. Quilt stitching is the part I don’t understand so after doing extensive research online I found out that there really is no easy way to do it. You can do it yourself or ask a quilter to help you out. You can find a pattern online and follow the pattern by hand or machine. I chose to skip it.

    sewing

    To give your quilt a more finished look you’ll want to bind the borders with fabric — or make it easy and use thick-ribbon. I’m also new at binding so I decided to skip it this time and sew my quilt to the other panel as though I was making a pillow. I put them right sides together and sewed around the edges leaving a small (2-3 inch) space. Then I turned the blanket right-side out and, because I am not a quilter, sewed a line from one corner to the other making a big X to keep the pieces together.

    sew a doll quilt

    Things I learned: Next time I’m going to make it 5 squares by 8 squares for a Blythe-bed sized quilt. I didn’t think about how small it would be getting upon sewing it, duh!

    Crafts DIY

    Let’s Make & Receive Surprise Balls!

    11/12/2011

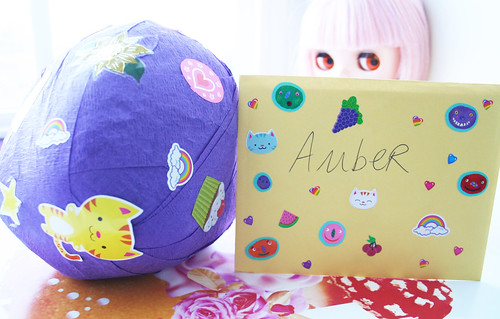
    Remember my post about surprise balls? How I promised to post a tutorial soon and a feature on the ball I recieved? Well this is that tutorial and feature! I even got the chance to host the surprise ball swap this time around which has made me so inspired and excited! I just love swapping these things! If you’d like to buy one I also have them in my shop! I told you I was surprise ball crazy!

    surprise ball

    You’ll Need

    • crepe paper streamers (in a couple of colors!)
    • 10-20 candy and small gifts
    • a plastic capsule or small box
    • a sticker or label
    surprise ball prizes
    surprise ball prizes

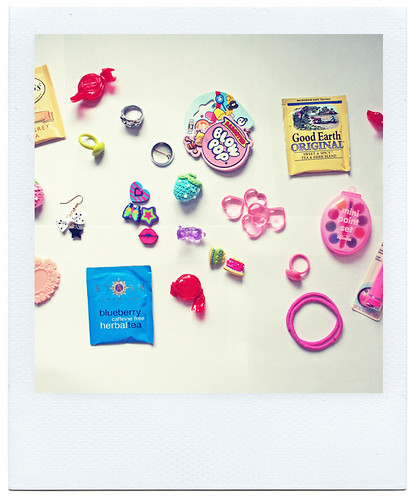
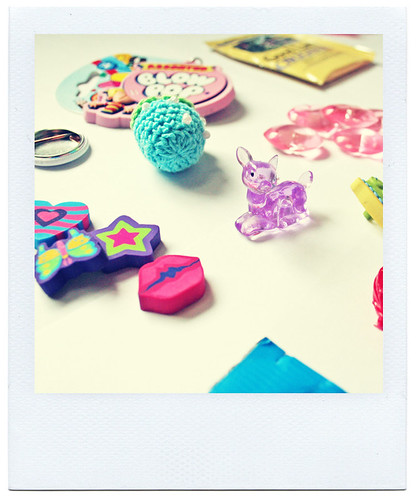
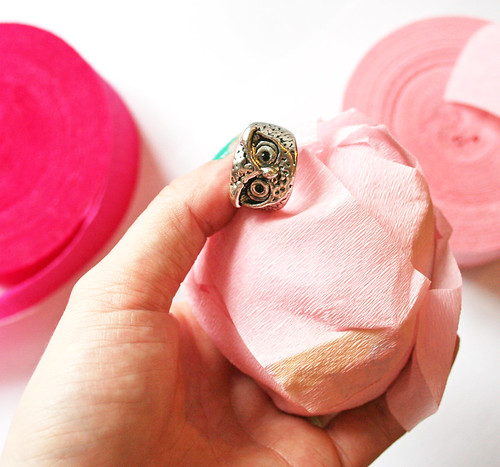
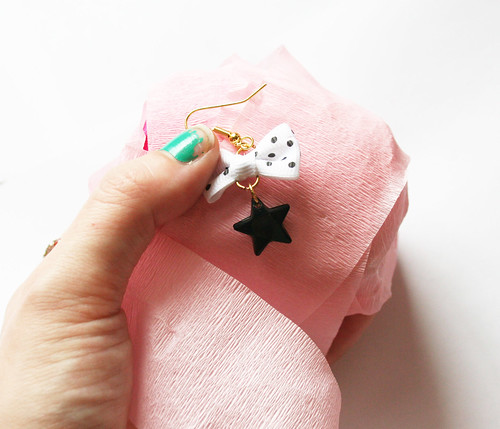
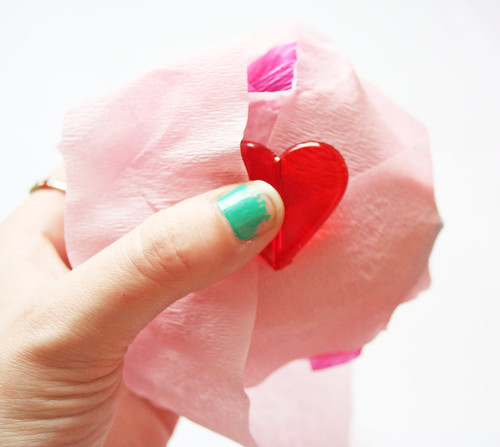
    Collecting the gifts is almost as much fun as making the ball! If you’re making it for someone be sure to include things they like. Some ideas of what to include: candy, small toys, jewelry, stickers, memo pads, erasers, rubber stamps, ink pads, glitter, craft supplies, tea, keychains, beads, charms, small tubes of glitter glue, etc.

    surprise ball

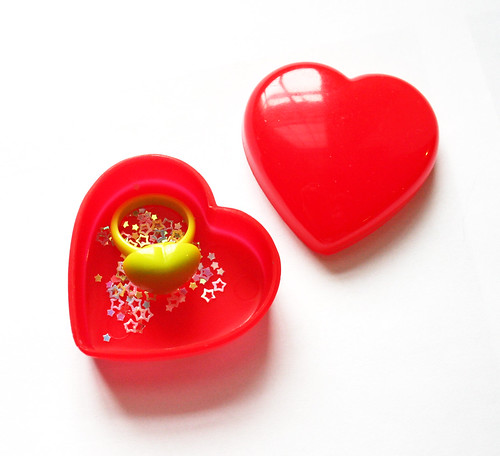
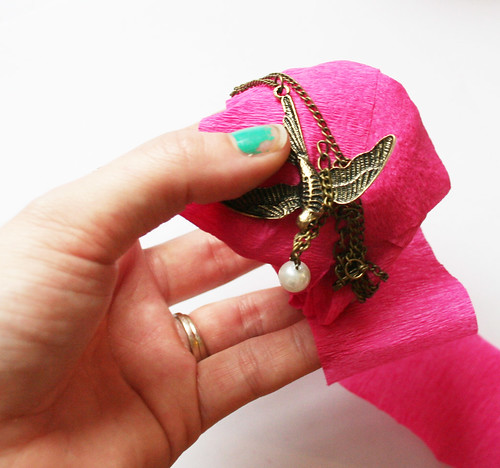
    Start with your plastic capsule or small box and fill it with one of the gifts. Then wrap the crepe paper around it until it’s covered.

    surprise ball

    Next add another surprise and wrap it up. Make sure you keep wrapping a bit after each gift so that they don’t fall out too fast!

    surprise ball
    surprise ball
    surprise ball
    surprise balls

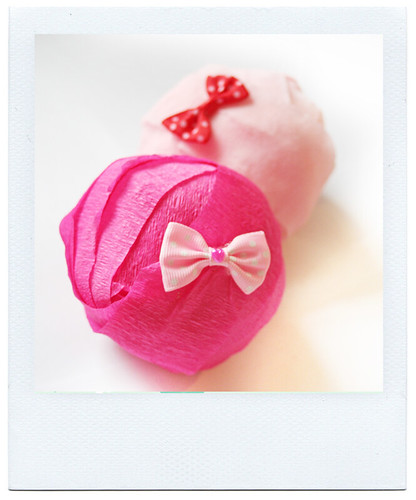
    Continue adding surprises and wrapping them up until the ball is finished then tape the end down and top with a cute sticker or label.

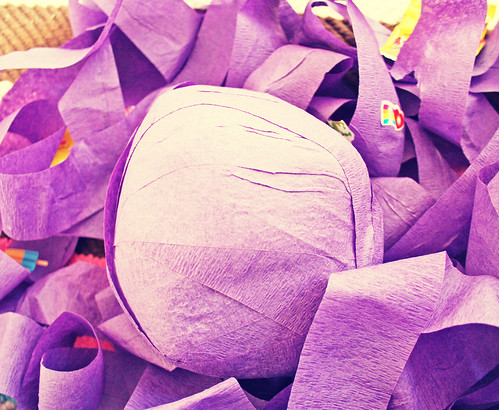
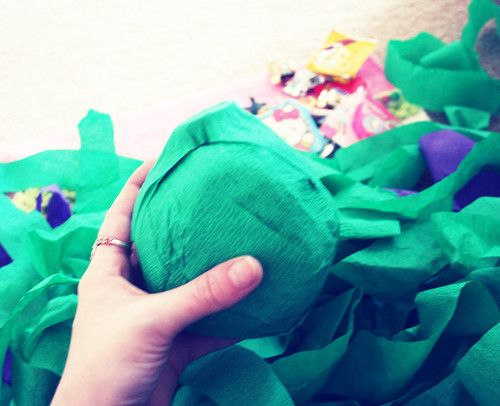
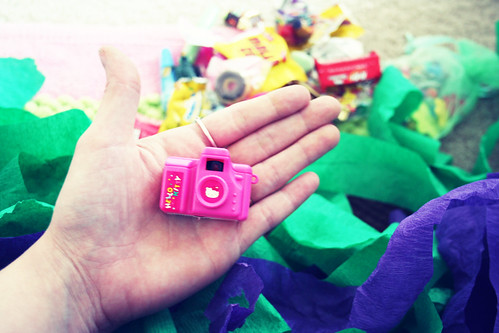
    Now.. as if it wasn’t enough fun to *make* these I actually received one as well (from the original swap). I was so excited about opening this rainbow-covered ball that I giggled the whole time as candy and kawaii gifts fell into my lap. This ball was extremely large and took quite a long time to unwrap! My partner is a surprise ball pro! Thank you so much!

    surprise ball received
    surprise ball received
    surprise ball received
    surprise ball received
    Crafts DIY

    Let’s Start Decopatching!

    11/08/2011

    That’s right, I said decoPATCH not decoupage! If you’d like to know the difference between the two, this article is a great place to start.

    I decided for this article I would need something around the house that needed a makeover so I found a natural wooden frame, a table worn on the top and an empty cocoa tin.

    If you want you can use actual decopatch paper, glue and sealant but I did this with things I had around the house.

    You Need

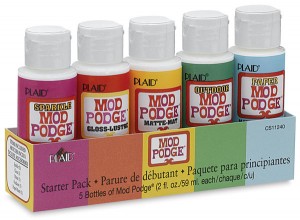
    • Mod Podge (glossy)
    • Paper scraps
    • Something to decopatch

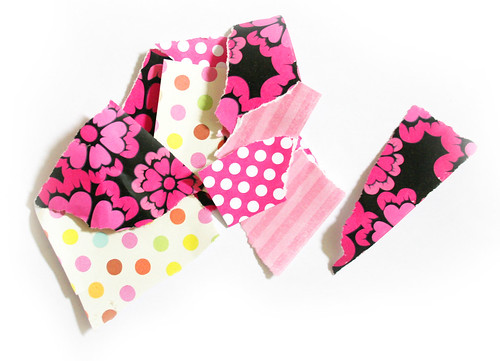
    decopatch scraps

    First I collected torn pieces of paper that sort of followed a theme. My theme was kitschy-sweet as usual. Too excited but nervous to start with the table I decided to start with some junk I had saved, a cigarette box and an ATC-sized (2.5 x 3.5 inches) card. I used the same thin paper for each that I had torn into small and medium-sized pieces. Then I covered my box/card in Mod Podge (glue) (I know there’s decopatch glue and varnish but I’m a Mod Podge addict.) and smoothed down the strips of paper. Last I covered the paper in a layer of Mod Podge (varnish) and let it dry. How easy was that?

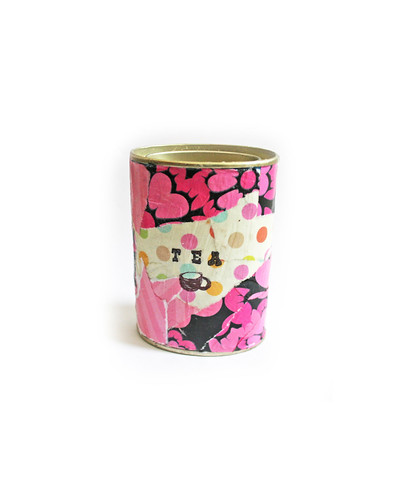
    Next it was time to try my luck on the tin. I tore out assorted pieces of paper this time and followed the same instructions above. Now I have a kawaii place to keep tea, coffee and small things.

    tea tin


    Stay tuned for next time when I’ll be decopatching a frame and table with decopatch paper from France.