Browsing Category

DIY

Colorful projects that will inspire you to create.

Recipes

Desserts that are Eye & Tastebud Candy

08/28/2015

So I’ve been on a whirlwind of candy making, eating, fawning over and trying. I’ve been planning what sorts of sweets I’ll make for my wedding in October and which ones will be the best ideas! If you’d like to join me on my trip down the sugar rabbit hole then please grab a cup of tea (preferably with a LID) and jump jump jump!
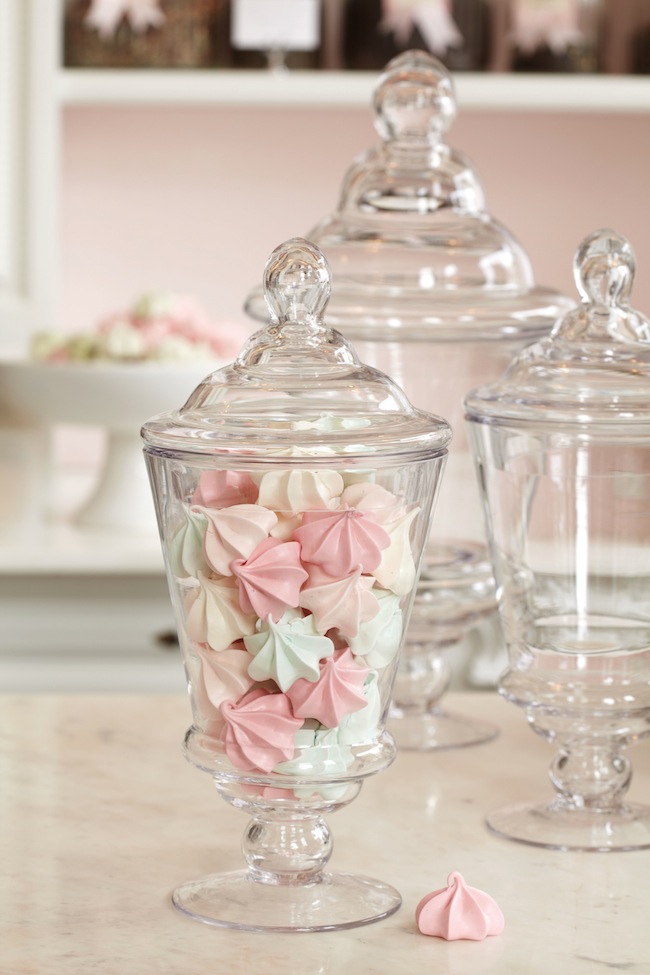
meringue_kisses_9349

Merengue kisses are all the rage these days and they’re super simple to make… Here’s a recipe for the above merengue kisses!

Coconut ice! Cute and tasty~ Learn to make it here.
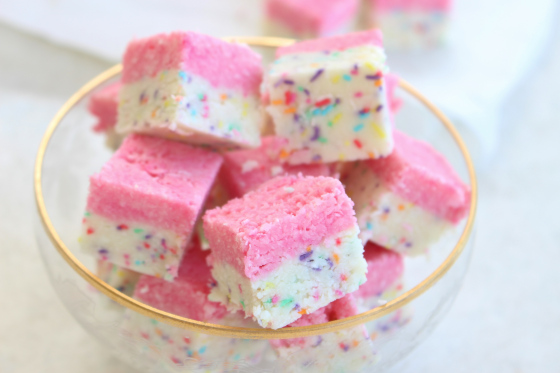
sprinkle-coconut-ice-2

What about a SIMPLE but adorable dessert that uses store-bought marshmallows? You can get the information about making this super easy (but cute) dessert here~ what’s better than a bouquet of marshmallow pops?
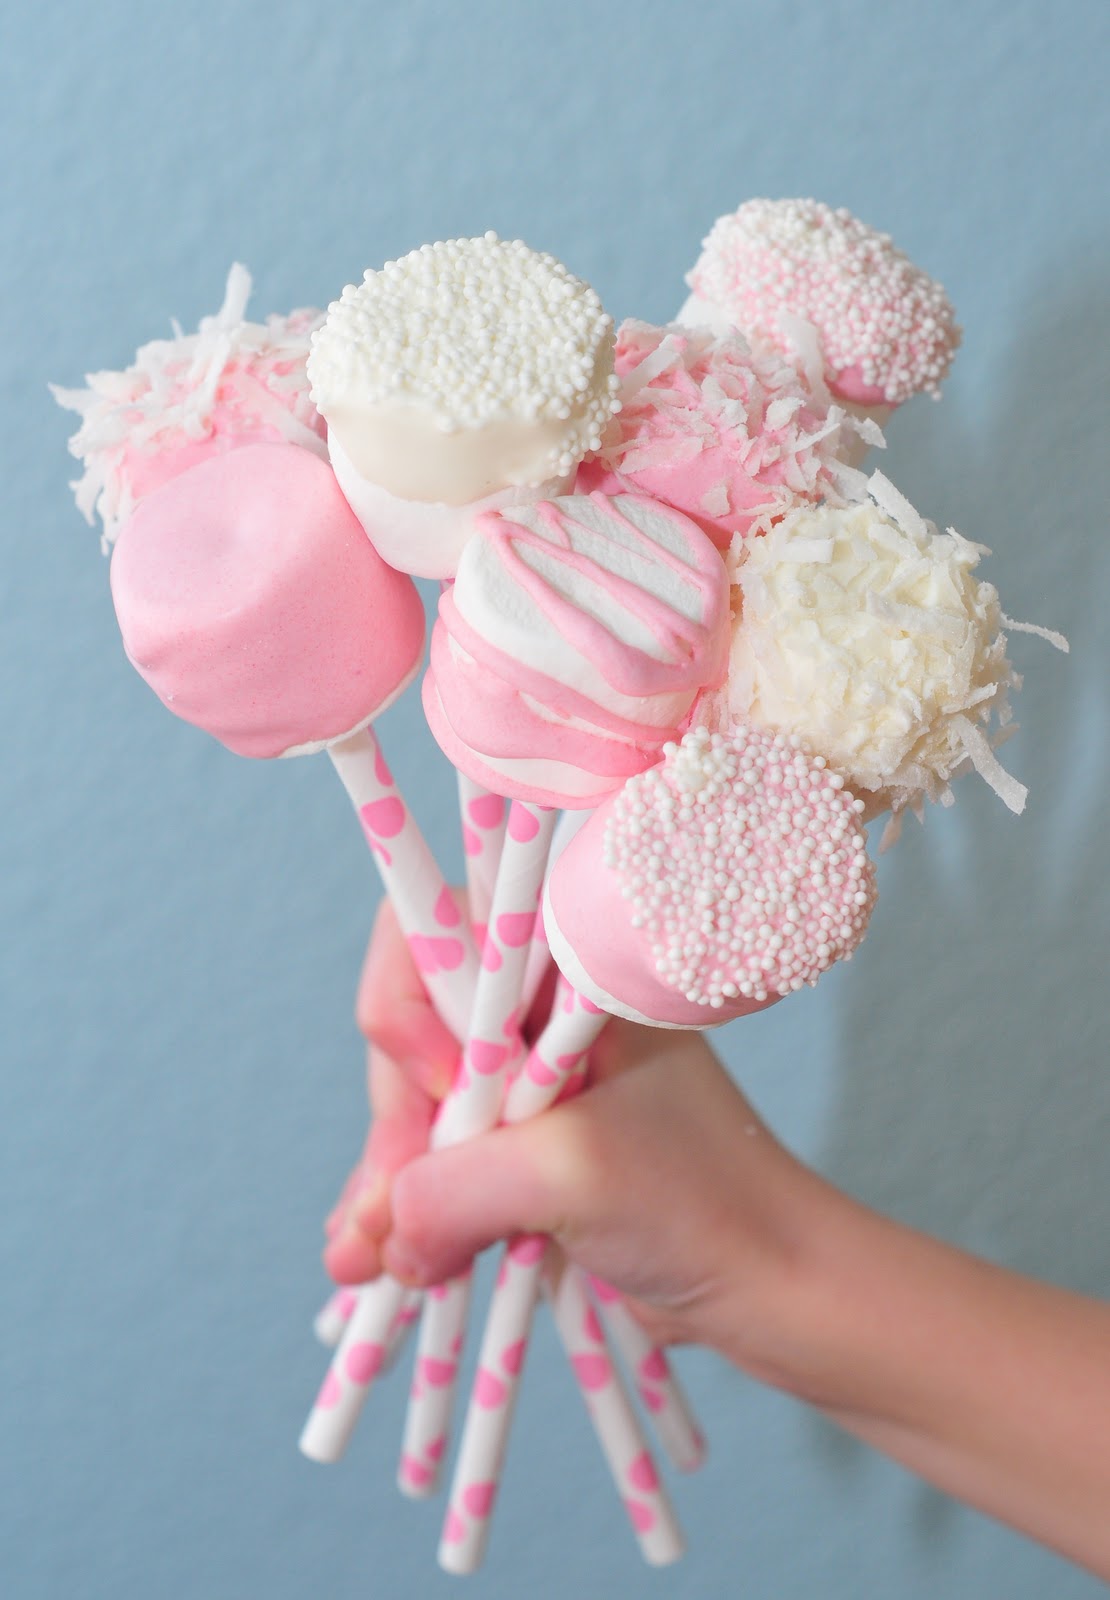
1.-Marshmallows-Bouquet

Don’t you love marshmallow ropes? Those are adorable! You can learn to MAKE THEM here.
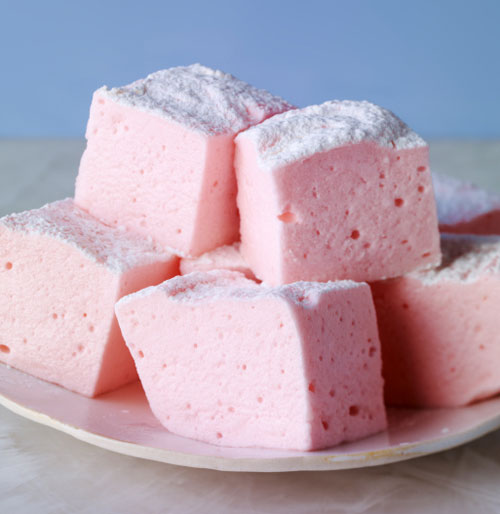
homemade-marshmallows
Make square marshmallows here.

I cannot imagine anything more satisfying than melt-in-your-mouth cotton candy merengue cookies! You can learn to make those here.
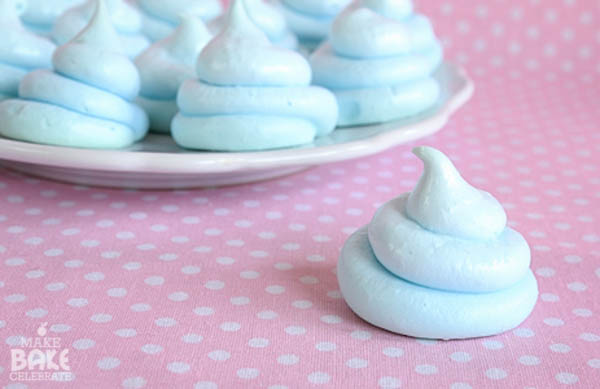
cotton candy merengue

Or what about Cotton Candy MOUSSE? i know not everyone is a fan of mousse but I have ALWAYS loved chocolate mousse (chocolate mouse if know the reference from a favorite movie!) however my spouse believes that it’s too much fluff and should be a topping or accessory to the main dessert — ha!

IMG_0268

With my family going on little hikes we often need bagged snacks we can munch on in between meals. My dear friend, Twinkiechan, introduced me to this amazing Lucky Rainbow Chex Mix recipe and I nearly toppled over by sugar high from only seeing the photos~
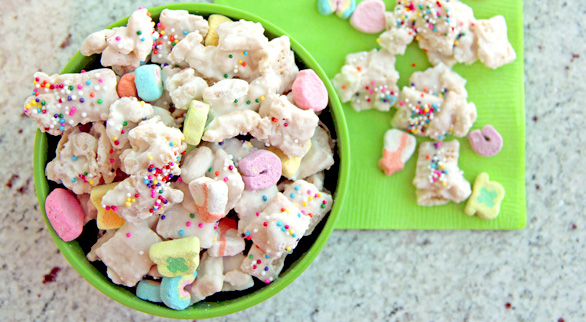
2013-03-13-LuckyCharmsChex-586

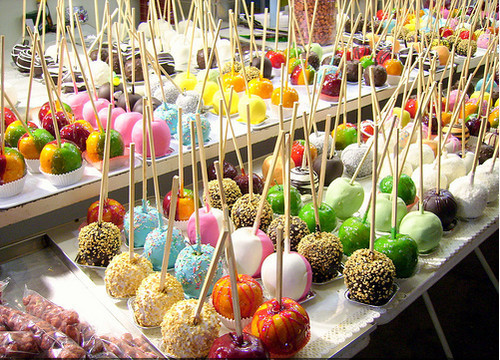
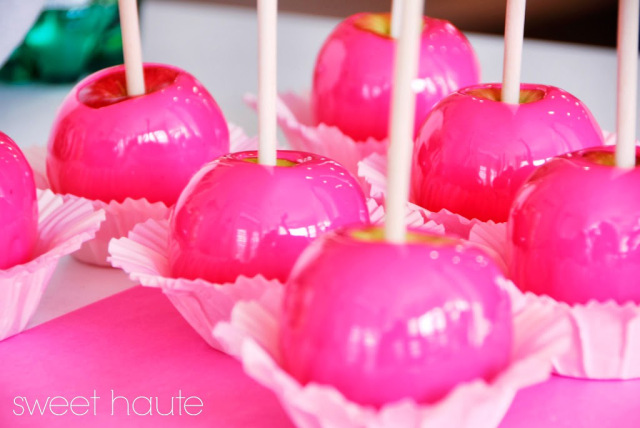
Now everyone who’s close to me probably knows my FAVORITE desserts are creme brûlée and CANDY APPLES. How silly is that pairing? However candy apples have taken a big fall in my experience.. the fairs and festivals tend to have caramel apples and parties usually prefer chocolate apples.. or apples coated in almond bark… and they are NOT the same! I want that hard candy shell. I want the cinnamon candy perfect pairing with the sour, crisp apple. It makes my mouth send me to the moon!
tumblr_lvc2dp1I931r6s2pao1_500

Neon-Pink-Candy-Apples-SWEET-HAUTE

This is the right kind of candy apple! This recipe teaches you how to make hot pink candy apples (how cute). I would only change the vanilla to cinnamon of course~ I’ve also heard of melting the red generic cinnamon candies for the apples and that seems to go well also! As with all hard candy you have to make sure it’s been heated to the correct temperature lest you have a tacky, teeth pulling shell rather than the crunchy perfection of a candy apple!
tumblr_macaron_pastel

Cooking With Videos

One of the easiest ways to find and follow cute recipes is by doing a quick YouTube search! Then you can see how the process is really done without doing guesswork. It’s a great way to make more complex sweets!

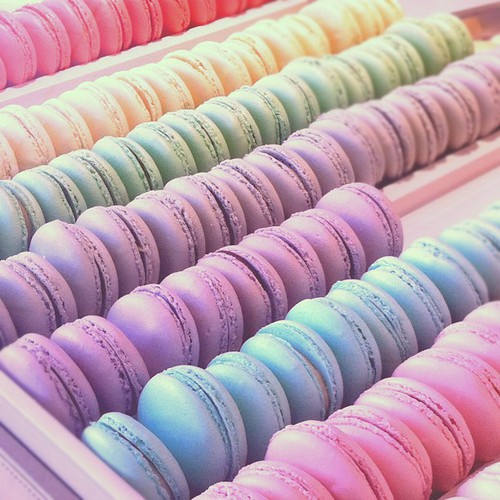
Macarons have been and are ALWAYS a win with me. I have had a life-long almond obsession (both taste and smell!) and they’re made from almond meal (plus other scrumptious flavors!!) and egg whites as well as tasty ganache in the center of the cookie sandwiches. What better way to make them than to give them a little tint of rainbow?

Speaking of rainbows though.. (as I can always be found doing).. let’s add some pastel rainbow to the delicious merengue and VIOLA!

I’m saving the best for last… this is one of my all time favorite cooking videos by decocookie (her channel is amazing). In this cooking lesson she teaches us how to make a Little Twin Stars cookie house! The cutest dessert ever.

Thanks for drooling with me! Check back soon for more inspirational delicacies and feel free to let me know what your favorite desserts are!

Crafts DIY Visual Splendor

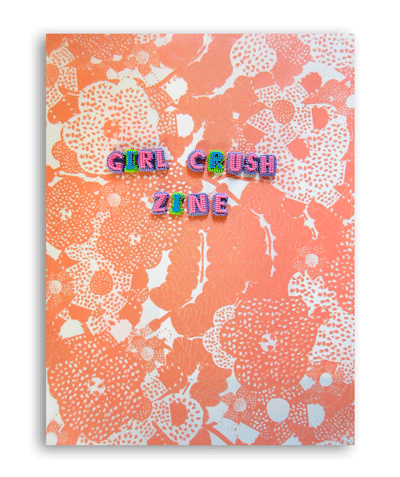
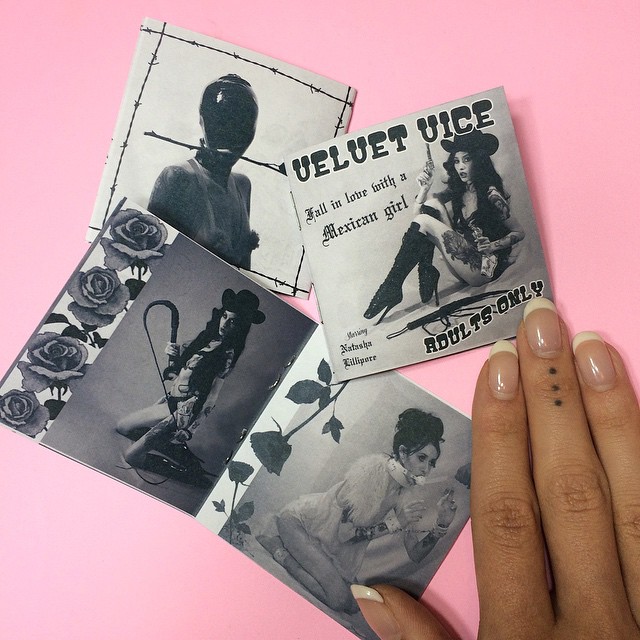
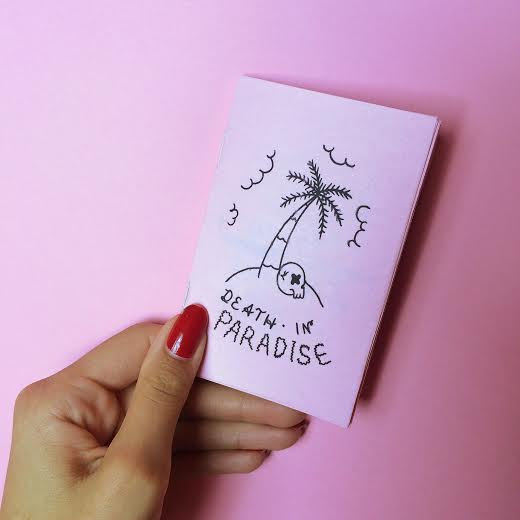
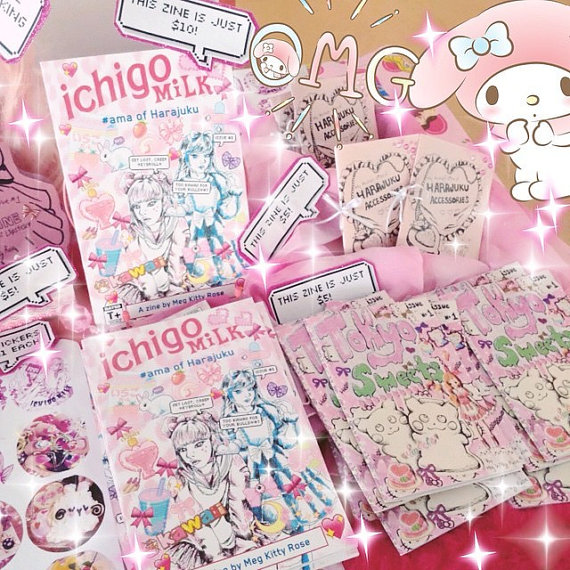
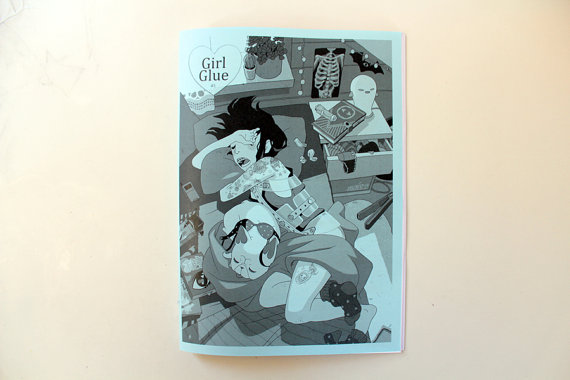
I love ZINES: How to Make, Browse and Buy Zines

06/17/2015

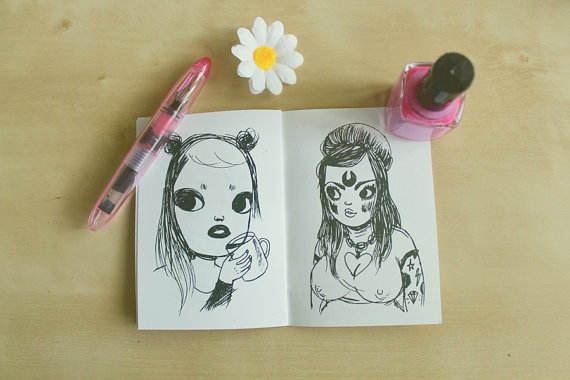
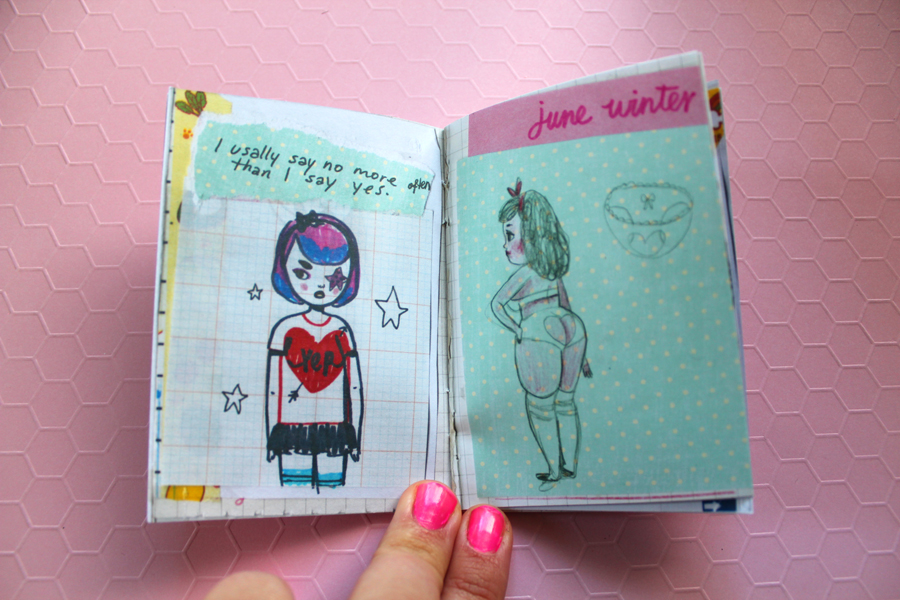
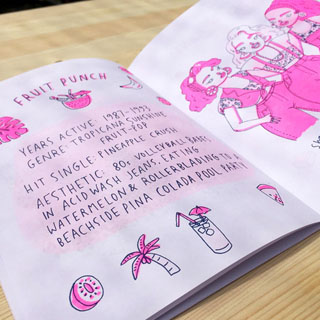
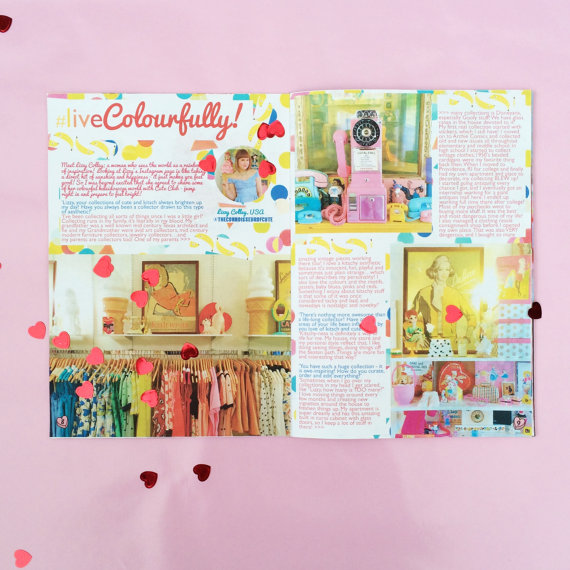
zines

What are ZINES?

Zines are small-circulation, usually self-published, publications that come in many shapes and sizes. And I love them. All shapes and sizes of them.

Why do I love zines?

I wrote this article long ago but I looked it up just today and it had NOTHING of substance so I’m rewriting it. You see, when I started Miseducated as a blog it was my version of a zine because I had ignored the blog movement for so long. I kept my site solely an artistic and nonsensical web site, self-made with hand-coded CSS and HTML. After I started having odd dreams about starting a zine shop (like some hippie record store with lots of incense, shag rugs and pouffes to sit on around tons of zines to read/buy) with my wares on display, I decided this was my brain asking sub-contiously to be involved online again. To be involved in making instead digital zine-like articles with collage art via blogging.

A lot of our OLD beginning articles are like that: a page out of a zine just pasted on here with a few words. This article was one of those. I was a woman of few words and a ton of time to create personal and purposeless art back then. I did little more at home than sit around in my psychedelic robe drinking tea and smoking while playing my ye-ye collection and collaging nonsense together for this blog. I had no kids and no motivation to do much else.

My job made me feel like a monkey in a factory so I did whatever I appreciated at home. My home was a 2-story 60s lounge pad and when I didn’t have a few friends over I was entranced by my world of pop culture archaeology carefully collected from others like me as well as thrift stores. I am not that girl anymore but I’d be lying is I didn’t admit that sometimes I do miss her. I’d certainly like to ask her advice on a few things I’ve been planning and making. She was too sad and too lonely though. Too much of a downer to relate to anymore.

In case you can’t tell by now, I have a major soft spot for zines. I have a cherished a big collection of them organized in my studio (they almost got ruined with our last big rain because I had them out by the open window!). I’ve collected such an array of them that I’m going to start showing some of them via you tube videos so you can view/read out-of-print zines along with me. I even have zines from Japan because I collected them while I lived there.

Zine Methods

Generally zines that arrive in my mailbox are copied onto white or colored paper using the cut and paste method. This is similar to scrap-booking, each page is created using printed/written text and graphics or photos and then copied and reproduced using a copy machine (it’s a plus to work somewhere with a xerox). Although today many zines just use a few sheets of printer paper and are cut and stapled in home offices. There are some (fancy) zines who use color printing and there even are a few creators who still hand write and illustrate each and every zine. <3 In fact, I even made a PDF of an old zine I used to print because the color printing became too expensive to charge for the zine and in my opinion selling ads for zines is a big no-no. Nothing can bias a special, unique, self-made zine quicker than ads for companies who are simply paying you to be included.

Drool-Worthy Zines

Create Your Own

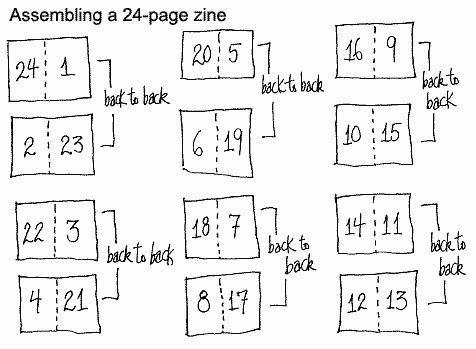
Want to create your own mini-zine? There are a few patterns to try out floating around online. You can make your first one easy on yourself (sometimes the paper layouts when putting together advanced zines can be mind-blowingly confusing at first as I found when I used to print Tulip). If you need some help or inspiration (or contributions) for your zine LET ME KNOW. I’m a strong believer in supporting small-press.

8 Page Zine

makeazinezine
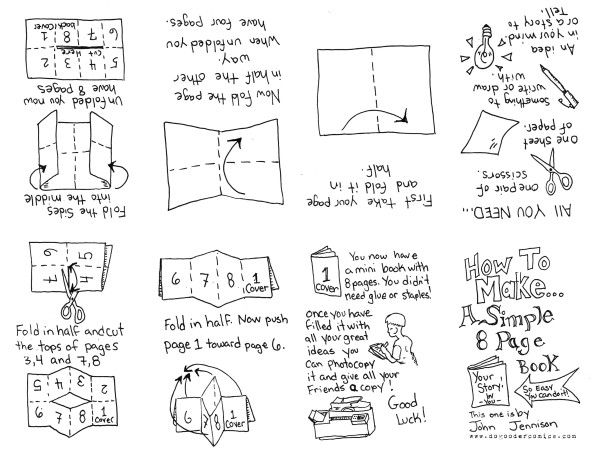
Learn to make a zine by printing out this template onto 8.5 x 11 paper and making it into a DIY zine thanks to Dogooder Comics~

24 Page Zine

24-page-zine-assembly

Featured Zine-Friendly Links

  • LA Zine Fest
  • We Make Zines – a rad zine community
  • 24 Hour Zine Thing
  • Zine World
  • Light Gasp – San Francisco zine/underground press distro
  • Cafe Royal – UK zine/underground press distro
  • Microcosm Publishing – independent publisher
  • Stolen Sharpie Revolution
  • Zine Wiki
  • Gluestick: Indianapolis’ Zines & Small Publishing Advocate
  • Irvington Vinyl & Books – zine events and shop in Indianapolis
  • Chicago Zine Fest
  • Design Your Life DIY Positive Energy Project

    Positive Energy Project: Selecting, Cleansing & Charging Crystals

    03/19/2015

    how to care for crystals

    Selecting Your Crystal

    • Identify your purpose.
    • Look for a few crystal varieties that seem aligned in the area your purpose lies in.
    • Look at crystals and pick one that feels right to you or attracts you the most visually.

    If you’re in-tune with your intuition and emotions pay attention to how you feel (happy, excited, drawn to it), if I’m instantly imagining the crystal on my nightstand or sitting on my mantel then I’m likely to get it.

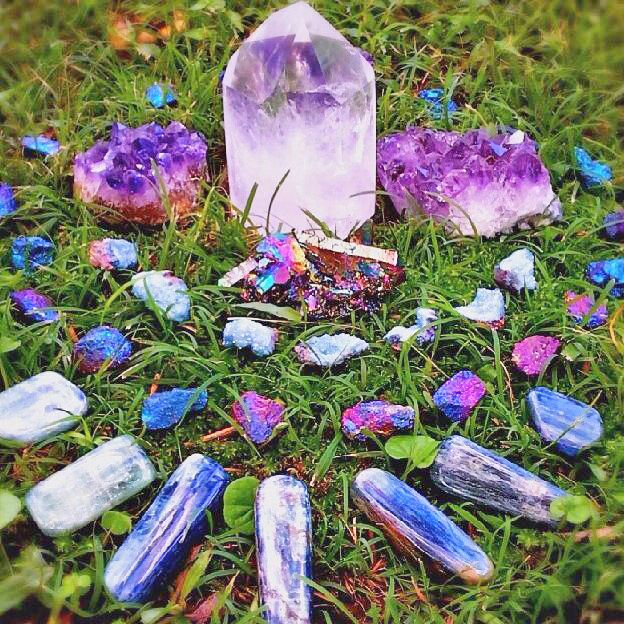
    amethyst crystal grid

    Cleansing Your Crystal

    Crystals are a mineral that absorb energy and hold onto it until cleansed. I like to cleanse my crystals when I get them especially because who knows what or who touched them and got absorbed and if I want to welcome that into my home.

    I have read and heard a lot from people advised to do just about everything in regards to cleaning them so be sure to chose the method that makes sense to you.

    For instance I really prefer sitting my crystals in a clear jar of salt water in the sun or moon light for a day or two but some crystals, minerals and pearls are too sensitive for such a treatment. If that’s so then I will light sage and hold them in the smoke for a few minutes, best outdoors, while letting it billow out and away. Be sure to sage yourself a bit afterwards.

    A good salt water solution is about 20% sea salt and the rest water. If you have actual salt water then that is best! When you’re done soaking them, pour the water outside into the earth.

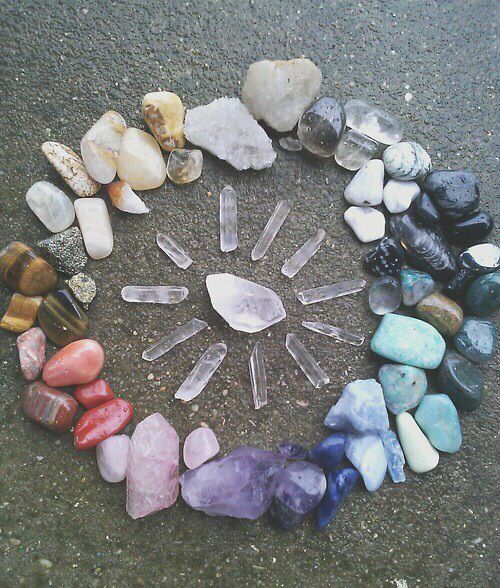
    crystal grid ocean sandy beach

    Charging Crystals

    I charge my crystals in sunlight and moonlight. I sit them on a window sill at either time and let them charge for a day.

    Sunlight re-charges crystals with ultraviolet light. When crystals are harvested from the earth they are removed from the energy they were nurtured in. The crystals have been taking energy and nutrients from the God and the universe via the ground providing nutrients to develop into a crystal. They now need to absorb energies for renewal. The full spectrum of light restores the crystal’s depleted energies. The moonlight offers and even broader spectrum of energy, especially a new or full moon.

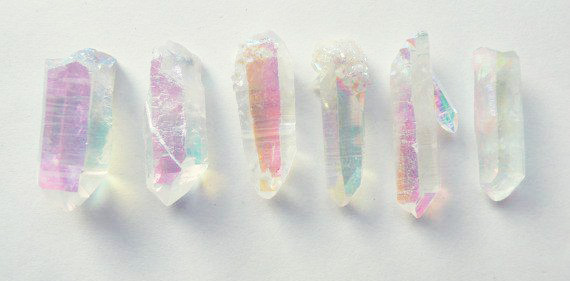
    angels aura crystal

    Activating Your Crystal

    Sometimes, a crystal can be asleep in a sense and not know it is going to be used for healing or meditative purposes. Making a spiritual connection with the crystal helps to awaken its consciousness. You can activate your crystal by holding it, praying while holding it, meditating on your higher dreams and aspirations while holding it, rolling it in incense, communicating that it is yours for comfort.

    Because each crystal absorbs energy (like a magnet, just touch one) they can absorb new instruction. Sometimes the crystal gets filled up with unconscious instructions from people handling the crystal, unaware they are projecting energy thought forms that are picked up and stored (alas the cleaning when purchasing/finding). When we add our own energy and prayers the crystal will then resonate with that amplifying, broadcasting, and projecting the new set of energy patterns to ourselves, others and our environment (I most often use them to just enhance my environment or hold while meditating/praying).

    The way I do this is the same way I cook, which is also a meditative, prayerful and reflective state for me in connection with God and the universe. I think about love, the things I love and value, affirmations to myself and my family (and even the world) and I imagine infusing these things into the food, crystal, candle, whatever it is I am working with. Then I feel the energy of that love and healing, the energy of my higher self, emit through the crystal, the smoke, the meal when we eat. Most often I visualize healing, protection from God and love as these are the things I most appreciate in our lives.

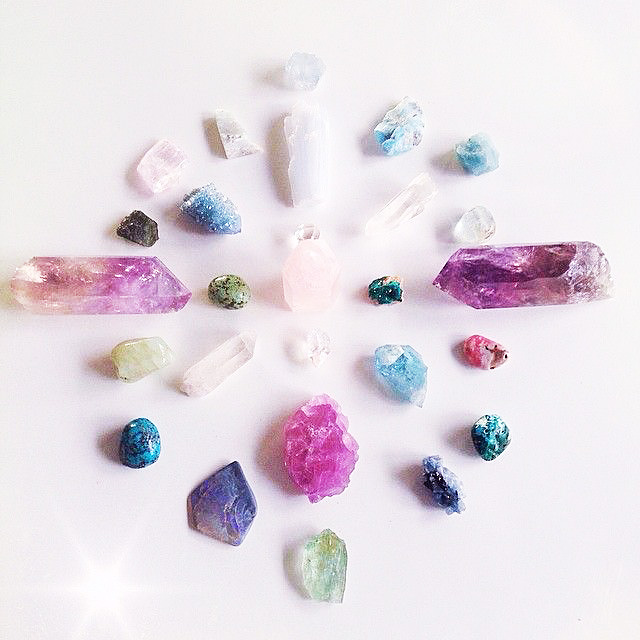
    crystal grid

    Where to Buy Crystals

    There are usually stores that carry minerals, crystals or New Age-y materials in cities. We have a few here. However you can also find them on ebay and other online boutiques.

    crystal cactus The Playful Soul Broadripple
    Recipes Vlog

    Vlog: How to Make Valentine Kombucha Tea

    01/15/2015

    Kombucha is one of those things you either love or hate.. and I love it. Given my own experience I can say it is a really good drink both in taste (yum!) and in the health benefits I have personally experienced. I would prefer the mango lemonade flavor (the best!) to this cherry vanilla or lime but it’s a nice change and quite seasonal!

    This vlog explains/shows how to make kombucha by using a SCOBY and also how to use the fermented kombucha tea after a week to make the flavored, bottled kombucha drink you see in stores. This flavor is VALENTINE aka cherry vanilla and cherry lime. Enjoy!

    How to Make Kombucha — the recipe we published originally here!

    Crafts DIY Vlog

    Artist Trading Cards DIY: Make and Collect

    12/16/2014

    Inspired by the many trading cards of the past, artist trading cards (often called ATCs) are another fun way to trade with a personal flair. I have a feeling that even non-proclaimed-artists should create ATCs — what a cool way to revive aged-pop cultures? I plan to attach bubblegum to mine so let me know if you’d like a bite~

    The cards must be 2.5in by 3.5in or 64mm by 89mm (no exceptions ^^). They are also generally made as limited editions (it’s a time to relax and handmake something small and exclusive) and should probably contain your name, theme, contact information and anything else you’d like to include! If they’re part of a series you can also number them, ex. Moon Cats 3/6. It might be a cool idea to use different themes or criteria for each series to keep it fun~ challenge yourself and be creative!

    Pattern

    ATC envelope pattern.

    Swaps & Collecting

    ATCs For All Forums
    Swap Bot
    Altered Art Swap List
    Etsy ACEOs

    DIY Vlog

    Five Ways to Get Your Youtube Vlog Video Noticed

    12/12/2014

    I’ve been vlogging. That’s right. I said it. My vlogs are also pretty chill and probably not to entertaining.. for now.. but I’m learning. I’m pretty much forcing myself to do it regardless of whether I have a purpose or not because I feel like it’s useful in my personal life (get used to talking to strangers!) and I feel it removes the ‘behind-the-screen’ illusion that stands between you and I (no hiding that awkward laugh anymore!). So bear with my while I learn the INS and OUTS of vlogging, the YouTube community and how to communicate with you in all sorts of exciting ways.

    I figured adding some useful vlog research I scrounged up could be beneficial if you’d like to 1. join me on this adventure; 2. make a response video so I can get to know you more dearly or 3. consider vlogging at least in the future.

    As I am a YouNEWB and I have little to no views, subscribers or fellow vloggers to frolic with in the land of unforeseen videos… please comment or subscribe to my channel (MiseducatedTV) and I’ll do the same so we can bask in the glory of having an ally.

    Five Ways to Get Your Vlog Noticed

    1. Be Vocal in The YouTube Vlogging Community
    Find other vloggers, leave comments, be friendly. You see on some of your favorite YouTubers videos the same people leaving comments and communicating with other viewers? Do that. Those people make friends in the community. It’s a lot like blogging.. to get new friends and comments you have to be friendly and give comments. NOTE: Do not shamelessly self-promote in comments, post genuine comments related to their videos.

    2. Collaboration
    YouTube even pushes collaboration in their Playbook. Why? 1. You get exposed to an audience who may never have seen you before and 2. By being associated with a YouTuber others’ watch you are given credibility in the eyes of their audience.

    Ready to collaborate? Just ask someone. I was once told as a young designer if I wanted something (like an opportunity, a project or a job) to ask for it. Sometimes it fails but more often than not it works. Don’t hold yourself back, just ask! Hell, you can even ask me. I might just say yes.

    3. Join an Online Forum/Group
    There are several. I joined YTalk because it’s a pretty large one. Forums don’t get the same attention they once did due to social media (Google+ YouTube Group) but they are still prime places for certain topics and YouTube is one of those topics.

    4. Make Trend-Friendly Content
    Find bloggers you like with popular videos and reply with video responses using similar keywords so they can find you, use trendy tags in your vlogs (I recently noticed the ‘Boyfriend’ tag as well as the ‘Draw my Life’ tag) and stay on top of news, current events/trends and pop culture that could land you a top video when people are searching for information about said topics.

    5. Be Optimized for Traffic
    Similar to blogging again but quite unique as well. Always be optimized for search-engine traffic just in case your video is meant to go viral.

    DIY Recipes

    King Rabbit Carrot Cupcakes & Frosting

    10/09/2014

    Yesterday (Oct 8th) was my best friend and soul mate David’s 40th birthday so guess what I decided to do? Use the frozen carrot mush we had leftover from juicing earlier and make him some birthday cupcakes! He told me I had hoarded way too much carrot mush and would never use it and so VIOLA I’m going to make it delicious. Our family name means land of the rabbits so what better way to celebrate his life than with CARROTS!? I know.. there really isn’t one. This recipe is catered to him but you could substitute all sorts of things such as adding crushed walnuts, raisins, etc.

    HAPPY BIRTHDAY, LOVE!

    King Rabbit Carrot Cupcakes

  • 1 1/3 cups flour
  • 1 teaspoon baking soda
  • 1/4 teaspoon salt
  • 1 teaspoon ground cinnamon
  • 1/2 cup butterscotch chips
  • 2 large eggs
  • 2/3 cup granulated white sugar
  • 2/3 cup melted coconut oil
  • 1/2 teaspoon vanilla extract
  • 2/3 cup grated apples
  • 1 1/3 cups grated raw carrots
  • Queen Bunny’s Cream Cheese Frosting

  • 1/4 cup butter
  • 4 ounces cream cheese
  • 2 1/4 cups confectioners sugar
  • 1/2 teaspoon vanilla extract
  • King Rabbit Carrot Cupcakes

    Preheat oven to 350 degrees F and grease 12 muffin cups or fill 12 muffin cups with paper liners.

    Combine all ingredients in a bowl and mix. I like to use my clean hands so that I permeate my heart into whatever I’m making and I can feel that everything is adequately mixes. This is how I make all baked goods, bread, desserts, etc. Love it or leave it.

    Evenly fill the greased muffin cups or muffin liners and bake at 350 degrees for around 18-22 minutes. Check around 18 minutes depending on how quickly your oven bakes, your tins etc. I like to check early as opposed to cooking things too dry. If a toothpick inserted into the center comes out clean then remove the muffin tins and let cool before frosting.

    Queen Bunny’s Cream Cheese Frosting

    In a bowl use your mixer to beat the butter and cream cheese until very smooth and creamy while slowly adding the powdered sugar and vanilla until smooth. Pipe the frosting on the top of the tops of the cupcakes. For quick piping I like to add the icing to a ziplock with the corner cut off and pipe on top of the cupcakes.

    happybirthday

    Business Features Crafts

    MADE WITH CODE: 3D Print a Free Bracelet ala Google

    09/10/2014

    MADE WITH CODE by google and shape ways

    I am really into the MADE WITH CODE project. It’s gorgeous and positive. As a once very young coder (11 years old) I would have exploded confetti to see such a movement on or offline. Have you heard? Shapeways (D printing marketplace and community) and Google (you know.. Google) have teamed up to promote the successful design and innovations (AND CODING!) of girls and women around the globe.

    Design & Print a Free 3D Bracelet

    Not only is this a gorgeous project but you can also make a 3D bracelet on your computer that Shapeways will print (FOR FREE) with their 3D printer (if you live in the US).

    Unknown

    Join the Code Community

    “Today, less than 1% of girls are majoring in CS. Tomorrow, we can make that number go up.” – Made With Code

    Get Future Female Coders Involved

    Maybe your daughter will be the next big designer? Let her try these adorable projects and have fun together being creative.

    Learn More

    Made with Code is an initiative to champion creativity, girls, and code, all at once. The movement is designed to do three things: To inspire girls by celebrating women and girls who are using code to do great things; to engage girls to try coding through introductory projects and resources; and to sustain their interest by creating alliances and community around girls and coding.

    Join the movement and have fun. We sure are.

    Recipes

    Effervescent Embers: How to Make Kombucha

    08/28/2014

    make.kombucha

    I decided to add a new category to Miseducated based on the wonderfully fulfilling and helpful work one of my best friends and I do together on an almost daily basis. Not only do we get together on weekdays to work (we both have jobs that rely on laptops, coffee and a strong WIFI connection) and encourage each other but we also do extra life-enhancing things like discussing hardships to find the positive hidden within, practicing yoga (she is an excellently encouraging yoga instructor so stay tuned for information about her business as the website is in the works) and connecting with our animals while incense swirls in the air and the music hums.

    Lately we’ve began cooking together as we shared a home for a time and especially because Emma makes kombucha. I wasn’t even scared to try the drink because I was staying with her for a week and I figured I’d give it a shot. In one of my worst times I honestly felt good health-wise, which is not usually the case for me. I had been having a stomach ache and had been unable to eat much until I began drinking the drink and my stomach worries went away. I had issues with digestion and other women’s woes as well that seemed to clear up shockingly quick after enjoying kombucha daily. It wasn’t until later when I saw what went into this delicious vinegar soda I began to get skeptical. Extensive amounts of reading others experiences and recipes showed me that this is an ancient health elixir that has been made nearly everywhere and is only fairly new to our culture. So yes, I began to craft my own and we will teach you to do the same. All it takes is a SCOBY, tea (start with black or green) and sugar. Real sugar, not the chemical kind.

    As always this is my experience, you are free to have your own and either dispose the taste or the entire idea behind the drink and that’s totally fine! I do not claim any magical healing benefits nor do I expect everyone to enjoy the taste. However I think trying new things is many times a good idea unless you have strong truth-based reservations about them.

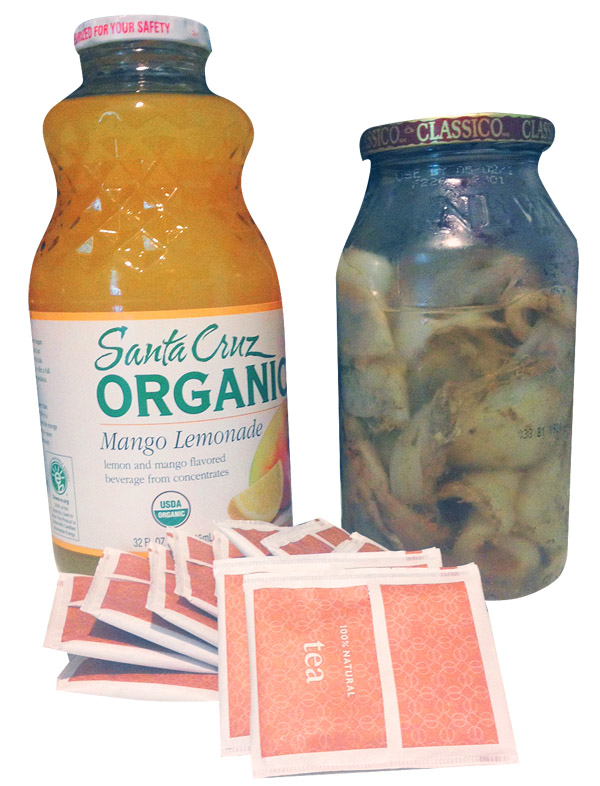
    So kombucha tastes nothing like tea or juice or regular soda or sugar. I figured I’d first throw that out there. To describe it at all, depending on what you add to it, it tastes like a carbonated vinegar. The carbonation and flavor depend on the amount of fermentation it does and what sort of juice you add after you bottle it. We have chosen to add mango lemonade but next time I believe I’ll try something new. I’ve heard of people adding ginger and that entices me.

    Why kombucha though? Other than my own experience? Kombucha contains probiotics and multiple species of yeast and bacteria along with the organic acids, active enzymes, amino acids, and polyphenols produced by these microbes. The precise quantities vary between samples, but may contain: Acetic acid, Ethanol, Gluconic acid, Glucuronic acid, Glycerol, Lactic acid, Usnic acid and B-vitamins. It was also found that Kombucha contains about 1.51 mg/mL of vitamin C. The acidity of kombucha resists contamination by most airborne molds or bacterial spores. It was shown that Kombucha inhibits growth of harmful microorganisms such as E. coli, Sal. enteritidis, Sal. typhimurium, and Sh. Sonnei. As a result, kombucha is relatively easy to maintain as a culture outside of sterile conditions. – Wikipedia on Kombucha

    EMBER’S KOMBUCHA

    by

    Ingredients

    • 3.5 quarts water
    • 1 cup white sugar
    • 12 bags green or black tea / 6 tbsp loose green or black tea
    • 2 cups starter tea from last batch of kombucha
    • 1 healthy SCOBY per fermentation jar
    • Optional: when time for bottling add 1 cup fruit juice to bottle

    Equipment

    • saucepan
    • 1 gallon glass jar
    • jars or bottles: 8 16-oz mason jars or soda bottles (with lids)
    • funnel
    • strainer

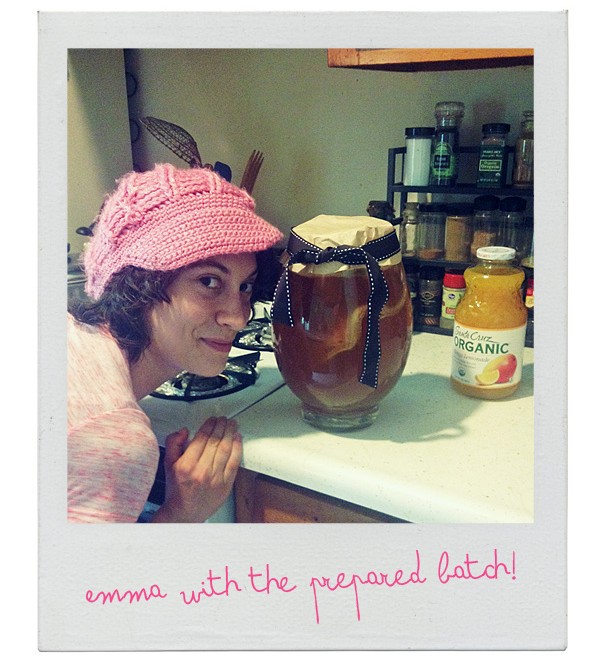
    emma and our kombucha

    Instructions

    1. Make a batch of sweet tea: Fill saucepan with approx 1-2 quarts of water and add the bags when boiling. Add sugar and allow tea to steep until water has cooled. Add ice if impatient.

    2. Add tea to 1-gallon jar. If still warm add cold water and leave only around 15% of jar unfilled.

    3. Gently add your SCOBY and 2 cups of previous batch (without juice) being careful not to use metal to touch the SCOBY — we used bamboo tongs. Cover the mouth of the jar with a coffee filter and secure with a rubber band or tape if necessary (my jar was an oblong shape).

    4. Ferment for 7 to 10 Days: Keep the jar in a cabinet by it’s lonesome. Store at room temperature, out of direct sunlight and safe from being shaken or moved. Ferment for 7 to 10 days, checking it periodically to make sure the SCOBY is fermenting the tea and not succumbing to mold or ailments. (I like to check it and take a sniff to make sure it smells like vinegar and not anything rotten.)

    You will notice the SCOBY may position itself anywhere around the bottle but usually a new SCOBY baby will form towards the top of the jar (in the liquid). You will also see brown strings settling on the bottom and around the SCOBY. These are signs of good fermentation. Feel free after 7 days to taste the kombucha with a teaspoon. If the tartness and sweetness are to your taste feel free to bottle, if not let it ferment up to 14 days (you can do a second ferment for 3 days in the bottles flavors added if you so decide).

    5. Remove the SCOBY and prepare another saucepan with the tea recipe listed above. Without using metal transfer the SCOBY to a clean plate and remove extra layers if it has gotten too thick.

    6. Now that you have your jar filled with only the kombucha, get out the stranger and funnel so you can pour it into the bottles/jars you prepared. Feel free to add fruit, fruit juices, flavors such as ginger, etc. We’ll add a feature on more kombucha uses and flavors in the future!

    7. After the kombucha is bottle, store it at room-temperature out of direct sunlight and allow 1 to 3 days for the kombucha to carbonate and ferment further with the flavor you have added. Keep in mind that if you’re not familiar with the ingredients and time needed for carbonation the bottles could explore or pop open so keep checking and burping them everyday. After ready place them in the refrigerator to stop the fermentation and store for up to a month.

    8. Use your tea, water and SCOBY to make another batch of kombucha as outlined above ready to continue the cycle.

    * Too many extra SCOBYs? Put them in a jar filled with kombucha and feed them a cup of sugar every 2 weeks while waiting in the fridge. You can also donate them to a friend and teach them how to make kombucha OR you can start making multiple batches at once and experiment with flavors.

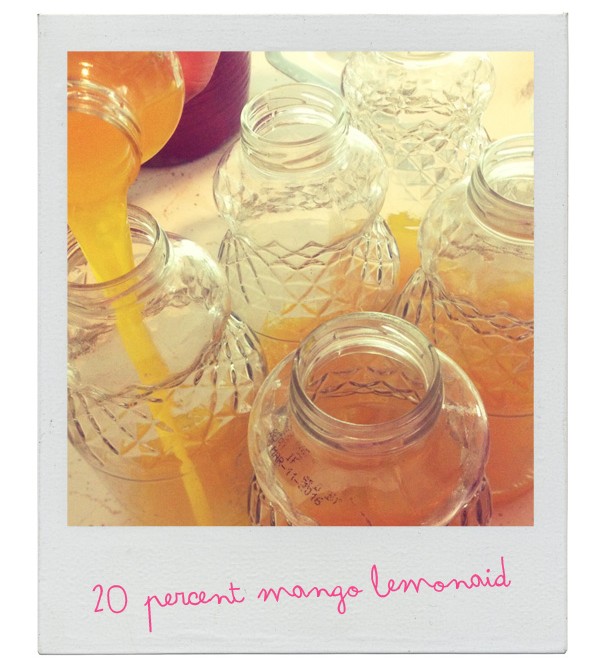
    20 percent juice

    Also view this recipe and how it relates to a yoga lifestyle at Emma’s ashtanga, fire and growth blog The Buddhi Blog and check out if your scoby has gone bad and other similar questions at Holistic Squid.

    Crafts DIY

    DIY: Neons vs Pastels » Craftspiration

    04/03/2014

    Because I can never decide which one is better so all of my pastel-coated paintings always have a little hot pink strewn through-out and same for my collages. Why choose one when you can have both? Have a hot pink Easter.

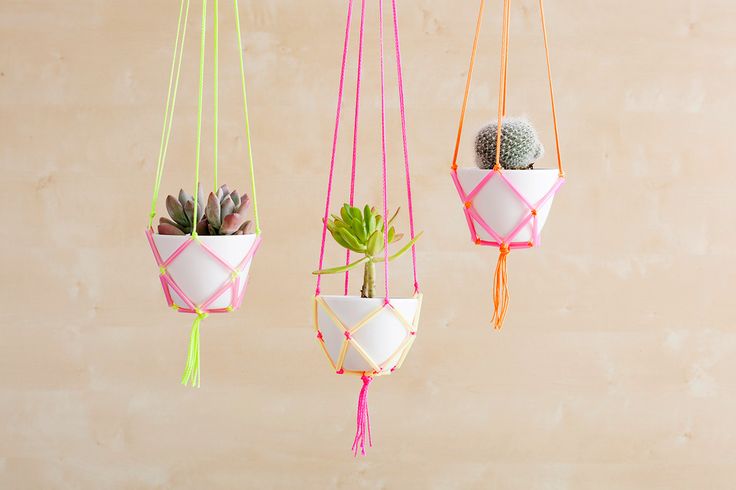
    acd27d96ddd66ad82b3258b806492a10

    Easy Neon Hanging Planters Tutorial by Brit + Co

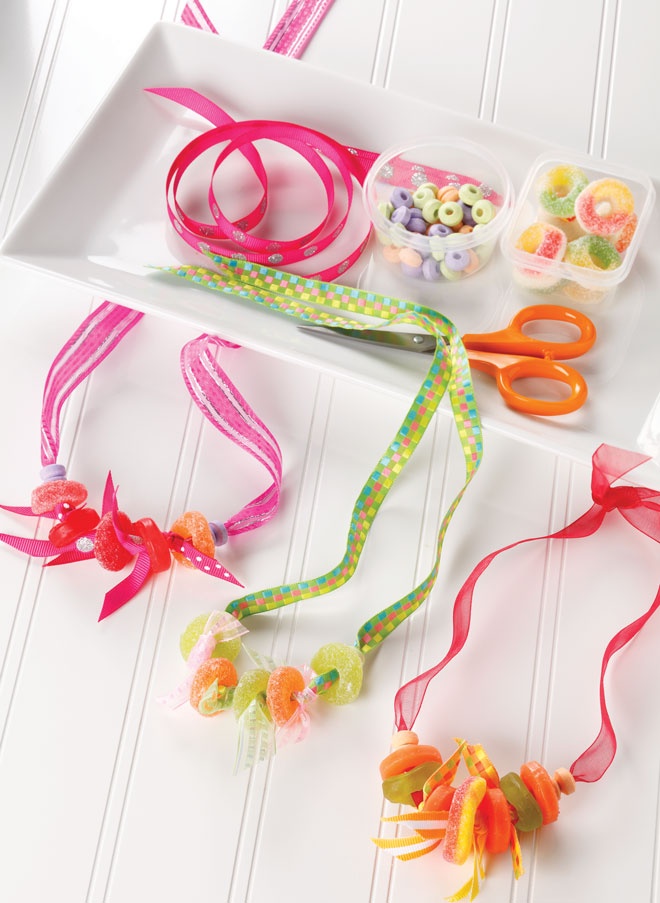
    6cf0cdc3e15d511f1ee10652a732d236

    Candy Necklace Inspiration by Love the Day

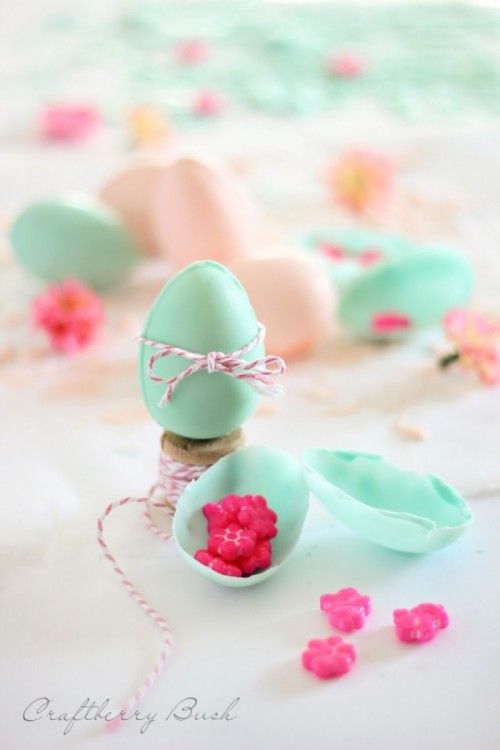
    89de91bf10cb582702c376ba53c450f3

    Chocolate Surprise Egg DIY for Easter

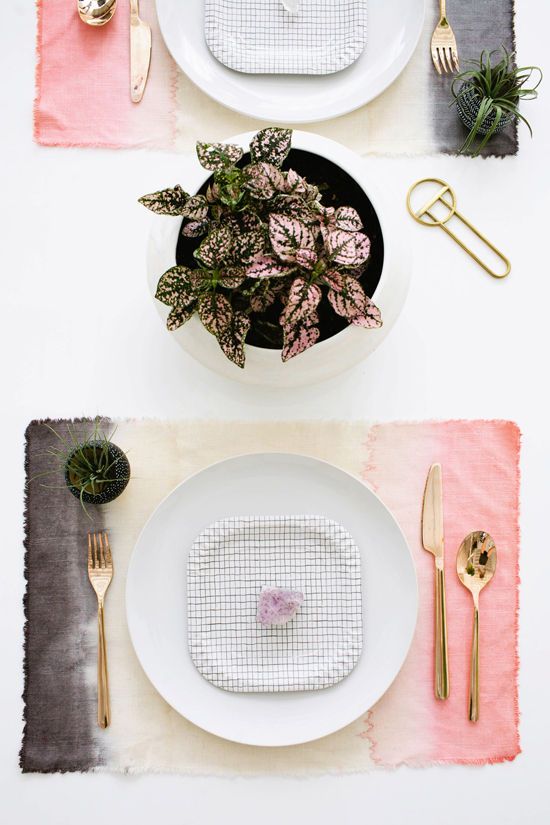
    79e1cffc88b2f91b9975e91b0676942d

    Dip Dye Placemats by Design Love Fest

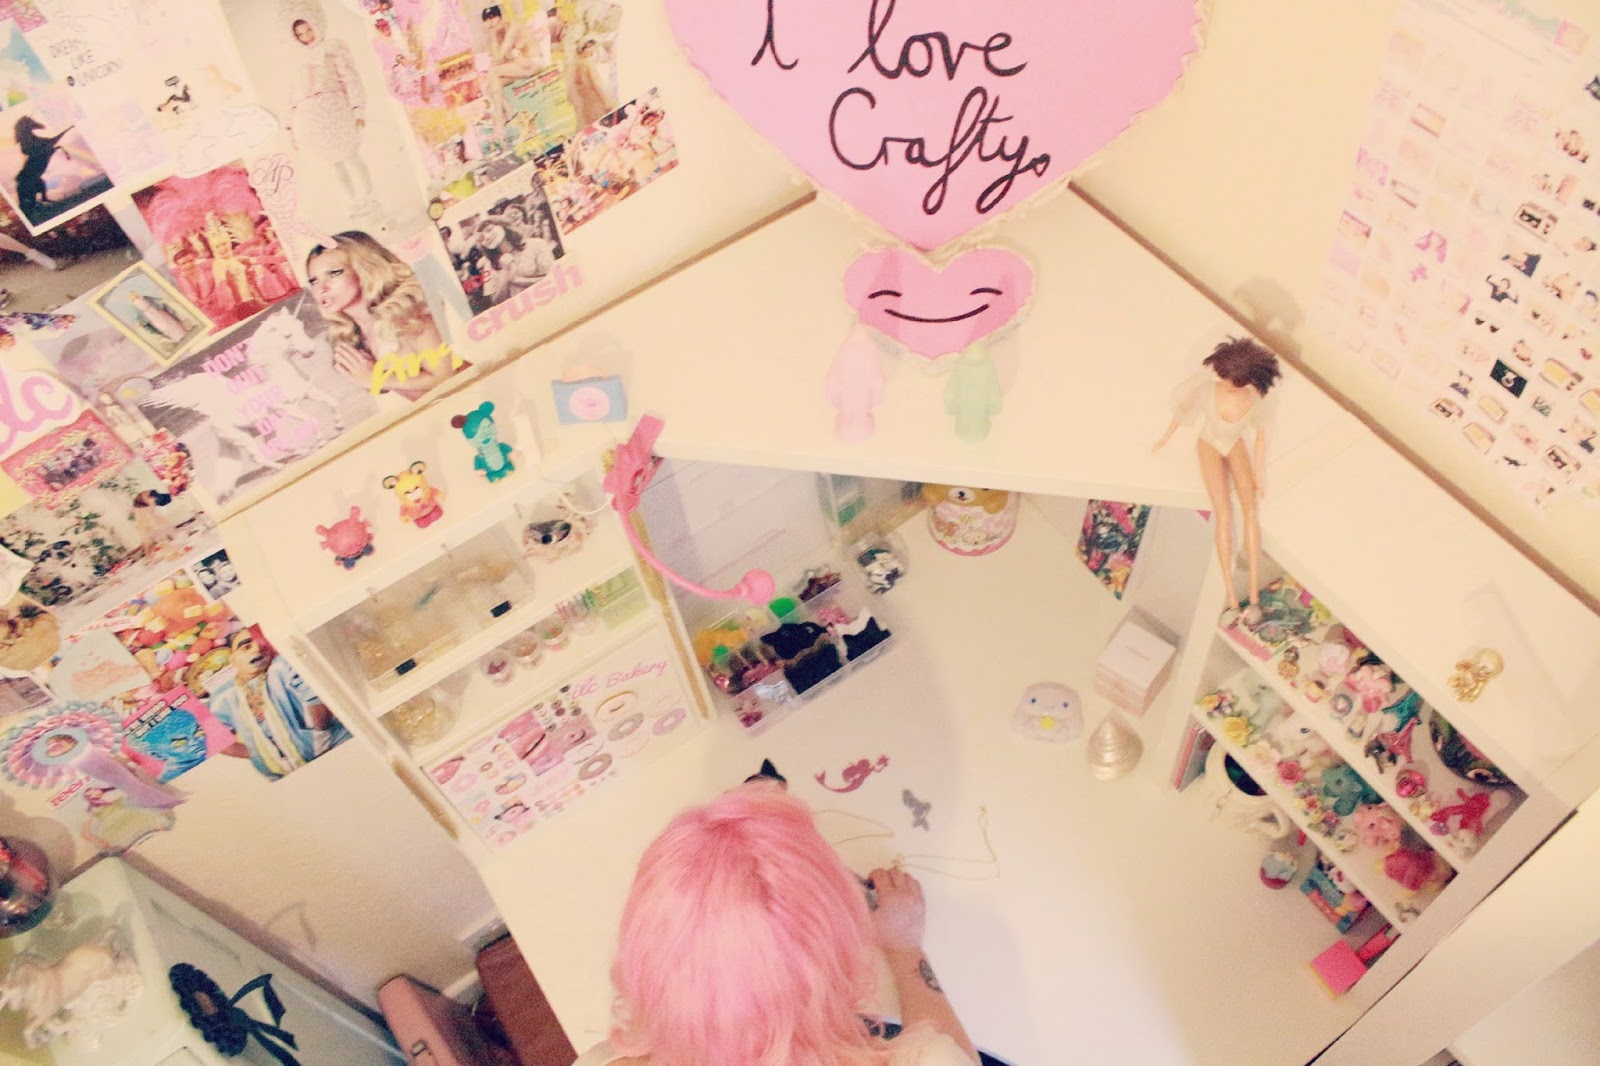
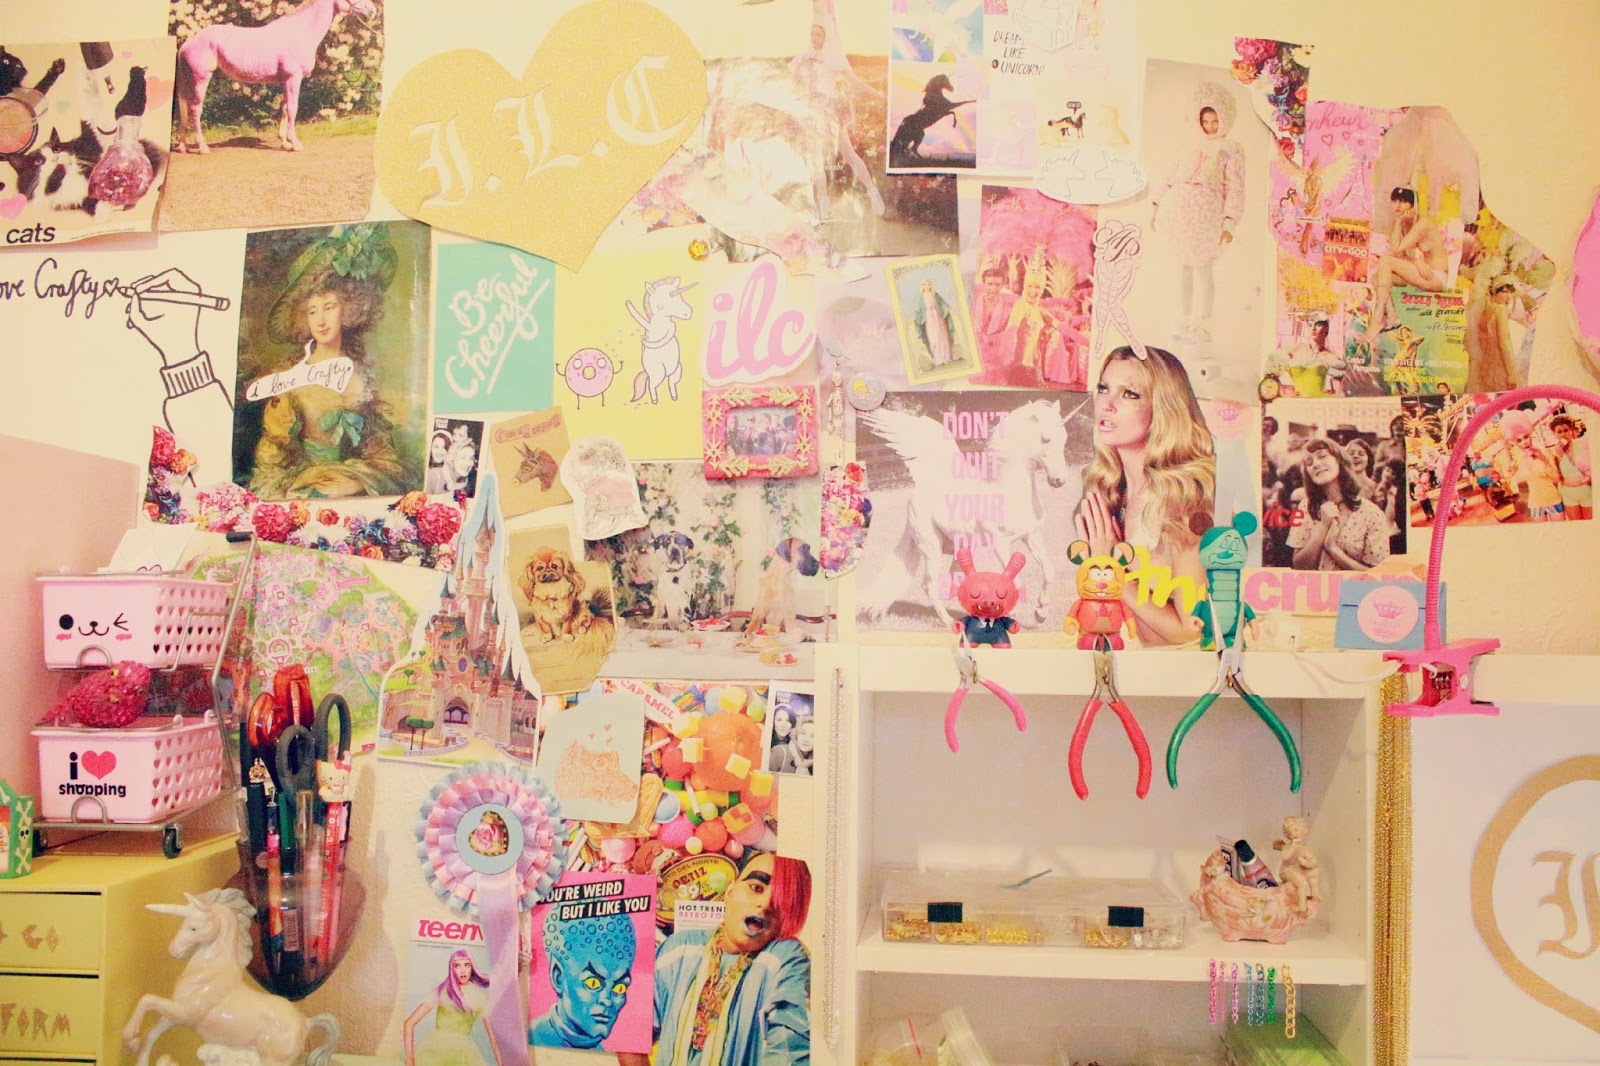
    and lastly a breathtakingly beautiful home office and craft studio to inspire you to design your work space to fit your inspiration ala I Love Crafty:

    new office 14

    new office 31-1