Browsing Tag

tutorial

DIY

Create Your Own Incense & Magical Clouds

08/17/2019

Incense, you either love it or you hate it. That’s what I’ve found in being a lifelong pusher of it!

“Hey, you don’t mind if I burn incense do you?”

Often met with a casual eye-roll or possibly a sure and then, can I put this out? It seems a person either appreciates the presence of it in their home or they despise it because of the sheer invasiveness of the smokey scent. Many times powerfully strong, incense can leave your environment highly fragrant in a matter of minutes.

The process of making herbal incense without the use of salt peter, or even charcoal is actually quite easy. However, perfecting the art is another matter. Perhaps the easiest way is by using a binder commonly called Makko. Makko not only serves as a water soluble binder, but as a burning agent as well. Makko is a natural tree bark from an evergreen tree and contains no synthetic chemicals, charcoal, or salt peter.

Incense began use as an instrument in spiritual practices. With the killer scent it packed in such a small size, it also became a hit with hippies and homeowners everywhere. If you can appreciate the presence of lemony-sweet sodapop in your home, or more commonly a woody-spicy fragrance, you’re definitely a contender for incense!

Now, you can buy incense for pretty cheap just about anywhere that sells fragrant candles. If you can’t find it in your area you’re in luck because there’s an even bigger selection online! Be sure to gaze at the carnival of delicious, handmade incense scents on etsy and imagine the sheer wonder of your home or studio being transported to a fragrant fantasy land!

… but if you wanted absolute control over the fragrance you could make your own as well.

DIY Incense
Now, it sounds very easy to create your own incense but the trick is mixing the ingredients correctly so that you get a nice, even burn. Your incense might be too smokey, might not burn properly and could keep going out prematurely.

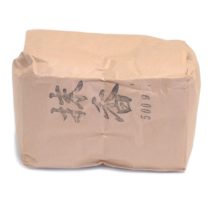
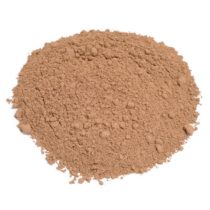
To begin making your incense (this is the Japanese way), mix an incense base with makko (incense powder), and add some warm water. When using a resin your incense will become more difficult to burn. Therefor you should use resins, like Frankensense, at much lower percentages as the burning agents (makko and sandalwood).

“Sandalwood is common to almost every incense formula, and serves as a wonderful base aroma as well as a burning agent of its own right. If you were making an incense of sandalwood alone, the amount of makko required may be a little as 10%.”

Mix the ingredients into a dough-consistency and knead it thoroughly. Form into cones or sticks (form sticks around bamboo reeds) and Knead the incense-dough thoroughly and form into cones or sticks. Allow them to dry slowly, about a week. Check them to see if they’re dry and enjoy your new incense.
In-SCENTS
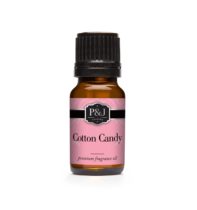
My favorite part about candles and incense is the *aroma*, like most people I adore a waft of delicious fragrance to pass by me while working at my desk. It’s a shame you can’t have them in cubicles! It definitely would have lightened the atmosphere in the slightest way. Especially when there happens to be a microwave area in your office.

Don’t use cheap oils — they can irritate the skin and the aroma can provide no benefit.

You can combine your favorite oils to create aromatherapy benefits *or* just to delight your nose.

Incen-spiration

Ehehe.. my favorite part of blogging has always been the eye candy.

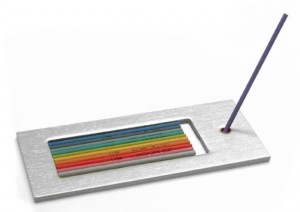
lisn_to_finland_5
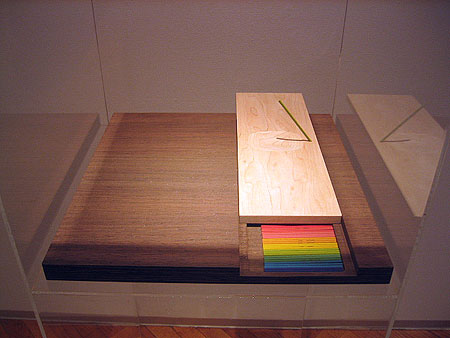
(By Ilkka Suppanen)

After seeing this incense design exhibit I *had* to find rainbow incense, cute holders, and well-designed incense packages~

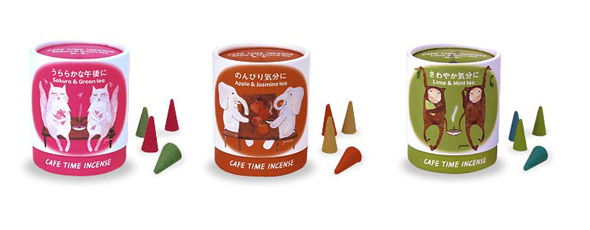
cafetime

Japanese incense comes in many shapes in sizes, sometimes with especially cute scents and packing like these Cafe Time incense sticks.

Incense Holders

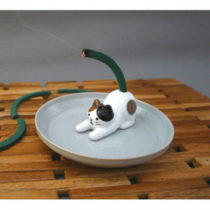
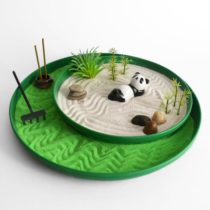
Now that you have some great incense to try you might want to purchase a cute handmade holder *or* make your own.

Bowl / Teacup Nab a cute bowl or teacup from the local antique shop or use your grandmother’s you’ve been saving in the attic. Fill it with sand, stick your incense in the bowl — add some to the middle or add in a circle around the center. Light and enjoy!

Holder These leave the most ashes but hopefully you’ll have this in an area where ashes can be easily cleaned up! Create a clay sculpture, be it a cupcake, mushroom or anything you like. Grab an incense and stick it into the (still wet) clay where you’d like your incense to be.. Move the incense around a bit to make the hole a little wider. Remove the incense and bake your holder (or let dry if it is no-bake clay).

Tray The typical wooden (or clay) tray is usually longer than the length of the incense stick, has a little ash dip in the middle and a hole on one of the ends for holding the incense. These generally leave ashes scattered also.

Plant That’s right, I often stick a lit stick right in a big, potted plant.
Crafts DIY

Lace for Your Jewelry: Resin Pendant Tutorial

11/15/2018

Resin can be a fun hobby or business for the crafty miseducated diva in all of us. The possibilities are endless, allow your creativity to run wild and create pieces that are quite unique and fun. With some initial prepping steps, you can suspend just about any material in resin.

In this basic tutorial I will be casting jewelry pieces with resin, but you can use resin for whatever else you would like to make like paperweights, coasters, soap dishes and many other things. There are even many different types of resin that can be used, for different types of desired uses.

I myself use a two part casting resin that is pretty user friendly. I am a novice at resin, just learning as I go and getting better each time. Its fun and I thought I would share some basic tips and give crafty divas something new to try…cause like me I know with all this creativity you have inside of you, you always want to try something new. So this is something for you gals who are aching for a new creative outlet.

I chose to cast fabric for the purpose of this tutorial. I have played with sprinkles, glitter, and candy before. So I thought I would try something new, so here goes….

resin

Supplies

  • Easy Cast Resin
  • 2 Plastic Cups
  • 2 Stir Sticks
  • Wax Paper
  • Paper Towels
  • Resin Molds
  • Fabric of choice
  • Mask
  • Gloves
  • Timer

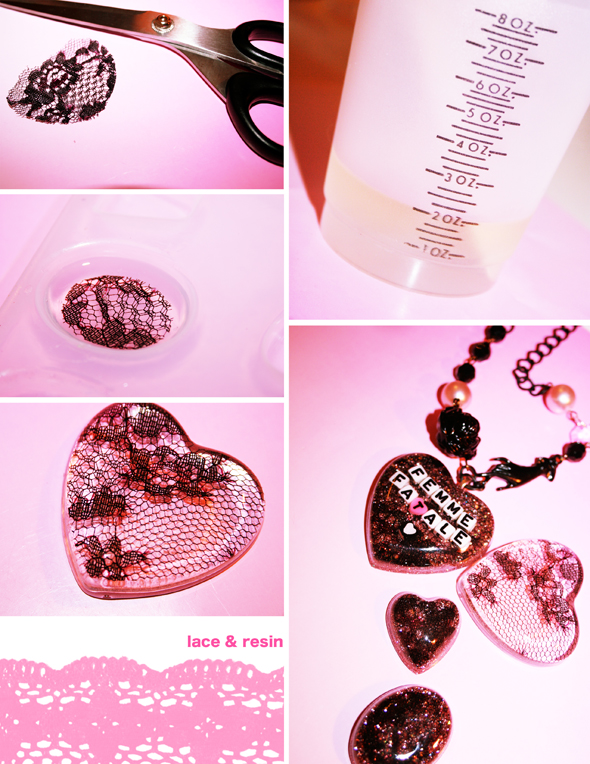
Before hand I prepped my pieces of fabric by cutting them a little smaller than mold shape, and sealed them off with mod podge, or you can use an acrylic sealer if desired.

Instructions

    1. Take a plastic cup and pour in 1 oz. of resin, then pour in 1oz. of the hardener in the same cup, so you end up with 2 oz. total. (Easy Cast has a ratio of 1:1)

    2. Take one of the stir sticks and gently mix the concoction, make sure not to whip as it causes air bubbles. Scrape the sides periodically and mix well for 2 minutes. The mixture will look cloudy at first but this will clear up after resin and hardener are mixed together thoroughly.

    3. Take this mixture and gently pour into your other clean plastic cup. Stir gently again for 1 minute this time. The mixture at this point should be clearer than before.

    4. Set mixture aside for 5 minutes, so the resin can self-degas. Take this time to clean up a bit and get your mold and fabric piece(s) ready.

    5. When ready, pour a little bit of resin into each mold, about a quarter full.

    6. Then place cut fabric, right side down into resin. You can use a toothpick to position and press fabric. This will also help remove any air pockets trapped underneath the fabric that can caused some bubbles.

    7. Then this is where you will need to practice some patience…let the piece(s) rest overnight or for several hours until cured. You can check if it is cured with a toothpick, this way no fingerprints will be left behind.

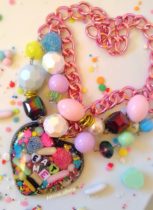
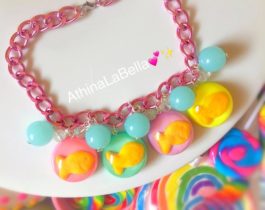
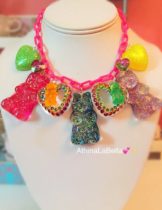
What I covered in this tutorial are the basics, but you can get more creative by adding different layers. Below are photos of some layer pieces I created, I hope you find them inspiring.

After your pendants are cured, you can jazz them up by drilling holes, adding jump rings, gluing on bails, posts, brooch settings, what ever you like, let your imagination run wild, its all up to you! Your end result will be beautiful and unique pieces.

A great source of reference and inspiration of mine is a book that I turned to when first approaching resin after multiple searches on Google, a book called “The Art of Resin Jewelry” by Sherri Haab. In this book she goes over in detail all different types of techniques with resin, like the so fun and yummy candy jewelry.

Athina’s Creations

See more in my shop here.

Originally published on 12/08/2009.

Crafts DIY Vlog

Artist Trading Cards DIY: Make and Collect

12/16/2014

Inspired by the many trading cards of the past, artist trading cards (often called ATCs) are another fun way to trade with a personal flair. I have a feeling that even non-proclaimed-artists should create ATCs — what a cool way to revive aged-pop cultures? I plan to attach bubblegum to mine so let me know if you’d like a bite~

The cards must be 2.5in by 3.5in or 64mm by 89mm (no exceptions ^^). They are also generally made as limited editions (it’s a time to relax and handmake something small and exclusive) and should probably contain your name, theme, contact information and anything else you’d like to include! If they’re part of a series you can also number them, ex. Moon Cats 3/6. It might be a cool idea to use different themes or criteria for each series to keep it fun~ challenge yourself and be creative!

Pattern

ATC envelope pattern.

Swaps & Collecting

ATCs For All Forums
Swap Bot
Altered Art Swap List
Etsy ACEOs

DIY Vlog

How to Start a Video Blog or Vlog

02/04/2014

I reworked this article from a couple of past articles because I decided to give “vlogging” another try!

There have been quite few awesome recommendations for the DO IT OURSELVES feature on Miseducated (suggest to us what you’d like us to both make and share the process of making) and so I decided I would try something I was asked about years ago.. mostly because I’m a bit shy/critical of myself and it’s VERY hard for me to force myself to make a video blog. I’ve done a couple through the years but I’ve deleted or never published most of them.

What I’ve been trying to do is to be as relaxed as I am when I’m writing.. as though I’m just hanging out with my friends and you’re coming along on the sugar trolly.

This first try is my new vlog introduction. It’s not perfect, it’s not even that great but I did check off my long list of basics such as finding a setting (key!), making the intro using an image and the custom theme (I got tired of the animation — maybe later) and having an idea of what I might say (but not scripted and slow!). I tried to put forth the basic tips I’ve collected throughout the internet years when creating this quick and dirty video show introduction. Stay tuned for both my notes and steps to try it yourself!

Notes

1. Theme Visual & Theme Song (or voiceover)
2. Introduction
3. Video Blog
4. End / Bloopers / Goodbye / Theme Close (with a cute animation??)
5. Credits (if needed)

Theme

What do you need to do this? Do you have any friends that compose original music? Can you use music that is free for public use? The possibilities are endless.

Video Editing

Again you can use and get creative with videos of public domain or grab your webcam and record some. You can settle for Quicktime Pro for quick and easy editing such as cutting, copying and pasting clips. If you’re interested in more advanced video editing software you should try Final Cut Pro~ for quick and easy editing I used iMovie.

Content

Of course this depends on what kind of video blog you’re making — if you’re interviewing a guest or featuring an event then obviously you would prepare questions and feature them as much as, if not more than, yourself.

AND if Miseducated has taught you anything it’s to pay attention to your mise-en-scene. Actually pay attention to what’s in the frame. If you’re filming in front of a pile of dirty laundry it probably wont have the same effect as in your local soda-shop or your cute office.

So if you want to start, read the following steps and join me in this fun medium of communication.

STEPS: Try it Yourself!

1. Watch a lot of video blogs.

Check out your friend’s blogs, their friend’s blogs, you favorite model’s blog and more. Surf around Flickr and Youtube and see how other’s carry out their video blogs. Pay attention to the content, length and format. Note what you like and don’t like about them.

2. Create the actual content.

Write down what you plan to talk about, keep it short and to the point so you can freely elaborate on video. Make sure you don’t look like you’re actually reading the notes to yourself; make it spontaneous but don’t get too lengthy. I think the best videos are short and sweet.

3. Practice makes perfect.

Practice in front of the camera. Take long videos, short videos, videos of you talking with your best friend, whatever video ideas you have practice them. Pay attention to how you present yourself in front of the camera and take notes. Re-record re-record re-record.

4. Post your video.

After following all the above steps you may or may not be ready to post your video. Post it anyway. We all have to start somewhere and that only leaves room for improvement.

Don’t worry about getting it right your first video. It will probably be too long, you’ll look like a huge dork, and the guys building a hotel next door will probably take the exact moment you’re recording to use their jackhammer. Whatever.” – Kontrary

Have you given it a try? Are you considering it now? Do you think we should further investigate this form of blogging?

Crafts DIY

Quilt an Easy Blythe Doll Duvet

11/15/2011
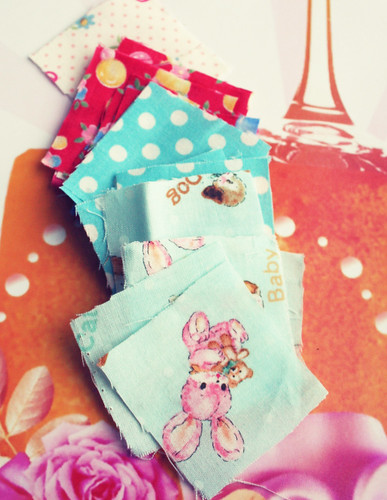
pile of squares

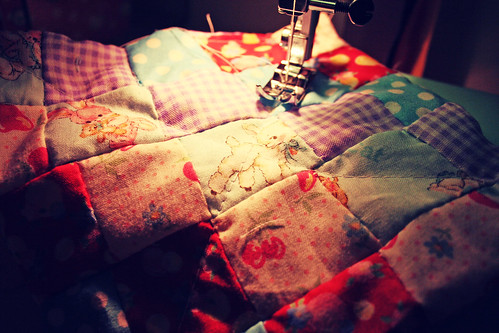
This is an easy charm quilt pattern for a beginner. I am COMPLETELY new to quilting. In fact this is my very first quilt so I’ll be learning along with you! Because I am so new I looked at a few patterns, one for a rag quilt, one for a charm quilt and one for a baby quilt, and altered them a bit for my Blythe-sized doll quilt. Remember this is a rag doll quilt so it’s not going to look pristine unless you are a seasoned quilter which I definitely am not. Also be sure to read to the end of this post for things learned upon making this. 😉

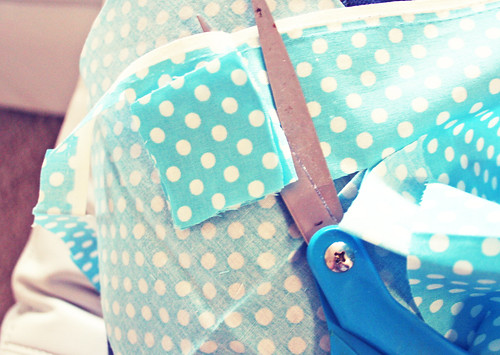
cutting the squares
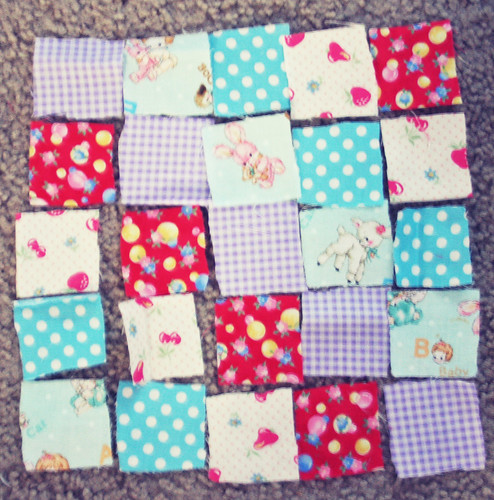
line them up (blurry!)

First cut out 25 1.5 inch wide squares of your chosen fabric(s) and lay them out as you would prefer them to look by your sewing area. If you want a rectangular quilt you’ll need to cut 5 rows of 8 squares = 40 squares.

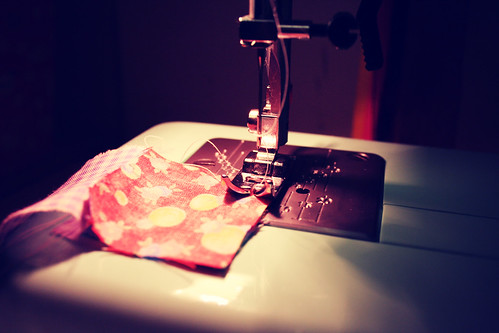
sewing charms
sewing messily

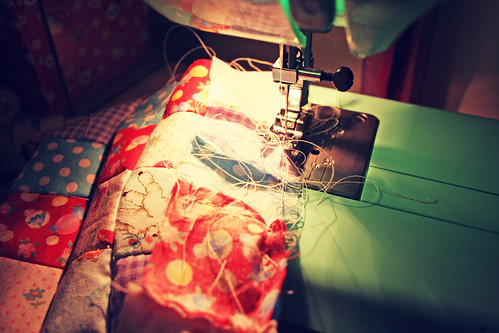
Next sew 5 rows of 5 squares each with a 1-2 cm seam allowance. After you’ve sewn all of your rows press them and sew them in numerical order to each other (see how messy I sew??).

Next cut out a thin piece of fabric in your desired pattern the size of your quilt and piece them off sides together if you’re quilt stitching. Quilt stitching is the part I don’t understand so after doing extensive research online I found out that there really is no easy way to do it. You can do it yourself or ask a quilter to help you out. You can find a pattern online and follow the pattern by hand or machine. I chose to skip it.

sewing

To give your quilt a more finished look you’ll want to bind the borders with fabric — or make it easy and use thick-ribbon. I’m also new at binding so I decided to skip it this time and sew my quilt to the other panel as though I was making a pillow. I put them right sides together and sewed around the edges leaving a small (2-3 inch) space. Then I turned the blanket right-side out and, because I am not a quilter, sewed a line from one corner to the other making a big X to keep the pieces together.

sew a doll quilt

Things I learned: Next time I’m going to make it 5 squares by 8 squares for a Blythe-bed sized quilt. I didn’t think about how small it would be getting upon sewing it, duh!

Crafts DIY

Acid Wash Your Own Clothes

08/05/2011

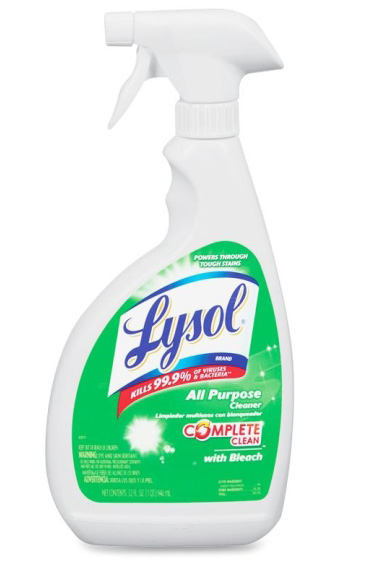
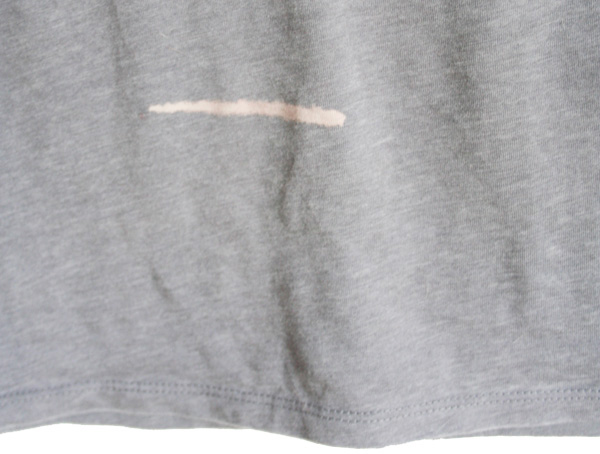
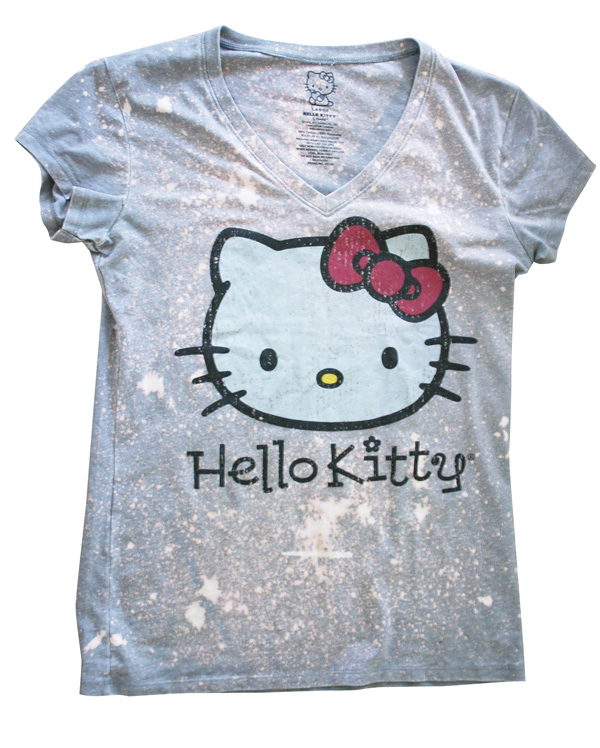
This started as a bit of an accident you see.. my husband unknowingly bought me a bleach cleaner recently. I’ve since accidentally bleached my new shirt and the carpet both while obsessively trying to clean our apartment. I got ready to trash the shirt and immediately wondered if there was some way I could salvage it…

All you need is a t-shirt (some other color besides white) and all-purpose spray-on bleach (or if you’re planning ahead use clorox in a spray-bottle).

First lay your t-shirt face up in the bath tub and give it a quick spray (with the bleach) all over; make sure to get some larger drops as well.

Turn the t-shirt over and spray the back in the same fashion.

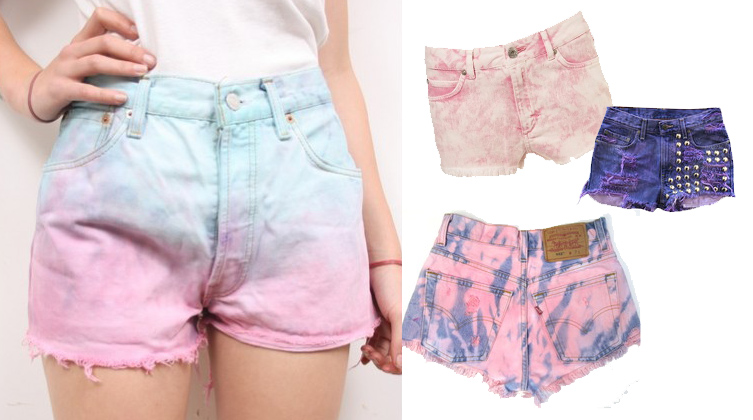
If you’re dipping it to give it a fade.. pour the bleach into a bucket, dip and hang on the shower curtain to dry.

It will take an hour or so to dry and fully change color but you should see it begin to change immediately.

Viola!
Now feel free to leave it this way or dye it but make sure you do wash it before wearing it!
Try this on other shirts, jeans and jean shorts for an 80s flashback look.


The damage.


Thanks to The Ragged Priest.
Crafts DIY

Upcycle Your Soda Pop Can: Ashtrays & Catch-Alls

04/08/2011

Smoking is a bad habit. It causes cancer and, if smoking indoors, can make you and your entire home smell like an ashtray. However if you’re still a smoker and have an occasional cocktail cigarette/cigar then why not decorate your dirty habit with this kitschy ashtray? Actually these don’t have to be used as ashtrays at all they can be catch-alls and candy dishes if you like!

Instructions


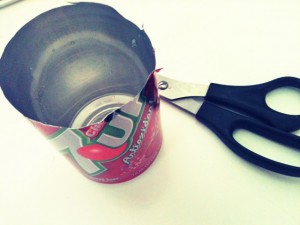
Gather scissors and rinse out a new soda pop can (old ones can be sticky!).


Cut the top of your can off — it doesn’t have to be perfect, these ends will be folded under.


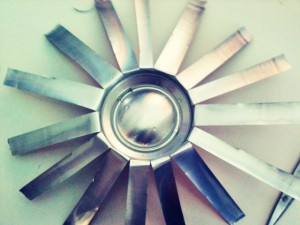
Cut the can into thin strips and fold them flat like a daisy.


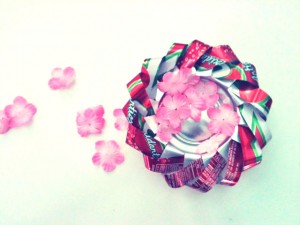
Turn the can upside down and wrap one strip left and around the one next to it (see photo).
Continue this all the way around the can.


Viola!

DIY

Add More Whimsy Into Your Life

03/17/2011

If you’re reading this blog you’ve probably already found lots of ways to include more whimsy into your lifestyle but here are a whole lot more. Most importantly you should enjoy every single day because every day is special. Find ways to make your days special and you have a key for more happiness.

1. Sprinkle your cocoa froth with stars sprinkles.
2. Hide sweet fortunes (found in cookies) in boxes, cabinets and drawers to be found throughout the day.
3. Adorn your walls in whimsical prints from Etsy and local art gatherings.
4. Use cherry icing as chap-stick.
5. Burn a fruity candle and a dessert candle at the same time but different areas of your living room. Feel free to include fizzypop fragrance oil in one room and vanilla in the other. Walk through your home and enjoy the candy aroumas, imagine you’re in a candy store or soda pop shop!
6. Purchase frames, paint them your favorite colors with acrylic and hang them on your walls filled with art and favorite posters and clippings.
7. Dip your finger into a container of cool whip and then stick it into your mouth. Yum!
8. Purchase some sand and a sunlamp.. place the sand in a container large enough for your feet and heat it with the lamp overhead. Feel the warm sand with your hands and stick your toes in it as well!
9. Don’t toss the sand! Add a bit of water and build a sand castle.
10. Tea party! Bake cupcakes, make small sandwiches cut-out with cookie cutters and brew your favorite tea. It doesn’t matter if no one else is able to come, enjoy your tea party! Have daily tea parties.
11. Take a bubble bath with candles and tea. Read in the bath. Relax.
12. Listen to Rockabye Baby Lullaby renditions of your favorite songs while you relax for a nap.
13. Sketch out ideas and images that cheer you up. Add color with pencils or paint. Start going with it and see where you end up.
14. Top your pancakes with ice-cream syrup topping and sprinkles for a cute and sweet dessert.
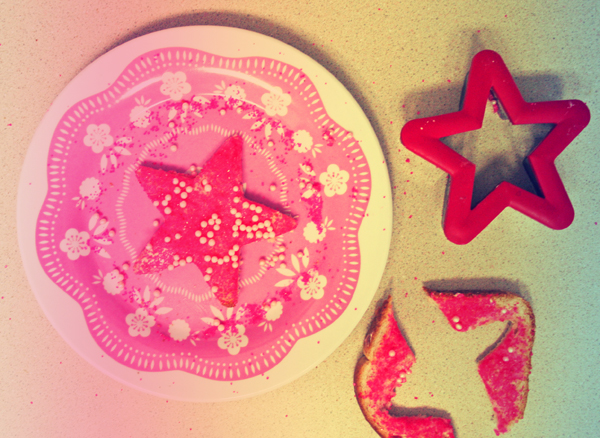
15. Turn your toast into fairy bread (see below).


Fairy Bread Recipe

  • Toast bread.
  • Spread lightly and evenly with butter.
  • Top heavily with sprinkles.
  • Cut into 4 triangles. (or use cookie cutters if you’re REALLY feeling whimsical!)
DIY

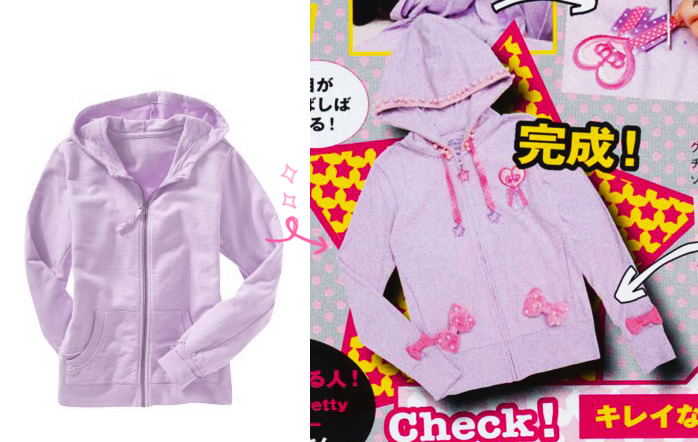
Create Your Own Angelic Pretty Hoodie

03/14/2011

I saw this in Kera magazine and thought it was so cute I just had to feature it. This tutorial also teaches you to create the perfect bow which can be used for just about anything!

Have an ordinary hoodie you want to transform from boring into cute couture?
I see these hoodies all the time at department stores for inexpensive prices and wish they had a little something more, why not just DIY?

Ribbon Tip

Tie the end of your ribbon to the end of your hoodie’s string after you cut the knot off and pull through.