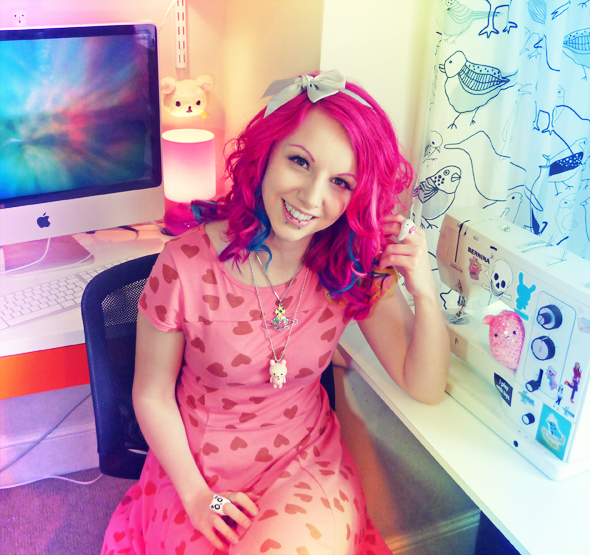
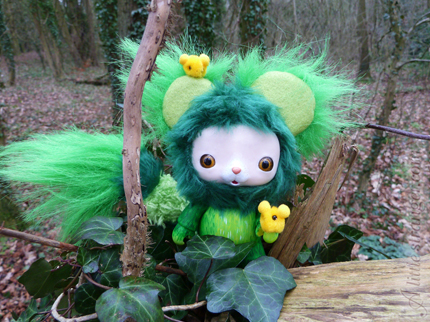
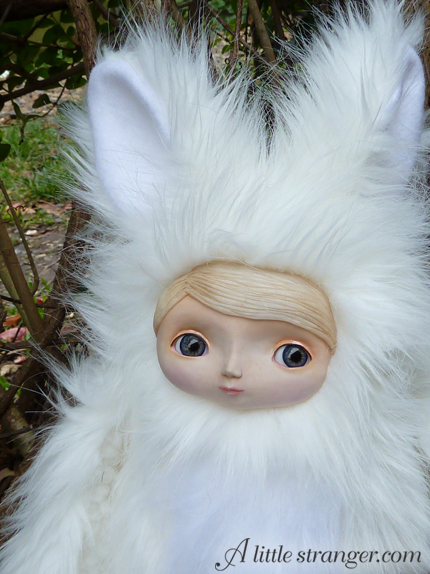
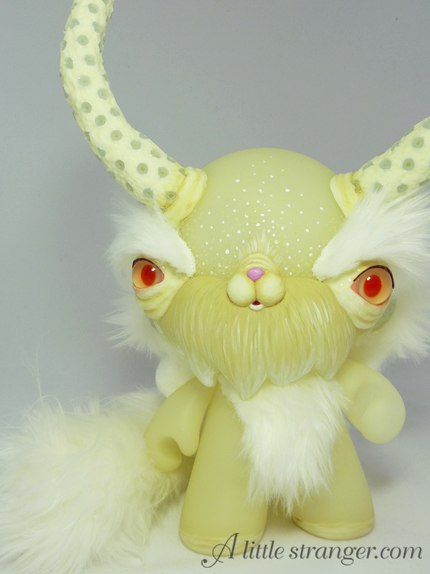
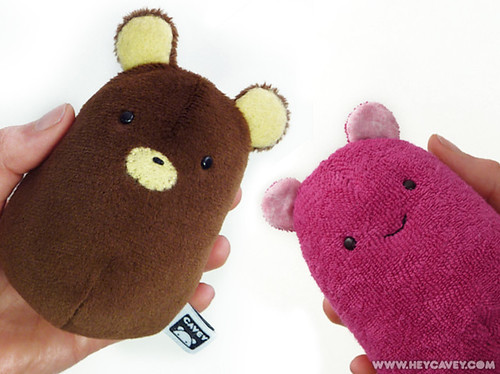
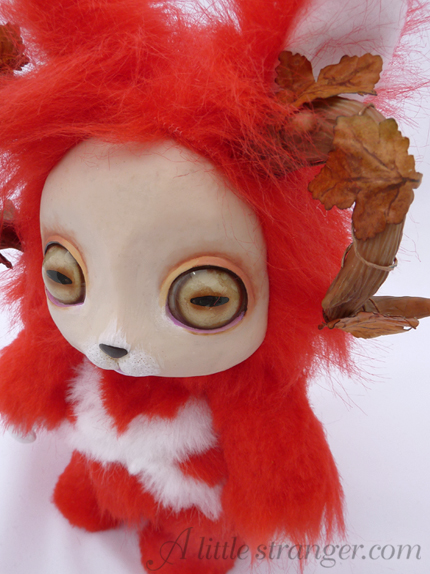
Holly is a remarkable artist. She and I were friends back in the old school days of Miseducated through LiveJournal. Because of this I’ve had the privilege of watching her work blossom from something beautifully eerie into something absolutely drop-dead stunning and magical. I had to feature her both because of her A Litte Stranger creations and because of the cutie Hey Cavey which is taking the plush scene by storm.
In fact we’re so smitten by Holly’s work and by her Cavey creature that we’re planning another giveaway this month especially for Cavey’s birthday! Stay tuned for the details!
Hello, Holly! First, let me ask you what is your passion?
Creating. I love learning new crafts and ways of creating things, and i’m always looking to find a new way to do something. I love the feeling of starting out a project not really knowing how its going to loo and seeing it evolve and morph into something I can be proud of.
How long have you been making toys and plushies?
I’ve been making stuff forever, but in a professional capacity for about 8 years.
When did you decide that this was your calling?
I kind of stumbled into the plush thing by accident, I studied model making at University, and took a job prototyping toys after I graduated. I’d always done sewing and made little toys in my spare time and run a small webshop selling plushes and doll clothes while I was at Uni. We did a lot of work on action men while I worked prototyping clothes and I convinced my boss to let me do the clothes and little parachutes and stuff and it all went from there. I’ve always just kind of made opportunities, and even now I don’t really know what’s around the corner, I just take things as they come. 🙂
When did Cavey come into play?
Just over a year ago, the idea came about all of a sudden and i started making these little prototypes out of scraps. I tried him long, thin, fat, with feet, paws, a tail etc eventually deciding he looked best super simple with just a little face.
What makes Cavey special? How is he different from other characters?
The idea behind Cavey was always that he appearance of the character was very simple, and was very personality driven. I like to keep him ambiguous, Cavey is neither a boy or a girl and he’s always called Cavey to let his new owner find a name for him if they choose.
Do you have creativity blocks?
Occasionally. (but thankfully not too often :))
If you don’t mind my asking, how do you remedy your creative blocks?
I’m a bit of a workaholic so when i’m struggling to see the woods for the trees, so to speak, I try and take a bit of time out and do something completely different for a while; go for a run, go out to eat with a friend, once I’m not so deeply into something I’m usually good to go again 😀
What inspires you most?
I’d have to say animals and pets. Fantasy films have always been a big influence on me, and the magical characters in them. And anything Jim Henson.
Holly’s Creations
