
Colorful projects that will inspire you to create.
The Chihuahua and Her Wardrobe
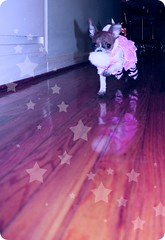
05/10/2009“ Hello, my name’s WANWAN and I’m a little deer chihuahua.
I find that only the cutest outfits make their way into my wardrobe and I absolutely adore prancing around and playing in them. My hair is quite short you see, I’m mostly bald! I get awfully shivery without anything on! Because of my bald little body, I also just love standing on the heat vent. Whenever it turns on I hear it and trot on over pretending I’m Marilyn Monroe. “
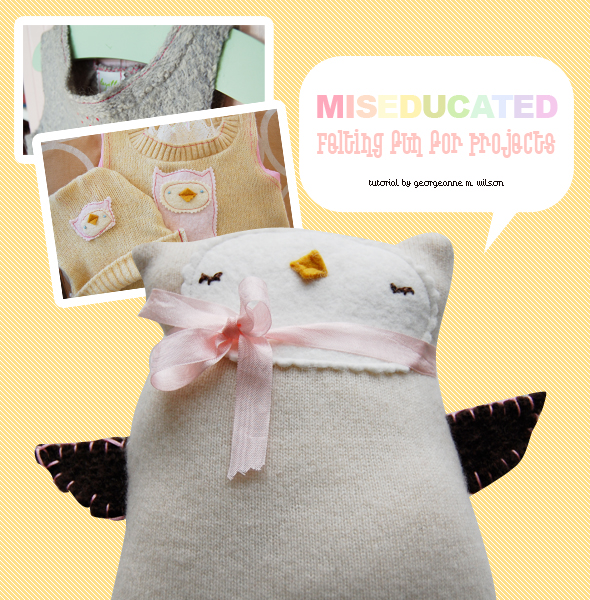
DIY
It’s getting a little chilly here in western-US so I’ve decided it’s time to whip out all of my fibers and create a little wardrobe for my Chihuahua. I’ve composed a pattern to create an easy coat for small dogs and also for cats (although my cat is a thick puffball). The front and mid section are attached by way of your choosing (buttons, snaps, velcro). You can also knit your little one a sweater. My own pattern is simply a small tube with arm holes due to my pup’s tiny size. The coats are so easy to customize! Change up your fabrics and liners, try embroidery, patches, buttons, yo-yos, bows and all sorts of cute. Thing of fun patterns, check a vintage book for inspiration! Fun coat themes include fall, daisy meadows, mushroom forests, snow, winter wonderlands, russia (nesting dolls?), snow bunnies, etc.
Wanwan’s Picks
 Modern Tails, The Pet Boutique, Trixie & Peanut, Calling All Dogs, Paw Palace, Pooch Online, Artful Pups, Chic Dog, Bella Claires, Paws on 5th,Doggie Clotheslines, The Ritzy Rover, Pool Pup, Bella Claires, Paws on 5th, Doggie Clothesline, The Ritzy Rover, Pool Pup, Funny Fur*, G.W. Little, Haute Dog Boutique, The Haute Hound, Ezra Dog
Doggy Tip
Dogs are a little bit stinky so it’s important to bathe then only in a special shampoo formulated for your dog’s skin. Myself, being the cat person I am found the dog’s natural scent very unappealing in the beginning. After a nice warm bath in her favorite shampoo, she smells like a coconut and as her own scent comes through I find it a sweet match. 😮 She uses an organic oatmeal shampoo for dogs and cats made with aloe, vitamin e and skin-softening nutrients I picked up at the local pet store. They have aisles of pet shampoos at all major pet stores — take a look!

