

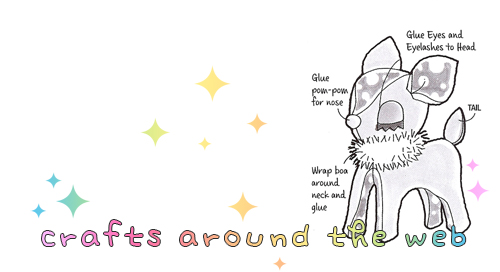
Here’s a sweet black lamb and bluebird to cuten up your crafts and collages. To download right click the image and load the link in a new window then save the image to your hard drive.
Here’s a sweet black lamb and bluebird to cuten up your crafts and collages. To download right click the image and load the link in a new window then save the image to your hard drive.
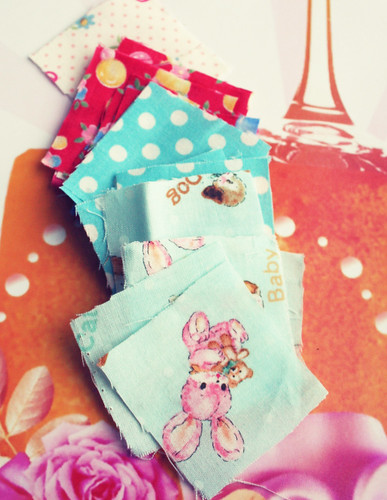
This is an easy charm quilt pattern for a beginner. I am COMPLETELY new to quilting. In fact this is my very first quilt so I’ll be learning along with you! Because I am so new I looked at a few patterns, one for a rag quilt, one for a charm quilt and one for a baby quilt, and altered them a bit for my Blythe-sized doll quilt. Remember this is a rag doll quilt so it’s not going to look pristine unless you are a seasoned quilter which I definitely am not. Also be sure to read to the end of this post for things learned upon making this. 😉
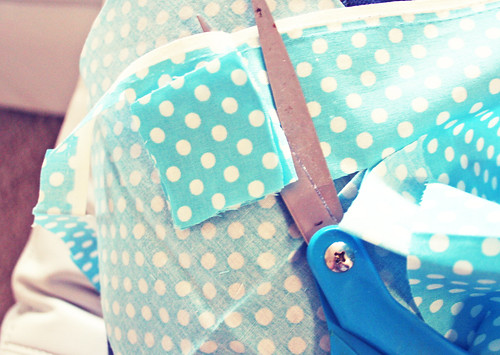
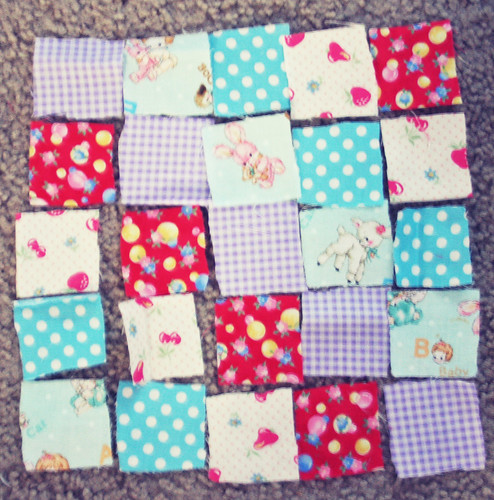
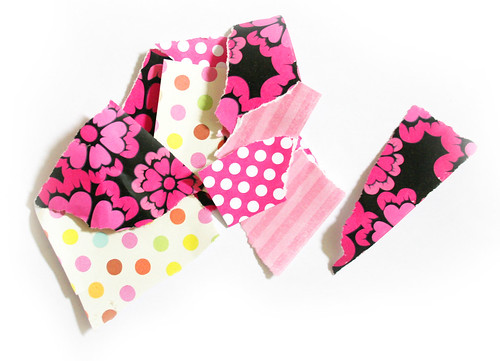
First cut out 25 1.5 inch wide squares of your chosen fabric(s) and lay them out as you would prefer them to look by your sewing area. If you want a rectangular quilt you’ll need to cut 5 rows of 8 squares = 40 squares.
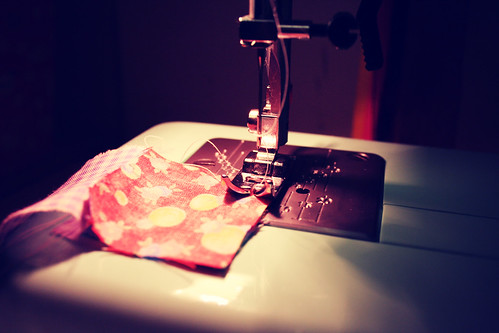
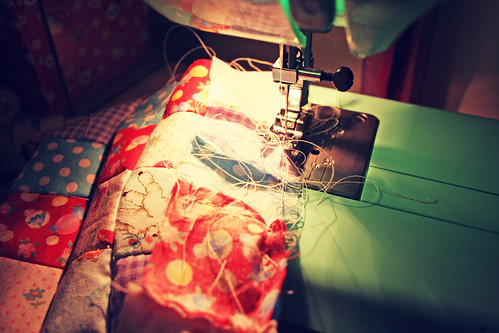
Next sew 5 rows of 5 squares each with a 1-2 cm seam allowance. After you’ve sewn all of your rows press them and sew them in numerical order to each other (see how messy I sew??).
Next cut out a thin piece of fabric in your desired pattern the size of your quilt and piece them off sides together if you’re quilt stitching. Quilt stitching is the part I don’t understand so after doing extensive research online I found out that there really is no easy way to do it. You can do it yourself or ask a quilter to help you out. You can find a pattern online and follow the pattern by hand or machine. I chose to skip it.
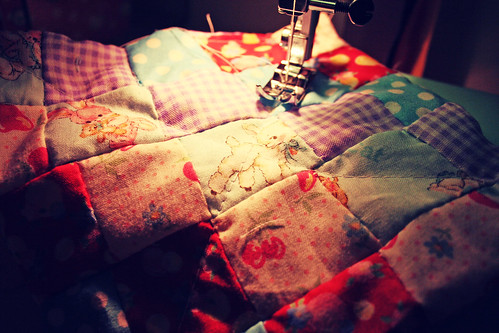
To give your quilt a more finished look you’ll want to bind the borders with fabric — or make it easy and use thick-ribbon. I’m also new at binding so I decided to skip it this time and sew my quilt to the other panel as though I was making a pillow. I put them right sides together and sewed around the edges leaving a small (2-3 inch) space. Then I turned the blanket right-side out and, because I am not a quilter, sewed a line from one corner to the other making a big X to keep the pieces together.
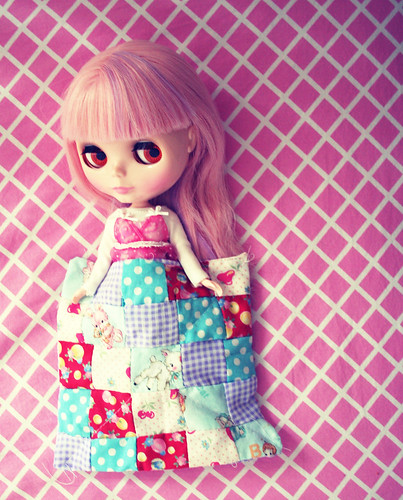
Things I learned: Next time I’m going to make it 5 squares by 8 squares for a Blythe-bed sized quilt. I didn’t think about how small it would be getting upon sewing it, duh!
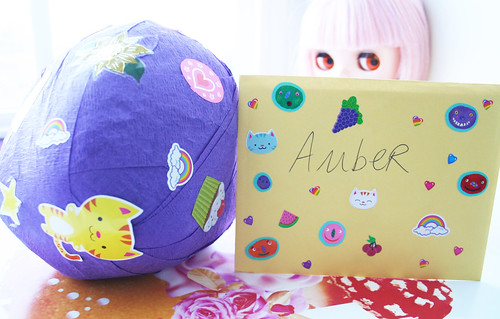
Remember my post about surprise balls? How I promised to post a tutorial soon and a feature on the ball I recieved? Well this is that tutorial and feature! I even got the chance to host the surprise ball swap this time around which has made me so inspired and excited! I just love swapping these things! If you’d like to buy one I also have them in my shop! I told you I was surprise ball crazy!
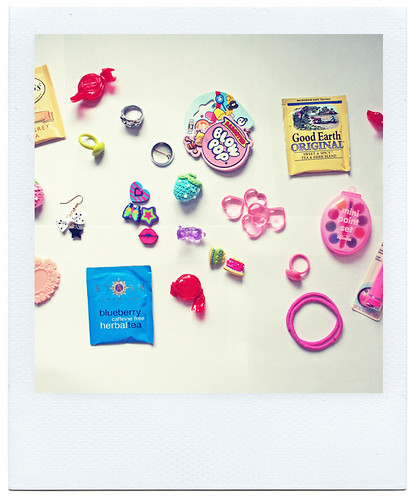
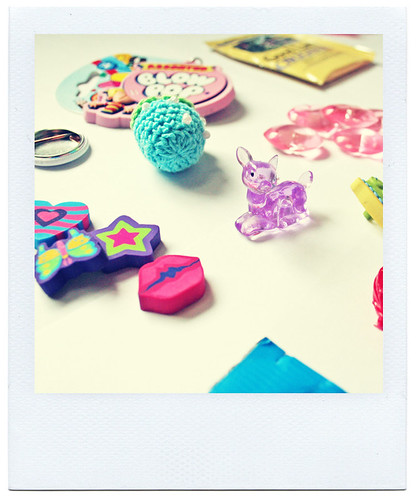
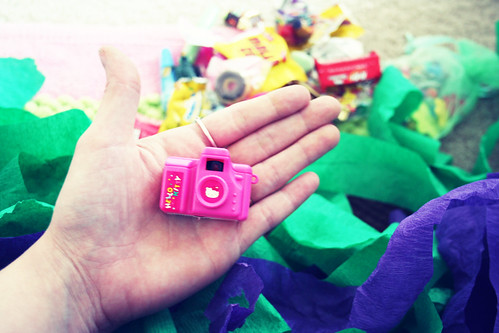
Collecting the gifts is almost as much fun as making the ball! If you’re making it for someone be sure to include things they like. Some ideas of what to include: candy, small toys, jewelry, stickers, memo pads, erasers, rubber stamps, ink pads, glitter, craft supplies, tea, keychains, beads, charms, small tubes of glitter glue, etc.
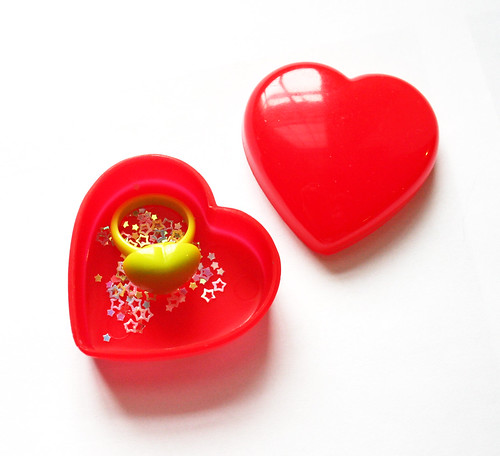
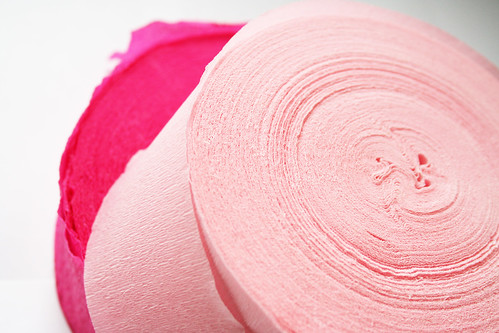
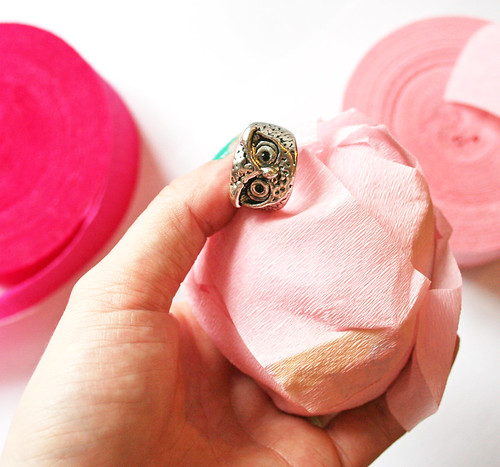
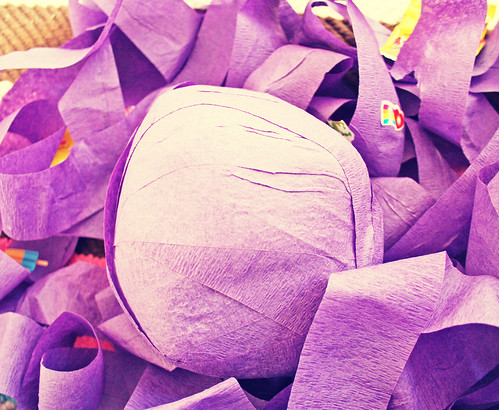
Start with your plastic capsule or small box and fill it with one of the gifts. Then wrap the crepe paper around it until it’s covered.
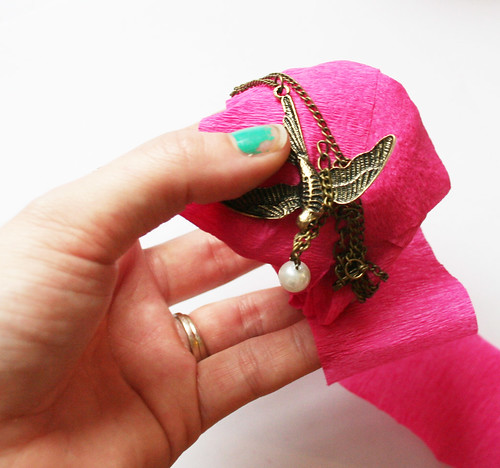
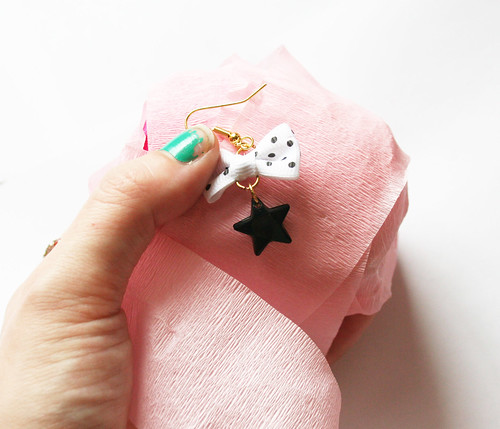
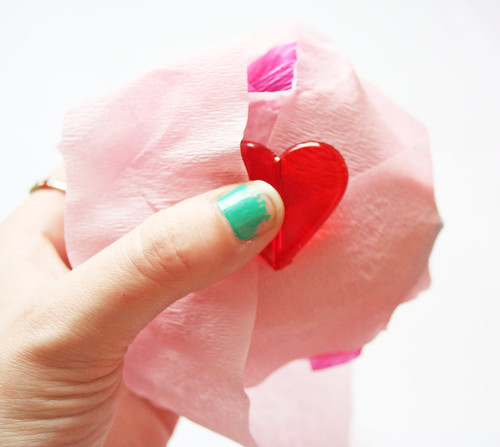
Next add another surprise and wrap it up. Make sure you keep wrapping a bit after each gift so that they don’t fall out too fast!
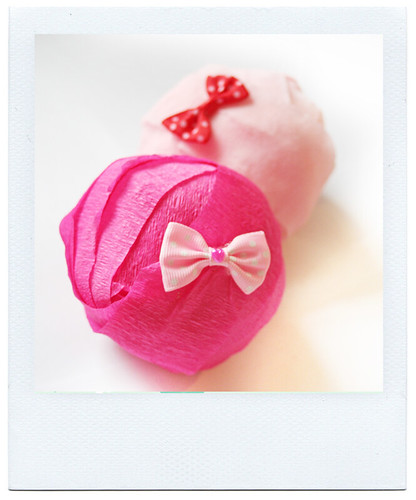
Continue adding surprises and wrapping them up until the ball is finished then tape the end down and top with a cute sticker or label.
Now.. as if it wasn’t enough fun to *make* these I actually received one as well (from the original swap). I was so excited about opening this rainbow-covered ball that I giggled the whole time as candy and kawaii gifts fell into my lap. This ball was extremely large and took quite a long time to unwrap! My partner is a surprise ball pro! Thank you so much!

That’s right, I said decoPATCH not decoupage! If you’d like to know the difference between the two, this article is a great place to start.
I decided for this article I would need something around the house that needed a makeover so I found a natural wooden frame, a table worn on the top and an empty cocoa tin.
If you want you can use actual decopatch paper, glue and sealant but I did this with things I had around the house.

First I collected torn pieces of paper that sort of followed a theme. My theme was kitschy-sweet as usual. Too excited but nervous to start with the table I decided to start with some junk I had saved, a cigarette box and an ATC-sized (2.5 x 3.5 inches) card. I used the same thin paper for each that I had torn into small and medium-sized pieces. Then I covered my box/card in Mod Podge (glue) (I know there’s decopatch glue and varnish but I’m a Mod Podge addict.) and smoothed down the strips of paper. Last I covered the paper in a layer of Mod Podge (varnish) and let it dry. How easy was that?
Next it was time to try my luck on the tin. I tore out assorted pieces of paper this time and followed the same instructions above. Now I have a kawaii place to keep tea, coffee and small things.

Stay tuned for next time when I’ll be decopatching a frame and table with decopatch paper from France.
Today I scanned cute flower girl for you to use to your heart’s content in craft and collage. To download right click the image and load the link in a new window then save the image to your hard drive.

I have such a collection of vintage, kitschy goodies that I thought I would start sharing them with you. You can use these to make your own collages, ATCs and whatever else floats your rainbow sail boat! Please enjoy and stay tuned for more goodies.
Today’s freebie is a vintage kitty cat with a yellow bow and rose. So cute!
To download right click the image and load the link in a new window then save the image to your hard drive.


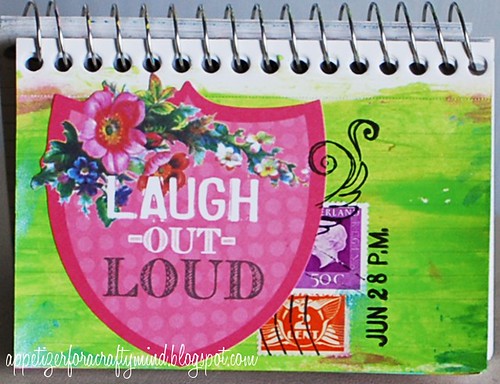
I really adore art journals, ATCs (artist trading cards) and decorated mail. Don’t you? I love the time and effort that goes into creating them and the mixed-media collaging that tends to take place. I’m kind of new to the scene, I have to admit, and I was never much of a scrapbooker so I figured a great creativity challenge for myself would be to start an art journal.
Why don’t you start one with me? (If you already have one start a new one, we’ll be doing more spreads in the future.)
First off, if you don’t have a journal (I needed a new one) you’ll need to get one. Composition notebooks work great and they’re inexpensive. I’m using a small Moleskin because I like to do things small-scale. If you have an old notebook lying around with some old notes that you don’t need anymore feel free to use it. You can always cover the notes with paint, marker, paper and decorations.
You’ll also need to prepare the pages beforehand with gesso, glue sticks or rubber cement and maybe some Mod Podge to paint the page with when you’re finished?
Let’s start the journal off with a self-portrait or representation of you, your name and 5 things you love (this is to inspire your decorations!). For this spread you’ll need to cut out photos of things you love either via magazines or your printer, to find patterns on scrapbook paper and fabric that you like and a colorful selection of paint/markers/pens.
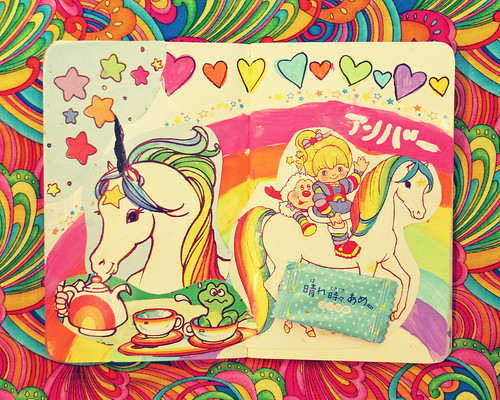
My list of 5 things I love was coffee/tea, hearts, stars, unicorns and Japanese candy. I am represented as Rainbow Brite because my brother wanted to name me that when I was born. Also, my name is in Katakana because once upon a time I left my heart in Japan.
How did yours turn out? Please email it to us so I can post it here.
If you’re interested in learning more about Non-Digital Art Journaling there’s a great article to get you started here and an AMAZING ecourse I just found out about (and that I really must participate in) here — looks like a great class to get your inspiration juices flowing and to learn a lot about yourself!
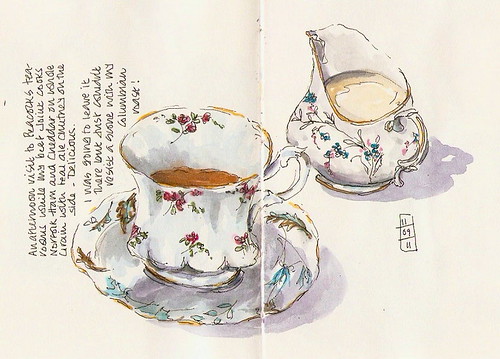
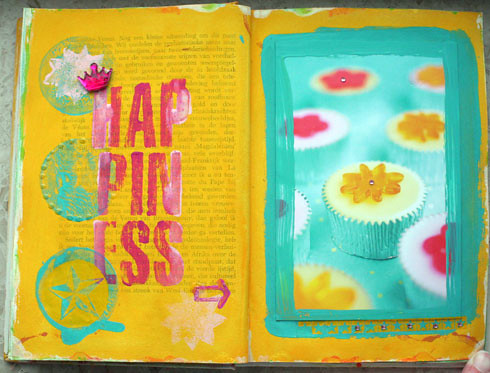
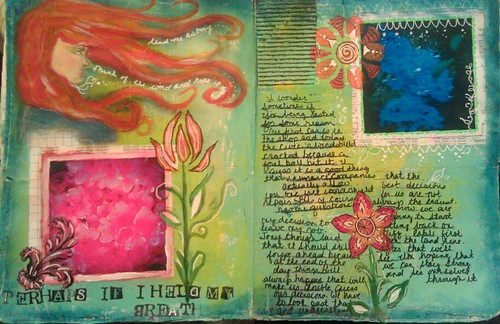
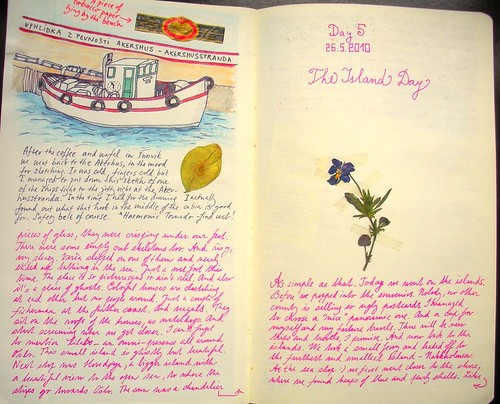
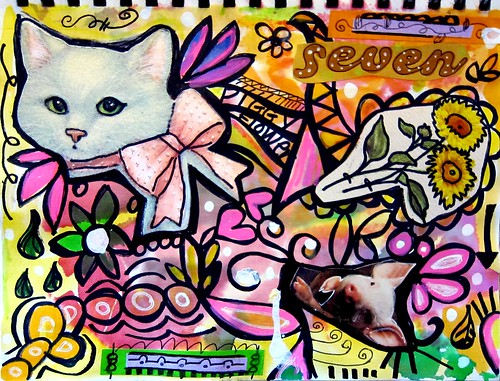
Here are some gorgeous journal pages I found while surfing Flickr to get you inspired.

Don’t you love to swap gifts with friends? What could be better than receiving a surprise picked out especially for you in person or by snail mail?
With Swap Bot you can swap just about anything you can imagine! If it exists, there’s probably a swap for it. The most popular swaps include artist trading cards (ATCs) and postcards but there is no limit to what you may find!
This is probably one of my favorite little gift ideas — how cute! Learn how to make them at not martha, poppytalk and seesaw. Don’t feel like making them? You can buy some adorable ones at TOPS Malibu.
With all of this cuteness I’ve joined a surprise ball swap and am going to get my supplies tomorrow to make my own. I have a lot of crepe paper left over from Colette’s birthday so I just need some extra surprises! Want to join in the swap with me?
I’ll make a post about how to make surprise balls following the swap.. I don’t want to give away the surprises inside in case my swap partner finds my blog!
Update: I was so inspired by these surprise balls that I made some Miseducated Surprise Balls for the shop.


Why hello! Here’s some photos of me being a dork and messing around with the hookah. I love lemonade flavored shisha! Yum! It inspires me to set up mini-photoshoots filled with nonsense.
A lot of things are changing… Things at Miseducated and personal things. They’re all exciting changes though, don’t worry. In a few months I’ll have more news for you; right now everything’s really cloudy.
Keep writing/drawing is the best advice I’ve ever recieved. That’s a lot of what I’ve been doing. Working and writing and playing with Colette. She’s so hilarious and she keeps me on my feet. Actually she makes it quite hard to focus on work most of the time. I have to get better at delegating time!
Today we had our first finger painting session. How exciting! Colette figured out right away how to put your finger in the paint and then to put it on the paper. She must have had a lot of fun because it wasn’t very long after this that she decided to take a nap. You would think I’d get a lot of work done while she’s asleep but it always just makes me so bored that I want to take a nap with her. Haha!
Do you have any questions that you don’t feel like asking on formspring? Just email us or reply to this post. I’m always happy to help in any way that I can. We’ve also finally been catching up on emails so if you’ve already sent one you’ll soon be getting a reply!