Browsing Tag

pudding

Design Your Life

Confessions of a Confection Obsession

10/20/2009

Everyone loves sweets right? But how long do those sweets last?

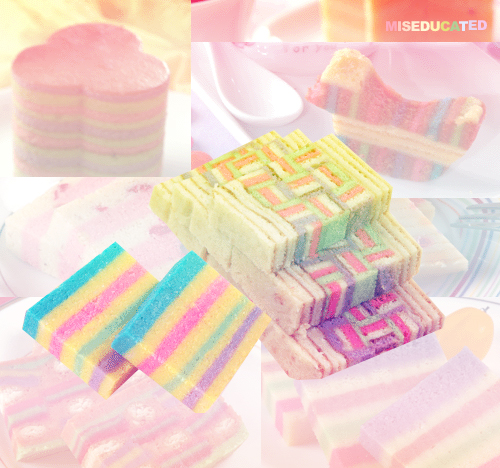
Well, I have stumbled upon a little secret to make them stylish, cute, and last forever; perfect for the sweet lover in all of us. Sprinkles, cupcakes, candies, and chocolates are so yummy, and look almost too good to eat. So now you can accessorize yourself with them and let the whole world know about your confection obsession. With all the colors, the textures, and the sugary goodness, who can resist? I know I cannot, so my inspiration is to make something that looks sweet enough to eat, and cute enough to wear.

IMG_8565

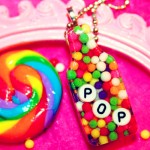
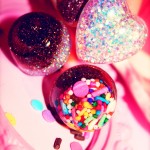
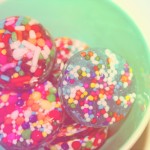
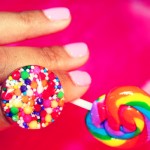
My sweet goodies are kitschy art pieces of sweet eye candy. Mix together some sprinkles, glitter, crystals, and cast in clear or colored resin, and then you are good to go like the sweet diva you are! These yummy treats are made to be rings, necklaces, bracelets, earrings, pins, and everything, to make a scene.

These are the sweets that won’t go bad, won’t give us cavities, or even the calories. These are accessories we can put on to make us smile and feel happy. My goodies, can remind us of the fun times we had when we were just kiddies. Like the birthday parties we went to, the ice cream shops we visited, and the treats we’d get when we were good little boys and girls. These times are often forgotten in the fast paced life a lot of us live. These were the simpler times in our life, filled with childhood dreams, rainbows, and sweets along the way,

So you too can go back to that place and live out your childhood dreams, or just relive them and have fun. I hope my pieces can take you back to that place. One of my favorite childhood pastimes were playing with jewelry and dressing up, and here I am today living that dream. This is what keeps me going, I love what I do and have fun doing it. This is my chance, a chance to love and be with my family, while I live out my passion to create. It is all I ever wanted, and I going for it.

If you should take anything from this piece, I hope you take with you the love and inspiration to live out your dreams. This is the very thing that will keep you going and not want to stop. It makes living that much more worth living. It is wonderful when you love what you do, and get to share it with the world. It makes living that much more sweeter ;o) and soo miseducated!!!

DIY Recipes

Make a Colorful Malaysian Layer Cake

11/22/2008

These lovely cakes are created with intricate layers of alternate color, flavor and texture. The name, which is Malaysian, translates to layer cakes. These cakes are not always sweet and many times have very creative flavor combinations.

The bases of these cakes are usually made from rice flour, glutinous rice flour, tapioca flour and green bean flour. These flours give the cakes a firm pudding-like texture.

If you do take the Kueh Lapis feat and bake a layer cake, please submit a photo and it will be added here~

Kueh Lapis

Instructions

1. Boil 225ml coconut milk with sugar & pandan leave until sugar dissolves
2. Separate mixture into two portions
3. Add red coloring to one portion
4. Pour a thin layer of batter into aluminium tray and steam till set
5. Pour into a bamboo steamer
6. Alternate the colors and steam until batter almost finished
7. When last layer is to be poured in, add a little more coloring into batter to give it a deep red color, pour this over as the last layer and steam

Cake

160g rice flour
20g green bean flour (lek tau hoon)
150ml water

Syrup

190g powdered sugar
300ml water
2-3 pandan leaves (if none, green food coloring)
250ml thick coconut milk
1/4 tsp salt
A few drops red coloring

Method

Combine sugar, water and pandan leaves (food coloring) in a saucepan. Bring to a boil to dissolve the sugar. Strain and set aside to cool.

Put rice flour and green bean flour into a large mixing bowl. Pour in water gradually and leave aside to soak for 40–45 minutes.

Add coconut milk and salt to the rice flour and mix well. Stir in syrup. Strain the batter to ensure it is free from lumps.

Divide batter into two. Leave half a portion white and add coloring to the other half.

Place a greased 20cm tray in the steamer and heat up for 4–5 minutes. Pour half cup of the white batter on the heated tray.

Cover and steam over medium heat for 5–6 minutes or until set.

Pour half cup of the pink batter over the white layer and steam covered for 5 minutes.

Repeat the procedure, alternating white and pink batter until all the batter is used up.

To the very last layer add a little more color to make it a deeper shade of pink.

After the final layer is set, steam the kuih for a further 12–15 minutes. Halfway through open the lid to release the steam, then cover again until the end of the steaming process.

Serve

Make sure the kuih lapis cools completely before attempting to cut (will break apart if cut when warm); cut into diamond shapes.