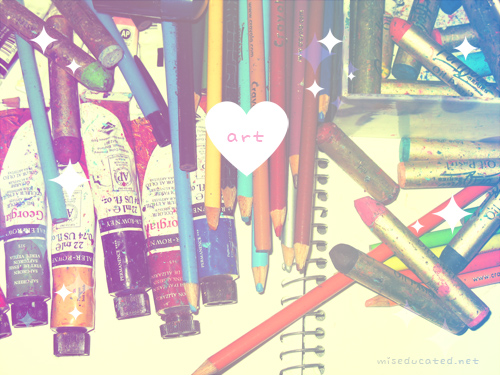
Sometimes getting your hands (your clothes, your surroundings…) messy and covered with a rainbow of colors is part of the art/crafting experience. I’ve gotten pretty familiar with several different mediums and I’ll give you a little run-down of why I love them and how I use them. If you haven’t used some of these before, I hope I can inspire you to try them! Note: I’m not an art expert, just a lover.
Oil Paints
Creamy, dreamy, vivid. I love working with oils because you can do so much blending (they dry slooowwly) and the colors are so rich. In school, we got to stretch and prime our own canvases ourselves. You can go to the art store and buy a canvas all ready to go, but you can get some satisfaction out of doing it all yourself. The only thing I didn’t like was the fact that you have to use turpentine to thin them and get the paint off of your brushes (it smells), but its a small price to pay.
Watercolor Paints
Of course, the first kind of paint I ever used. They aren’t just for kids though, as you can do so many different tricks with them! Since you can re-wet the paint once it is dry, you can blend existing colors. If you want to layer different colors without disturbing the layer underneath, you can use the next kind of paint on the list…
Acrylic Paints
I’m a big fan of acrylics. You can use them to paint many other things besides canvases. I’ve used them to customize wooden boxes, journals, jewelry, and I’ve painted wall murals with them. They dry very quickly and once they are dry, you can’t re-wet them like watercolors.
Oil Pastels
Messy, bright and beautifully blendable! These may be my favorite of all to work with. I keep some wet wipes handy to clean my fingers if I’m going from a dark color to a light color. I also like to use an in-between color to blend two other colors together. Blending them with my fingers is a lot of fun and makes me feel like I have even more control over the colors.
Colored pencils
They can do a lot in the way of blending, if you vary the pressure, use strokes in different angles and layer the colors gradually. The kind of paper you use will also determine how your picture looks. I like using paper with a smoother “tooth” (roughness), but if you like the gritty, textured look, a rougher tooth is the way to go. The more rough the paper, the more your colors with stick and, consequently, the sooner you will need to sharpen your pencils. Make sure your paper is acid-free so your artwork lasts longer!
