Browsing Tag

sew

Crafts DIY

Quilt an Easy Blythe Doll Duvet

11/15/2011
pile of squares

This is an easy charm quilt pattern for a beginner. I am COMPLETELY new to quilting. In fact this is my very first quilt so I’ll be learning along with you! Because I am so new I looked at a few patterns, one for a rag quilt, one for a charm quilt and one for a baby quilt, and altered them a bit for my Blythe-sized doll quilt. Remember this is a rag doll quilt so it’s not going to look pristine unless you are a seasoned quilter which I definitely am not. Also be sure to read to the end of this post for things learned upon making this. 😉

cutting the squares
line them up (blurry!)

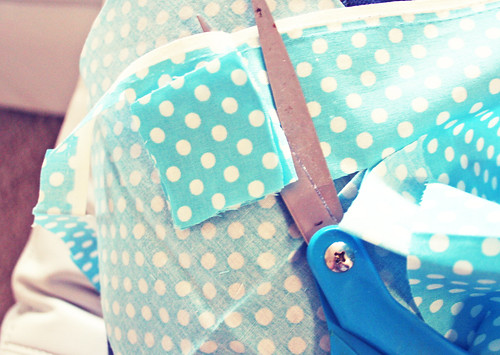
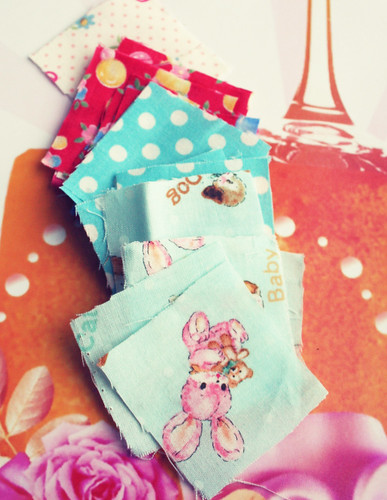
First cut out 25 1.5 inch wide squares of your chosen fabric(s) and lay them out as you would prefer them to look by your sewing area. If you want a rectangular quilt you’ll need to cut 5 rows of 8 squares = 40 squares.

sewing charms
sewing messily

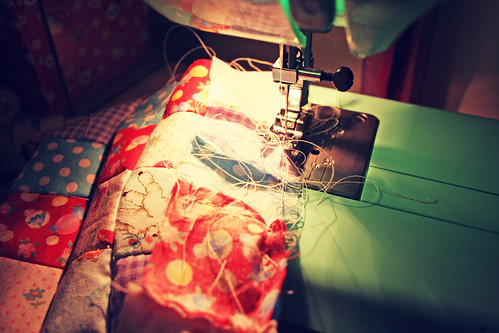
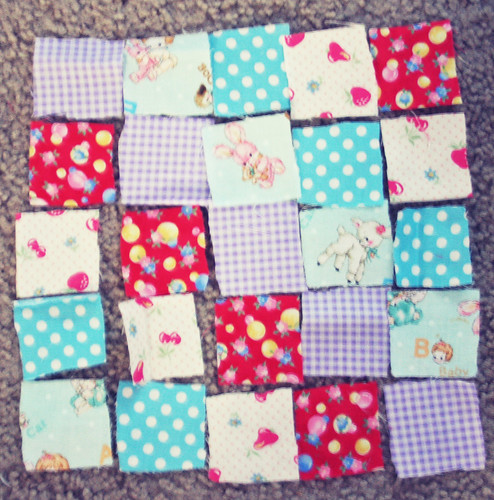
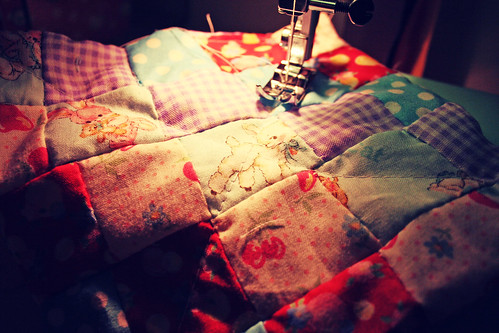
Next sew 5 rows of 5 squares each with a 1-2 cm seam allowance. After you’ve sewn all of your rows press them and sew them in numerical order to each other (see how messy I sew??).

Next cut out a thin piece of fabric in your desired pattern the size of your quilt and piece them off sides together if you’re quilt stitching. Quilt stitching is the part I don’t understand so after doing extensive research online I found out that there really is no easy way to do it. You can do it yourself or ask a quilter to help you out. You can find a pattern online and follow the pattern by hand or machine. I chose to skip it.

sewing

To give your quilt a more finished look you’ll want to bind the borders with fabric — or make it easy and use thick-ribbon. I’m also new at binding so I decided to skip it this time and sew my quilt to the other panel as though I was making a pillow. I put them right sides together and sewed around the edges leaving a small (2-3 inch) space. Then I turned the blanket right-side out and, because I am not a quilter, sewed a line from one corner to the other making a big X to keep the pieces together.

sew a doll quilt

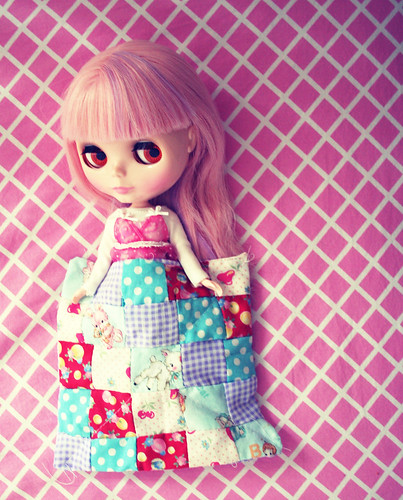
Things I learned: Next time I’m going to make it 5 squares by 8 squares for a Blythe-bed sized quilt. I didn’t think about how small it would be getting upon sewing it, duh!

Crafts DIY

How to Repair a Dress with Heart

02/26/2010

So, you were lounging around in a comfy dress and ran right into your incense? You went out dancing and your best friends cigarette went missing for a second? It happens!

Luckily there are always cute ways to snazz up a boring dress or to repair a fallen dress. Mine is a lounge dress I got for my pregnant-belly, but you could use any number of dresses.

A simple method, and the one shown in the tutorial here, is to cut shapes out of a contrasting color iron-on-patch and iron it on.

repair

Other great replacements would be pompons, sequins, embroidery, cute beads or handmade patches! Make your own patch by cutting favorite designs out of tshirts or painting a blank iron-on patch. The possibilities are endless if you have the creativity. I can’t wait to see how you use this method!

Self Decoration

Miseducated is Pretty and Pregnant

12/13/2009

Sometimes it’s hard to feel sexy when your formerly flat stomach is starting to sport the ever-decadent ‘pot belly.’ Your clothes, once so important, slowly become useless, way-too-tight and obstructive.

What’s a girl to do?

Pregnant princesses are taking the cuteness cake (and eating it too!) with their blossoming bellies and beauty. Gone are the days when maternity wear was scary — these days women have about as many options as they want.. and if one of a kind pieces are what you’re looking for you already know you can check etsy and ebay ala our maternity finds post. Maybe you’ll even get inspired to break out the sewing machine and create your own maternity wear?

happiest girl in the world my new bump

Maternity Patterns

Create or alter your own maternity clothes.
Alter What you Have
Hip Skirts
Burda Style (beautiful and easily alterable patterns)
Vintage Maternity Patterns

Pregnant Princesses

I didn’t take any of these photos — I just obsessively collected them in search for cute pregnancy styles.

Crafts DIY

Create an Owl to be your Pal

09/24/2009

So you want to create a ‘fuggly’ owl to be your pal? Though yours doesn’t have to be fuggly, that’s just the way I sew! (hehe)

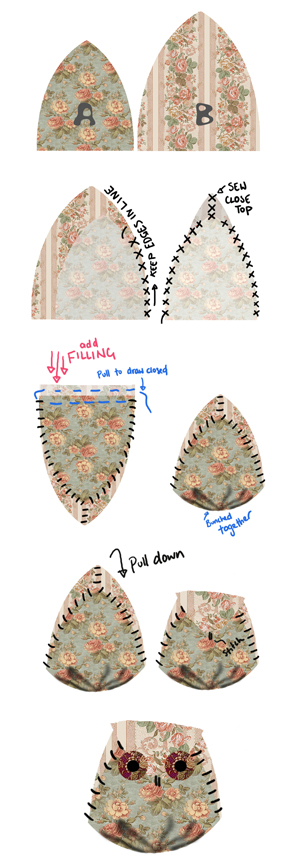
1. Cut out two triangles (one small one, one bigger one) with slightly curved edges as seen.

note: it’s not an exact science, so you may like to experiment with longer, shorter, wider, thinner, curvier triangles.

2. Face the fabric inwards and sew up one side. As you sew, pull the two fabric edges so that they are together. There will be a gap where the ‘A’ triangle ends. Continue sewing up along the side of B triangle, then back down along the other side.

3. Sew around the bottom opening so that you can pull on the thread and draw the bottom closed like a drawstring bag. Fill it with filling and pull the bottom closed.

note: I use grain but wool or polyester stuffing is also good. Do not fill it up too much!

4. Fold the top down and secure it. This makes the beak.

note: This is why you don’t want to fill it too much because you wont be able to pull the beak far down, though some people like very small beaks. If so then fill it up lots!

5. Add eyes.

note: Beads work well. Fabric has a tendency to fray when cut too small. Don’t learn this the hard way!