Browsing Tag

recipe

Design Your Life

Staycation: Create a Hotel At Home During Coronavirus Season

03/15/2020

Does the COVID-19 Coronavirus social distancing have you down about missing your spring break vacation or plans?

Bring them to you.

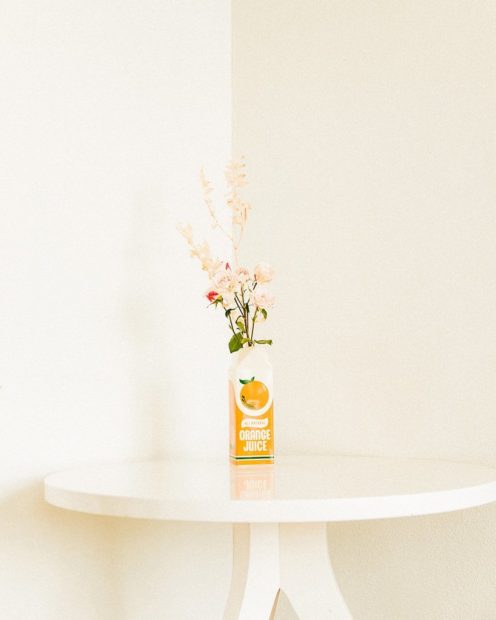
Decorate. And please bring some flowers in and have a tray of muffins in the kitchen for a bed and breakfast feel. Or have a tray of special snacks on your coffee table and decorate your living room like a motel. You can also pretend your living room hotel is anywhere: the beach, Disney World, France, space, Japan, decorate it accordingly.

Get these coasters and more at bando.
Beverly Hills Hotel Pillow By Floral Inferno

There must be a limit to how much Netflix and snacks a person can handle, which are reasons we all can enjoy a few fun activities to make our staycation even more splendid (and memorable).

This article is about actually blocking out a few days or a week of time to “be on vacation” at home. It’s not a list of things to do on regular days of social distancing.

1. Splurge on Meals

Often times when we’re on vacation we eat meals out but on this staycation we may need to order in if places are looking too busy. Look up your favorite restaurants on DoorDash or UberEats and order dinner or takeout.

You could also make a cooking date night and subscribe to Hello Fresh or Marly and Spoon for the week you plan your vacation.

Orange Juice vase from bando.

2. Host a Fancy Cocktail Party Or Themed Gathering for Housemates

Your vacation at home is probably one of the best times to have a fancy gathering with your best friends or family members. Why not go all out and make a whole decadent meal?

If you’re worried about this being a lot of work on your end, try a pot luck and invite others to help prep.
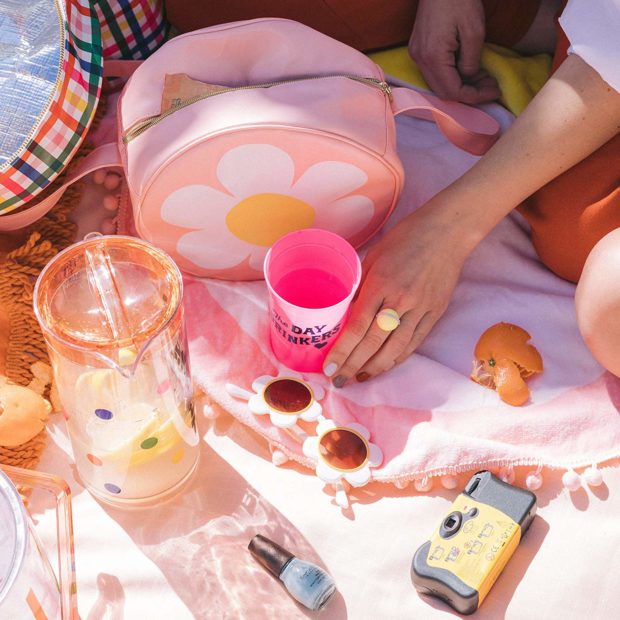
3. Be a Tourist

Most staycations are a great time to act like a tourist and go on an adventure exploring your hometown. If you are having your staycation during the period (now) of distance restrictions it would be best to go to the forest, nature parks, walks around non-crowded areas, etc. Pack a picnic, enjoy your time, take everything in. You may find new favorite spots!

Picnic in your own backyard, the forest, a meadow.

4. Break out the Games

Grab some cards or board games and sit at a table inside or outside and play. If you live alone, download a card game app (Uno, Exploding Kittens), or play a board game online. They even have board games on most gaming consoles. Play a few different types of games, nostalgic games that you’ve been missing or didn’t even know you liked!

5. Make Your Own Spa Day

Create your own Spa Day and make sure you have some epsom salts, essential oils, and candles. Treat yourself to a bubble bath with a cold glass of champagne or green tea and a book. Try a face mask. Exfoliate.

After your bath, turn the shower on hot and fill the room with steam. Breathe deep and relax.

If you’re living with someone you feel comfortable asking, ask to swap massages.

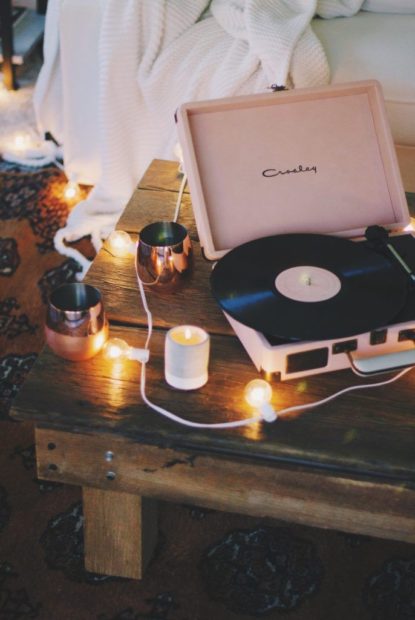
6. Get in the Holiday Spirit

Pretend it’s Christmas for a day and that you’re snowed in. Make hot chocolate, light some candles, decorate cookies. Cut snowflakes out of a few squares of white paper. Sing Christmas carols and watch a Christmas movie on tv. You could even have a holiday-staycation where each day is a holiday theme: New Year, Halloween (ex: swap the hot cocoa with cider, bob for apples, wear costumes, watch scary movies, spooky); Valentine’s day (make valentines and cookies, make strawberry sodas with strawberry ice cream, sprite and strawberry jam, hearts); Easter/Spring (hide eggs with either scavenger hunt notes OR treats, boil eggs and dye with food coloring, pastel colors)

Drinks and doodles while listening to records?

7. Camp In Your Backyard

Want to go camping but don’t want to be in a campground? Do it in your own backyard! You also have access to necessities and snacks. And bathrooms. Make a fire pit and roast marshmallows. Tell spooky stories. Count the stars.

Lounge outside and make it an event.

8. Go For a Crawl

If the travel restrictions lift, get together with a friend or your partner and explore your city by going on a crawl. Choose a theme for your crawl such as sampling the best tacos, donuts, beer, or pizza.

If you’re stuck inside, try a bunch of the candy, chips or teas in your house and rate them.

9. Get your DIY on

Try to learn to do a new craft or project you’ve been wanting to do. Make it a group effort and invite everyone over to work on the same type of project such as knitting, cooking, painting, even digital creations (laptop party!).

You could also plan to learn to do a project together such as friendship bracelets, painting wine glasses, making dream catchers, creating vision boards, etc.

10. Take an Online Class

Have something you’ve had on your to-do list to learn for quite awhile? Something you’ve been wanting to learn, do, create, or experience? There are all sorts of classes online where you can join with others and achieve your goals right from the comfort of your own bed!

A few great places to try:

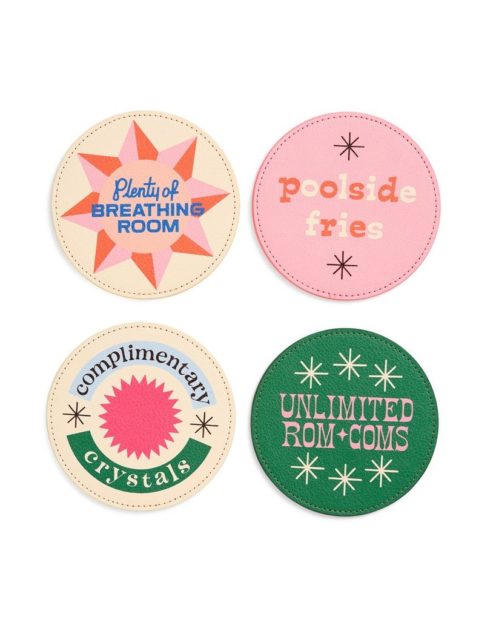
“Vacation is a state of mind – you don’t have to actually leave your house to get that same relaxed, never-leaving-this-room-again feeling you get in a hotel room. These products will help you recreate that feeling, whether you’re on your way to paradise or bringing paradise to you.”

ban.do?
DIY Recipes

How to Make and Enjoy Bubble (Boba) Tea

11/27/2019

Bubble tea/boba tea, is usually a milk tea drink with tapioca pearls sitting on the bottom, waiting to be slurped up a large, colorful straw. Bubble tea originated in Taiwan in the 1980s, pearl milk tea is the direct translation from Chinese. Thanks to Taiwan, bubble tea is now available all over the world.

Know of a great bubble tea spot? Post it! There are three I know of in the Indy-area. Strange Brew, a cafe in Greenwood, serves bubble tea as well as a Vietnamese restaurant in downtown Indy and a fast-food Chinese stand in the Washington Square Mall. If you know of any spots in your neighborhood you should list them, bubble tea is a fun, tasty drink that should be shared with friends.

bubble tea feature

Bubbles

The ratio should be about 7:1 (water to tapioca pearls).
Boil water in a large saucepan.
Add tapioca pearls to boiling water.
The pearls should float.
Continue boiling for about 25 minutes (depending on the tapioca pearl type) covered.
Add some sugar to the water so they absorb the sweetness but make sure it doesn’t burn!
Turn off the heat and let the pearls cool.
Rinse the cooked tapioca pearls in warm water and drain out the water.
Cover with syrup and add some to your favorite drink.

Syrup

1 cup white sugar
1 cup brown sugar
2 cups water

Mix sugar and water in a large pot.
Cook at medium to high heat.
Once the mixture boils remove from stove immediately.
Let cool; to be used for bubble tea and similarly sweetened drinks.

Rainbowlicious Bubble Tea

1/2 cup strawberries
1/2 cup pineapple
1/2 cup rice milk
1/4 cup syrup
1 cup ice
2 cups of cooked tapioca pearls

Place all ingredients minus the tapioca pearls into a blender and blend well.
Blend it to desired consistency.
In the a glass, pour some cooled bubbles.
Pour your blended smoothie on top.
Cover the top of the smoothie with strawberry slices and pineapple chunks.

* I had this piled high like and covered in strawberries and pineapples at the E-Zone cafe in Toronto with my best friend. Too bad the cafe has since closed and I have never found anywhere even comparable!

Iced Bubble Coffee

1/4 cup non-dairy powder creamer
1/4 cup bubble tea sugar syrup
3/4 cup desired strength coffee (cool)
1 cup ice
2 cups of cooked tapioca pearls

Put coffee, creamer, and bubble tea sugar syrup in a shaker and mix well.
Add ice, cover shaker and shake until blended and frothy.
Add tapioca pearls into your desired glass, pour the coffee on top and enjoy!

➡ No bubbles? Try coconut meat or a thick-set flavored gelatin for substitutes!

Show Your Bubble Tea Love

This *LIMITED* hard enamel lapel pin is so tasty I want to eat it. It is a magical strawberry bubble milk tea fresh from Miseducated Bubble Tea Bar! My first bubble tea was in 2003 in Toronto and I immediately fell in love. When I lived in Japan I delighted in bubble shaved ice at any opportunity. It’s a texture thing! If you also love the tapioca pearl bobas and the tasty teas then you can show your love with this super kawaii tea pin!

DIY

Create Your Own Incense & Magical Clouds

08/17/2019

Incense, you either love it or you hate it. That’s what I’ve found in being a lifelong pusher of it!

“Hey, you don’t mind if I burn incense do you?”

Often met with a casual eye-roll or possibly a sure and then, can I put this out? It seems a person either appreciates the presence of it in their home or they despise it because of the sheer invasiveness of the smokey scent. Many times powerfully strong, incense can leave your environment highly fragrant in a matter of minutes.

The process of making herbal incense without the use of salt peter, or even charcoal is actually quite easy. However, perfecting the art is another matter. Perhaps the easiest way is by using a binder commonly called Makko. Makko not only serves as a water soluble binder, but as a burning agent as well. Makko is a natural tree bark from an evergreen tree and contains no synthetic chemicals, charcoal, or salt peter.

Incense began use as an instrument in spiritual practices. With the killer scent it packed in such a small size, it also became a hit with hippies and homeowners everywhere. If you can appreciate the presence of lemony-sweet sodapop in your home, or more commonly a woody-spicy fragrance, you’re definitely a contender for incense!

Now, you can buy incense for pretty cheap just about anywhere that sells fragrant candles. If you can’t find it in your area you’re in luck because there’s an even bigger selection online! Be sure to gaze at the carnival of delicious, handmade incense scents on etsy and imagine the sheer wonder of your home or studio being transported to a fragrant fantasy land!

… but if you wanted absolute control over the fragrance you could make your own as well.

DIY Incense

Now, it sounds very easy to create your own incense but the trick is mixing the ingredients correctly so that you get a nice, even burn. Your incense might be too smokey, might not burn properly and could keep going out prematurely.

To begin making your incense (this is the Japanese way), mix an incense base with makko (incense powder), and add some warm water. When using a resin your incense will become more difficult to burn. Therefor you should use resins, like Frankensense, at much lower percentages as the burning agents (makko and sandalwood).

“Sandalwood is common to almost every incense formula, and serves as a wonderful base aroma as well as a burning agent of its own right. If you were making an incense of sandalwood alone, the amount of makko required may be a little as 10%.”

Mix the ingredients into a dough-consistency and knead it thoroughly. Form into cones or sticks (form sticks around bamboo reeds) and Knead the incense-dough thoroughly and form into cones or sticks. Allow them to dry slowly, about a week. Check them to see if they’re dry and enjoy your new incense.

In-SCENTS

My favorite part about candles and incense is the *aroma*, like most people I adore a waft of delicious fragrance to pass by me while working at my desk. It’s a shame you can’t have them in cubicles! It definitely would have lightened the atmosphere in the slightest way. Especially when there happens to be a microwave area in your office.

Don’t use cheap oils — they can irritate the skin and the aroma can provide no benefit.

You can combine your favorite oils to create aromatherapy benefits *or* just to delight your nose.

Incen-spiration

Ehehe.. my favorite part of blogging has always been the eye candy.

lisn_to_finland_5
(By Ilkka Suppanen)

After seeing this incense design exhibit I *had* to find rainbow incense, cute holders, and well-designed incense packages~

cafetime

Japanese incense comes in many shapes in sizes, sometimes with especially cute scents and packing like these Cafe Time incense sticks.

Incense Holders

Now that you have some great incense to try you might want to purchase a cute handmade holder *or* make your own.

Bowl / Teacup Nab a cute bowl or teacup from the local antique shop or use your grandmother’s you’ve been saving in the attic. Fill it with sand, stick your incense in the bowl — add some to the middle or add in a circle around the center. Light and enjoy!

Holder These leave the most ashes but hopefully you’ll have this in an area where ashes can be easily cleaned up! Create a clay sculpture, be it a cupcake, mushroom or anything you like. Grab an incense and stick it into the (still wet) clay where you’d like your incense to be.. Move the incense around a bit to make the hole a little wider. Remove the incense and bake your holder (or let dry if it is no-bake clay).

Tray The typical wooden (or clay) tray is usually longer than the length of the incense stick, has a little ash dip in the middle and a hole on one of the ends for holding the incense. These generally leave ashes scattered also.

Plant That’s right, I often stick a lit stick right in a big, potted plant.

His & Hers Vlog

His & Hers: The Gingerbread Show-Off: Make a Gingerbread House

12/28/2014

his and hers

Recently I went outside to find a gift bag on my sidewalk filled with graham crackers, handmade icing, gumdrops and assorted candies. It was a surprise from my neighbor, Becky, who is the sweetest ever to even think of such a thing after I had only leant her my mixer. A few weeks prior I made gingerbread houses with the children and so I decided I would ask David to have a gingerbread house making date with me! He, who had never even attempted such a thing and had been pretty anti-holiday decor and kitsch until this year, turned on the Christmas carols and we had a blast. As you can see, he cannot do anything half-way so he made quite a house.. show-off..

David has happily found that holiday kitsch is lovely and he even got the Christmas tree out this year before Thanksgiving after repeatedly telling me not until closer to Christmas. Wee! He says I’ve shown him another side of Christmas that is filled with fun and magic and I couldn’t be more grateful. That is one of my ultimate goals in life spreading magic and whimsical kitschery that induces smiles and heart expansion!

So yes I made a silly video vlog to go along with the gingerbread house making date! I hope your holiday was also filled with laughter and magic! xo

DIY Recipes

King Rabbit Carrot Cupcakes & Frosting

10/09/2014

Yesterday (Oct 8th) was my best friend and soul mate David’s 40th birthday so guess what I decided to do? Use the frozen carrot mush we had leftover from juicing earlier and make him some birthday cupcakes! He told me I had hoarded way too much carrot mush and would never use it and so VIOLA I’m going to make it delicious. Our family name means land of the rabbits so what better way to celebrate his life than with CARROTS!? I know.. there really isn’t one. This recipe is catered to him but you could substitute all sorts of things such as adding crushed walnuts, raisins, etc.

HAPPY BIRTHDAY, LOVE!

King Rabbit Carrot Cupcakes

  • 1 1/3 cups flour
  • 1 teaspoon baking soda
  • 1/4 teaspoon salt
  • 1 teaspoon ground cinnamon
  • 1/2 cup butterscotch chips
  • 2 large eggs
  • 2/3 cup granulated white sugar
  • 2/3 cup melted coconut oil
  • 1/2 teaspoon vanilla extract
  • 2/3 cup grated apples
  • 1 1/3 cups grated raw carrots
  • Queen Bunny’s Cream Cheese Frosting

  • 1/4 cup butter
  • 4 ounces cream cheese
  • 2 1/4 cups confectioners sugar
  • 1/2 teaspoon vanilla extract
  • King Rabbit Carrot Cupcakes

    Preheat oven to 350 degrees F and grease 12 muffin cups or fill 12 muffin cups with paper liners.

    Combine all ingredients in a bowl and mix. I like to use my clean hands so that I permeate my heart into whatever I’m making and I can feel that everything is adequately mixes. This is how I make all baked goods, bread, desserts, etc. Love it or leave it.

    Evenly fill the greased muffin cups or muffin liners and bake at 350 degrees for around 18-22 minutes. Check around 18 minutes depending on how quickly your oven bakes, your tins etc. I like to check early as opposed to cooking things too dry. If a toothpick inserted into the center comes out clean then remove the muffin tins and let cool before frosting.

    Queen Bunny’s Cream Cheese Frosting

    In a bowl use your mixer to beat the butter and cream cheese until very smooth and creamy while slowly adding the powdered sugar and vanilla until smooth. Pipe the frosting on the top of the tops of the cupcakes. For quick piping I like to add the icing to a ziplock with the corner cut off and pipe on top of the cupcakes.

    happybirthday

    DIY Recipes

    How to Create Your Own Signature Smoothie

    06/03/2013


    Smoothies have been all the rage for many years now and healthy smoothies are only becoming more appreciated in this drink/dessert niche. Upon staying with my best friend in California and having her craft the tastiest protein smoothies for lunch and then moving in with my health-conscious soul mate and watching him prepare his own green smoothies I started to really appreciate the craft and every unique technique. Fruit or vegetables? Protein powder or vitamin powder? Honey or sugar? Ice cubes or frozen fruit? Milk, water or tea? So I decided it would be fun to discuss the basic craft of the smoothie and all of the ways you can change it up to fit your own specialized taste so that you too will have a signature smoothie recipe! I’ll even throw in my own go-to smoothie recipe at the end.

    First you need to have a blender or a food processor. I use a blender at home but have tried both.

    Next you’ll probably want to select some fruit which will likely be one of the main parts of your smoothie. Use fresh (if so you’ll later add some ice cubes) or frozen, one fruit or several. Have fun blending your fruit and creating new favorite flavors.

    Fruity ideas: Mangos, strawberries, blueberries, raspberries, blackberries, bananas, apples, kiwi, avocados, pomegranates, oranges, watermelon and pineapple.

    Next you’ll want to select a liquid or semi-liquid to add so you can blend your smoothie. There are obvious ideas and some creative ideas to create a more unique smoothie.

    Liquid ideas: Milk, soy milk, rice milk, almond milk, coconut milk, coconut water, greek yogurt, tea, fruit juice, ice cream, sherbet, frozen yogurt, sparkling water or water.

    Next you may choose to add protein or extra vitamins to your smoothie by using any number of protein powders or vitamin powders. We have a few here that are chocolate and vanilla flavored that adds a bit of sweetness and more vitamins to the smoothie making it more like a meal.

    Next you may want to add some greens or vegetables to your smoothie to add some more healthy benefits. Some greens, such as spinach, don’t change the flavor and contain more nutrients. Others to try are kale, carrots, celery, beet root or green powder made from an array of green plants. When using veggies be sure to blend alone with water to make sure your smoothie is smooth and not like a cold vegetable soup.

    You can add a sweetener to your smoothie if you feel it will not be as sweet as you would prefer. Try ripe bananas, sugar, honey, agave nectar or, if you must, artificial sweeteners. For me the vanilla protein powders or vitamin powders sweeten the smoothie enough.

    To change the taste of your smoothie you can also add different flavor enhancements such as vanilla extract, almond extract, cinnamon, cayenne pepper, nutmeg, salt, coconut shavings, peanut butter, nutella, chocolate syrup and any number of extracts and flavorings you may have or prefer.

    When everything is in the blender add a few ice cubes on top. I like my smoothies to be really smooth and icey almost like a smooth sherbet but some just use frozen fruit.

    It’s time to mix the ingredients together and create your smoothie! Put the lid on the blender and turn it on medium until the blender starts to smoothen the ingredients then slowly turn it up one notch at a time. Start slow and let the blender work the ingredients for a minute until they are as smooth as you would like and pour into a glass. If you’d like to garnish your smoothie use slices of fruit, skewers of fruit, loose berries, a wedge of citrus fruit, a sprig of mint, flat-leaf parsley, a few leaves of lemon verbena or even a little umbrella. If you’re feeling in a bubble tea mood try to add some BOBA or small jellies to your glass before you add your blended smoothie and garnish with a wide smoothie straw.


    My Own Recipe

    Add these ingredients to the blender as noted, blend and enjoy!

    • Fresh spinach leaves (blend with cup of water until smooth)
    • Ice (as needed, might need to add more water to blend)
    • Mango chunks
    • Pineapple chunks
    • Apple chunks
    • Strawberry slices
    • Scoop of vanilla vitamin powder (may substitute protein powder)
    • If you like add boba to the smoothie glass and pour in your smoothie after it has been blended smoothly and enjoy with a wide straw!
    Recipes

    Delicious Starbucks Drink Recipe

    05/06/2011

    First of all let me start of by introducing myself. My name is Angee Maree, a 27 year old girl who resides in Ohio. I’ve been doing Interactive Media Design for over 10 years and not only is it my job, but a passion of mine. I’m also a photographer, guitarist, singer/songwriter, avid gamer and mother. I started talking to Amber about Miseducated on AiM and how much I loved the site, and we instantly clicked. She is such an amazing person and I’m thankful she let me be a part of Miseducated! I intend on posting a lot of DiY things, whether it be craft items or photoshop tutorials. I also love to make wallpapers, backgrounds, avatars, gradients, brushes etc! So you can probably expect a lot of online resources from me! Okay let’s get onto the actual post!

    Do you like Captain Crunch Cereal? (Some say this delicious drink from starbucks also tastes like strawberry shortcake!) Well if you do, why not try it in a delicious drink from Starbucks?! Just ask for this the next time you stop in Starbucks, it is defiantly my favorite thing to order from there!

    Starbucks Recipe

    For ordering.
    Strawberry frappuccino + 1 pump toffee nut

    Tip: Do NOT get more than one pump in a tall… you will regret it! Also, make sure its mixed well and let me know if you try it!

    DIY

    Add More Whimsy Into Your Life

    03/17/2011

    If you’re reading this blog you’ve probably already found lots of ways to include more whimsy into your lifestyle but here are a whole lot more. Most importantly you should enjoy every single day because every day is special. Find ways to make your days special and you have a key for more happiness.

    1. Sprinkle your cocoa froth with stars sprinkles.
    2. Hide sweet fortunes (found in cookies) in boxes, cabinets and drawers to be found throughout the day.
    3. Adorn your walls in whimsical prints from Etsy and local art gatherings.
    4. Use cherry icing as chap-stick.
    5. Burn a fruity candle and a dessert candle at the same time but different areas of your living room. Feel free to include fizzypop fragrance oil in one room and vanilla in the other. Walk through your home and enjoy the candy aroumas, imagine you’re in a candy store or soda pop shop!
    6. Purchase frames, paint them your favorite colors with acrylic and hang them on your walls filled with art and favorite posters and clippings.
    7. Dip your finger into a container of cool whip and then stick it into your mouth. Yum!
    8. Purchase some sand and a sunlamp.. place the sand in a container large enough for your feet and heat it with the lamp overhead. Feel the warm sand with your hands and stick your toes in it as well!
    9. Don’t toss the sand! Add a bit of water and build a sand castle.
    10. Tea party! Bake cupcakes, make small sandwiches cut-out with cookie cutters and brew your favorite tea. It doesn’t matter if no one else is able to come, enjoy your tea party! Have daily tea parties.
    11. Take a bubble bath with candles and tea. Read in the bath. Relax.
    12. Listen to Rockabye Baby Lullaby renditions of your favorite songs while you relax for a nap.
    13. Sketch out ideas and images that cheer you up. Add color with pencils or paint. Start going with it and see where you end up.
    14. Top your pancakes with ice-cream syrup topping and sprinkles for a cute and sweet dessert.
    15. Turn your toast into fairy bread (see below).


    Fairy Bread Recipe

    • Toast bread.
    • Spread lightly and evenly with butter.
    • Top heavily with sprinkles.
    • Cut into 4 triangles. (or use cookie cutters if you’re REALLY feeling whimsical!)
    DIY

    Let’s Make Cupcakes with Disney

    03/08/2011

    In a cupcake making mood? I definitely am after seeing all of the adorable cupcake decorations on Disney’s Family Fun website here. I joined a few kiddie websites for fun inspiration and I cannot wait for Colette to be old enough to enjoy them! There are so many cute recipes here for kids and adults to enjoy together. If you haven’t seen the magazine yet it’s also filled with adorable recipes and crafts! I highly recommend it.


    DIY

    It’s Time to Throw a Tea Party!

    04/02/2010

    It’s spring and sunny here in Victoria, so what better time to have a tea party, and I invite you to host your own! If you are much like me and don’t have a fantastic matching bone china set, no worries you can always pick some très chic mismatching ones from thrift shops and any store where you find these items.

    tea

    Tea

    Offer the basic black orange pekoe, earl grey, and herbal teas. Have sugar lemon slices and cream available.

    Tea Cups, Saucers and Teapot

    All of which you find anywhere that sells house wares, and vintage and thrift stores.

    Table Décor

    a cute centerpiece, table linens

    Tea Treats

    Tea sandwiches, scones, cookies, because what’s a tea party without scones? Clotted Cream or Devon crème pairs well with the scone and tea.

    Cucumber Mint Tea Sandwich

    1/4 cup loosely packed fresh mint leaves, rinsed, spun dry, and chopped fine
    2 tablespoons unsalted butter, softened
    2 tablespoons cream cheese
    6 slices of white
    3-inch length of seedless cucumber, cut into thin slices

    In a small bowl combine the mint, the butter, and the cream cheese and stir the mixture until it is combined well. Spread the bread slices with the butter mixture, top 3 of them with the cucumber, distributing the cucumber evenly and seasoning it with salt, and top the cucumber with the remaining bread slices. Cut off the crusts, and do the basic rectangles or use cute cookie cutters

    Have fun!