I love to curate content and inspirations most of all.
That’s all I can really seem to do with the blog lately. I’m inspired and in love with many things as always, but don’t have a lot to say.
Stay healthy~ xx
I love to curate content and inspirations most of all.
That’s all I can really seem to do with the blog lately. I’m inspired and in love with many things as always, but don’t have a lot to say.
Stay healthy~ xx
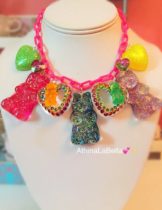
Resin can be a fun hobby or business for the crafty miseducated diva in all of us. The possibilities are endless, allow your creativity to run wild and create pieces that are quite unique and fun. With some initial prepping steps, you can suspend just about any material in resin.
In this basic tutorial I will be casting jewelry pieces with resin, but you can use resin for whatever else you would like to make like paperweights, coasters, soap dishes and many other things. There are even many different types of resin that can be used, for different types of desired uses.
I myself use a two part casting resin that is pretty user friendly. I am a novice at resin, just learning as I go and getting better each time. Its fun and I thought I would share some basic tips and give crafty divas something new to try…cause like me I know with all this creativity you have inside of you, you always want to try something new. So this is something for you gals who are aching for a new creative outlet.
I chose to cast fabric for the purpose of this tutorial. I have played with sprinkles, glitter, and candy before. So I thought I would try something new, so here goes….

Before hand I prepped my pieces of fabric by cutting them a little smaller than mold shape, and sealed them off with mod podge, or you can use an acrylic sealer if desired.
2. Take one of the stir sticks and gently mix the concoction, make sure not to whip as it causes air bubbles. Scrape the sides periodically and mix well for 2 minutes. The mixture will look cloudy at first but this will clear up after resin and hardener are mixed together thoroughly.
3. Take this mixture and gently pour into your other clean plastic cup. Stir gently again for 1 minute this time. The mixture at this point should be clearer than before.
4. Set mixture aside for 5 minutes, so the resin can self-degas. Take this time to clean up a bit and get your mold and fabric piece(s) ready.
5. When ready, pour a little bit of resin into each mold, about a quarter full.
6. Then place cut fabric, right side down into resin. You can use a toothpick to position and press fabric. This will also help remove any air pockets trapped underneath the fabric that can caused some bubbles.
7. Then this is where you will need to practice some patience…let the piece(s) rest overnight or for several hours until cured. You can check if it is cured with a toothpick, this way no fingerprints will be left behind.
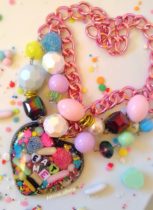
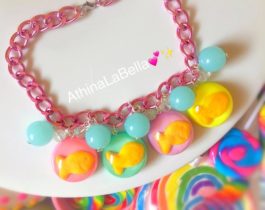
What I covered in this tutorial are the basics, but you can get more creative by adding different layers. Below are photos of some layer pieces I created, I hope you find them inspiring.
After your pendants are cured, you can jazz them up by drilling holes, adding jump rings, gluing on bails, posts, brooch settings, what ever you like, let your imagination run wild, its all up to you! Your end result will be beautiful and unique pieces.
A great source of reference and inspiration of mine is a book that I turned to when first approaching resin after multiple searches on Google, a book called “The Art of Resin Jewelry” by Sherri Haab. In this book she goes over in detail all different types of techniques with resin, like the so fun and yummy candy jewelry.
See more in my shop here.
Originally published on 12/08/2009.
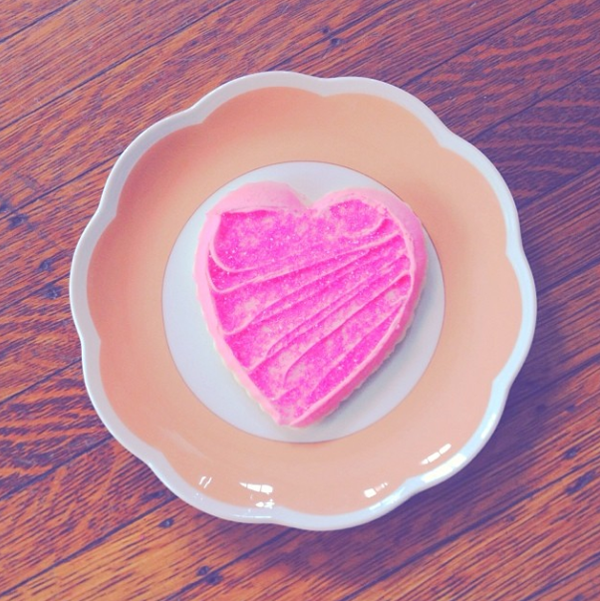
Valentine’s Day reminds me of the 1980s for some reason…
Perhaps it’s because I was born the day before Valentine’s Day and that happened to be in the 1980s.
So for many (the jewelry, candy and greeting card companies would hope) Valentine’s Day is a time to celebrate love.
For me it is a time to celebrate pastel hearts and the 1980s and all of the cute, pinkness splashed through the stores.
What does Valentine’s Day mean to you, if anything?
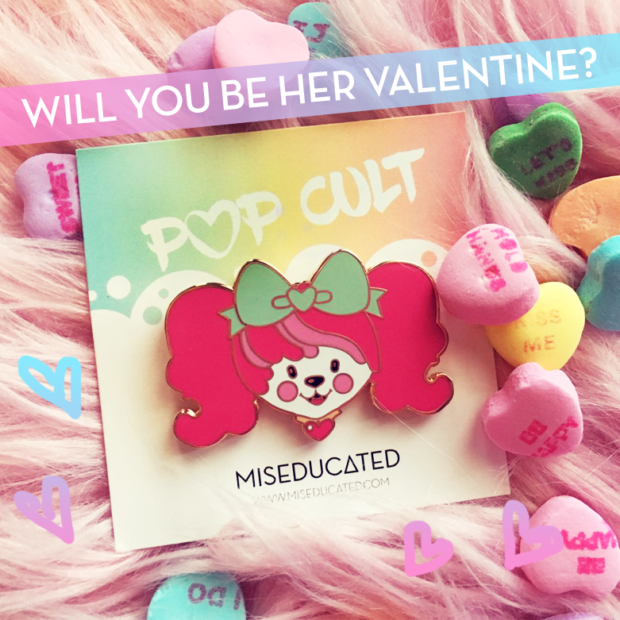
I was also inspired to add a couple of new love-inspired items to my shop!
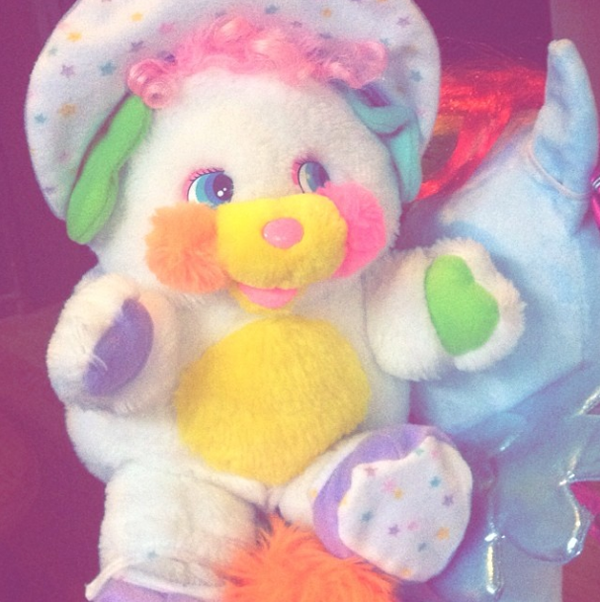
One of them is a Lolita POOCHIE pin because I have always been a big fangirl of Poochie.
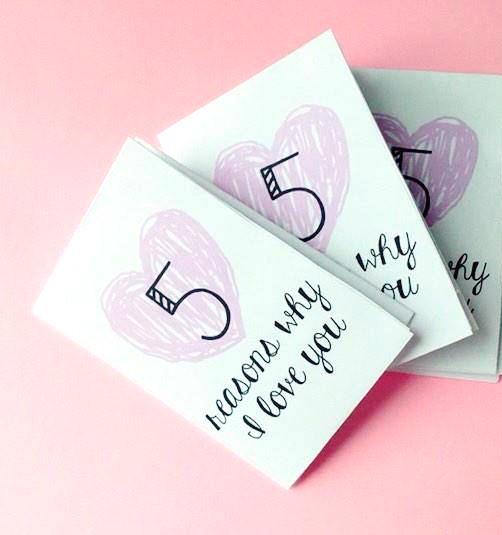
The other is a reprint of my Micro Zine (6 pages plus a front and back cover), 5 Reasons Why I Love You. It’s a “Valentine” for anytime, much like Poochie!
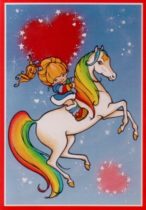
and I would totally put these in the Valentine mail box you decorated and sat on your school desk
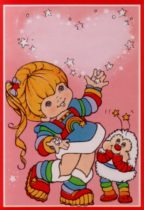
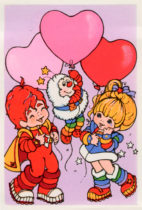
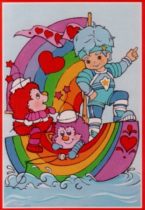
scanned 1980s Rainbow Brite Valentine’s~
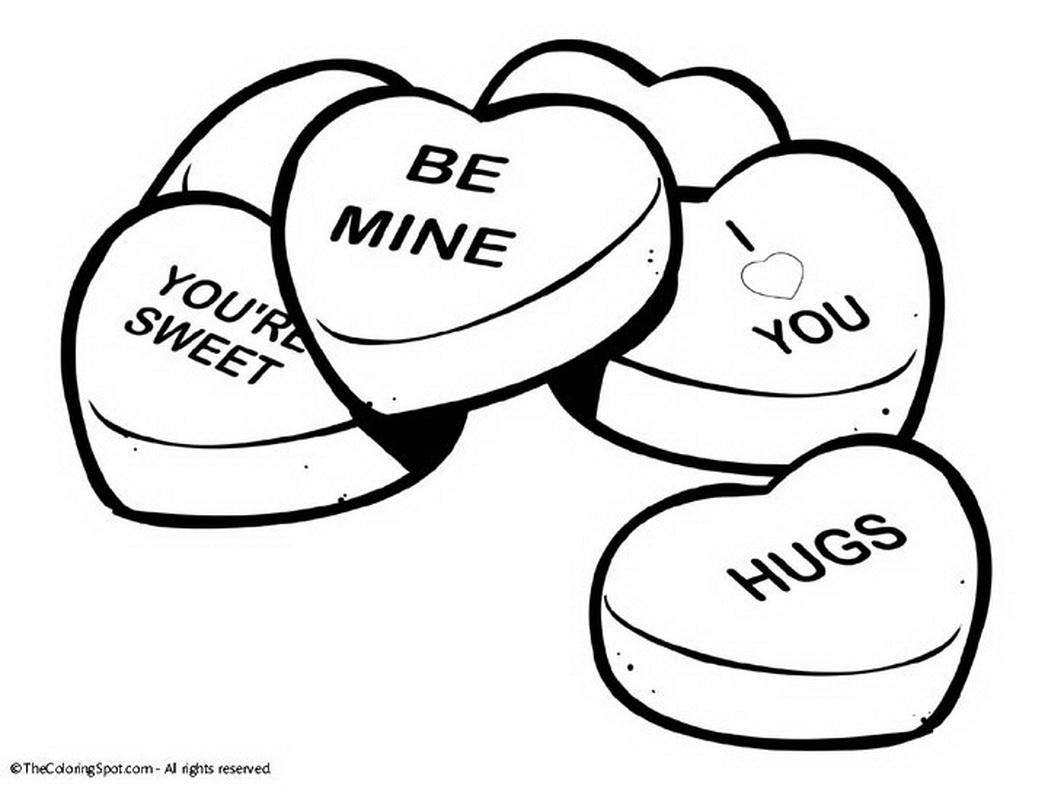
a cute conversation heart coloring page~
Twin Stars Valentine wallpaper by Sanrio that I’ve had saved for years~

xoxo
Bacon and I were invited to review the Barkbox by this amazing company that provides this service, a BarkCam app for “dog selfies” and gives %10 of all money made to help dogs in need and homeless dogs find homes. So we jumped at the chance to review the box and we really enjoyed the quality of the products. Bacon’s favorites were the bully stick and the snow monster toy – he’s still in love with those!
In other news I’m sorry for being so MIA with my vlog (I missed a week!). I have had a lot of personal things going on that I’ll discuss more in the future, a huge end to something that has been going on for over 2 years. Among that are family things, house renovation, and work deadlines. But we made it through as always. I missed You(Tube) and our chats here.
In other news I turn 30 YEARS OLD on Friday so I’ll be sure to make a post about that soon. XO! Enjoy our review.


<

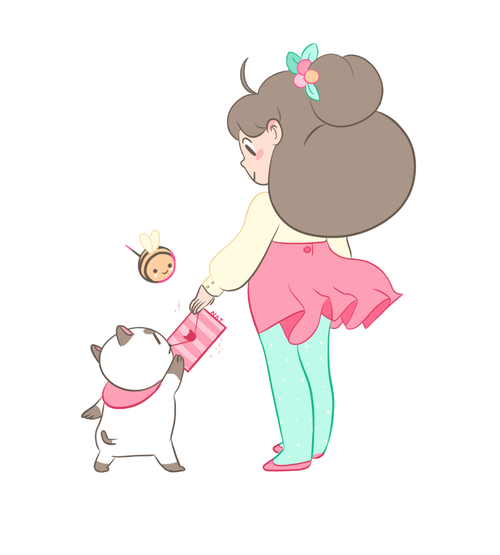
So I’ve fallen into the Youtube rabbit hole that I so carefully walked around for so many years and it’s never ending! The amount of good content is immense even if you have to search around to find it! I’ve really enjoyed that Cartoon Hangover has released new Bee and PuppyCat episodes and they are adorable. I’ve watched them all maybe 10 times haha. The cat reminds me of Calvin, sweet, dog-like, entitled and cute as heck! I give it 5 stars and 4 paws way up!
According to their Kickstarter fund:
“Bee and PuppyCat” is a very popular original cartoon created by Natasha Allegri. In it, Bee, an out-of-work twenty-something, has a life-changing collision with a mysterious creature she names PuppyCat (“A cat?… or maybe a dog?”). Between space and time, Bee and PuppyCat take on an intergalactic babysitting gig to pay another month’s rent.
If you’re pretty close to me then chances are you know I’ve been wanting a baby like crazy for a couple years! When I started my life over I took the cat and my ex took the dog (Wanwan.. who is still as cute and sweet as ever). My always dreamed for baby girl, Colette, isn’t a baby or even a toddler anymore! She’s a big girl. She is my favorite playmate and always such a charm and I just cannot fathom having a human baby that would take any attention from her. She is perfect, she is so much like me too and I feel if you have absolute perfection then why keep going? A new baby takes a lot of attention and energy that our already-here children need and want.
My Mister has been against getting a dog until Mary (10) is 14 and can help take care of it. Even then he was absolutely not willing to get a puppy due to the energy, time, and messes as well as post-traumatic stress from dealing with an ex who has severe animal issues. However after tiny, baby Calvin was successfully reared into a loving and silly cat alongside our 4 children I feel he started to open his mind. Then we rescued a dog from the cold until he could find his home and we realized we’re ready for our own dog.
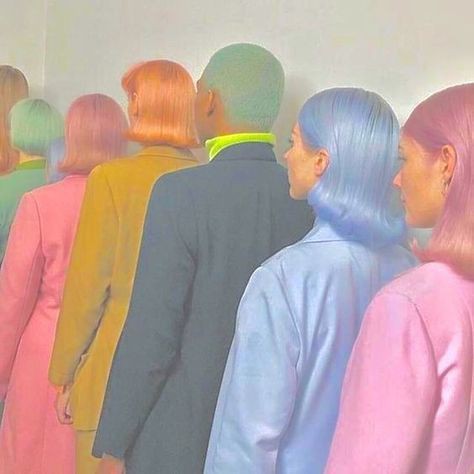
So I found a puppy from a wonderful couple who runs Smithpaws and knew I had found the one! I was telling my friend that I’m dealing with many of the baby-life changes now except for healing from a tummy scar.. then I realized I did have a scar and my emergency surgery was right when my puppy was born! So it was definitely meant to me and he is wonderful. He’s tiny and a ball of love and happiness. He’s the easiest to train and he’s always ready to snuggle. He is a tricolor Cavalier King Charles Spaniel. So happy~
Because I can never decide which one is better so all of my pastel-coated paintings always have a little hot pink strewn through-out and same for my collages. Why choose one when you can have both? Have a hot pink Easter.
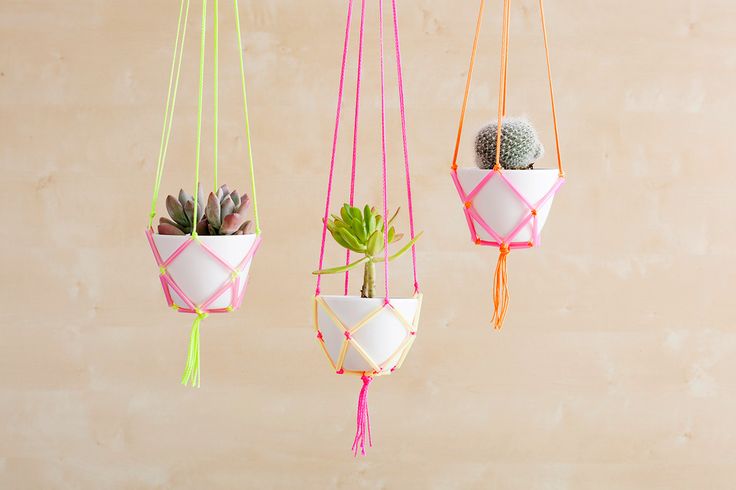
Easy Neon Hanging Planters Tutorial by Brit + Co
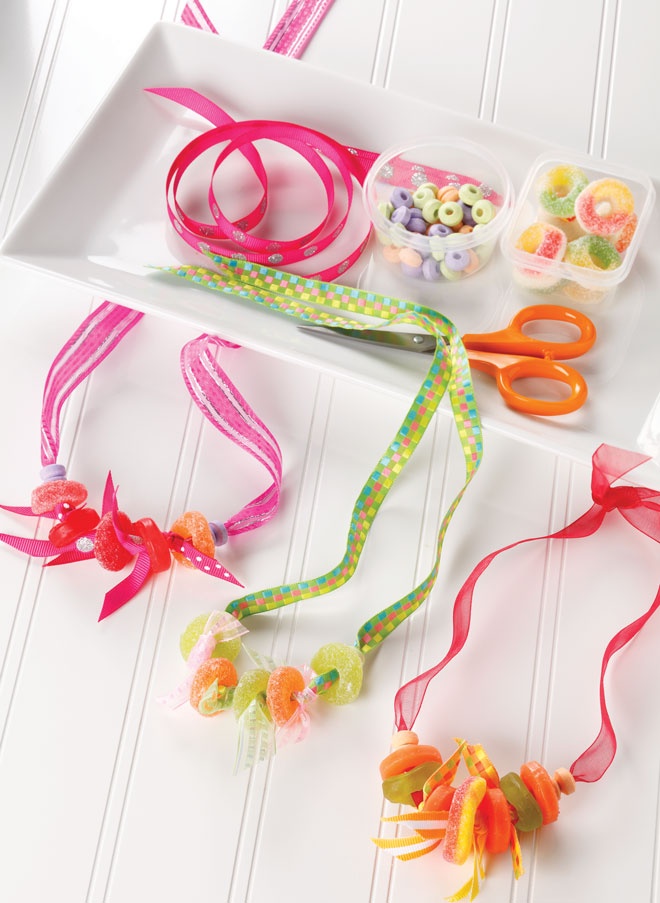
Candy Necklace Inspiration by Love the Day
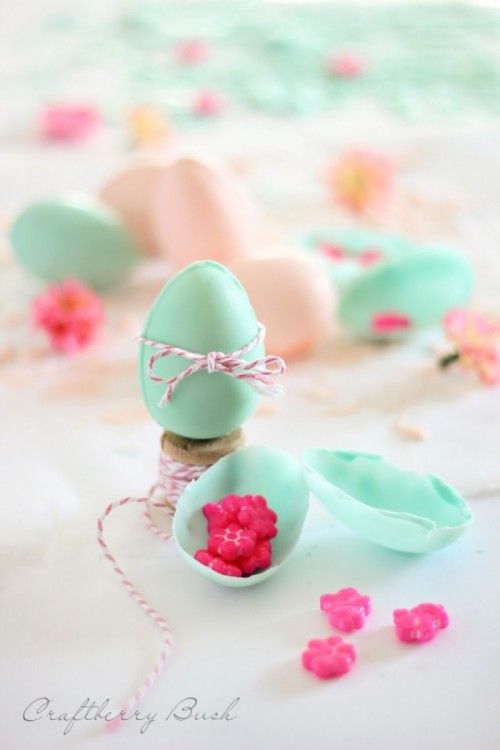
Chocolate Surprise Egg DIY for Easter
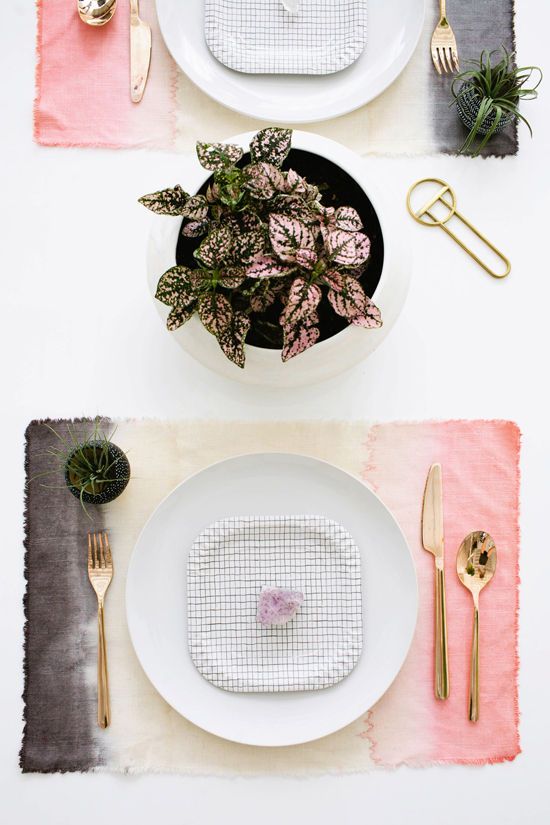
Dip Dye Placemats by Design Love Fest
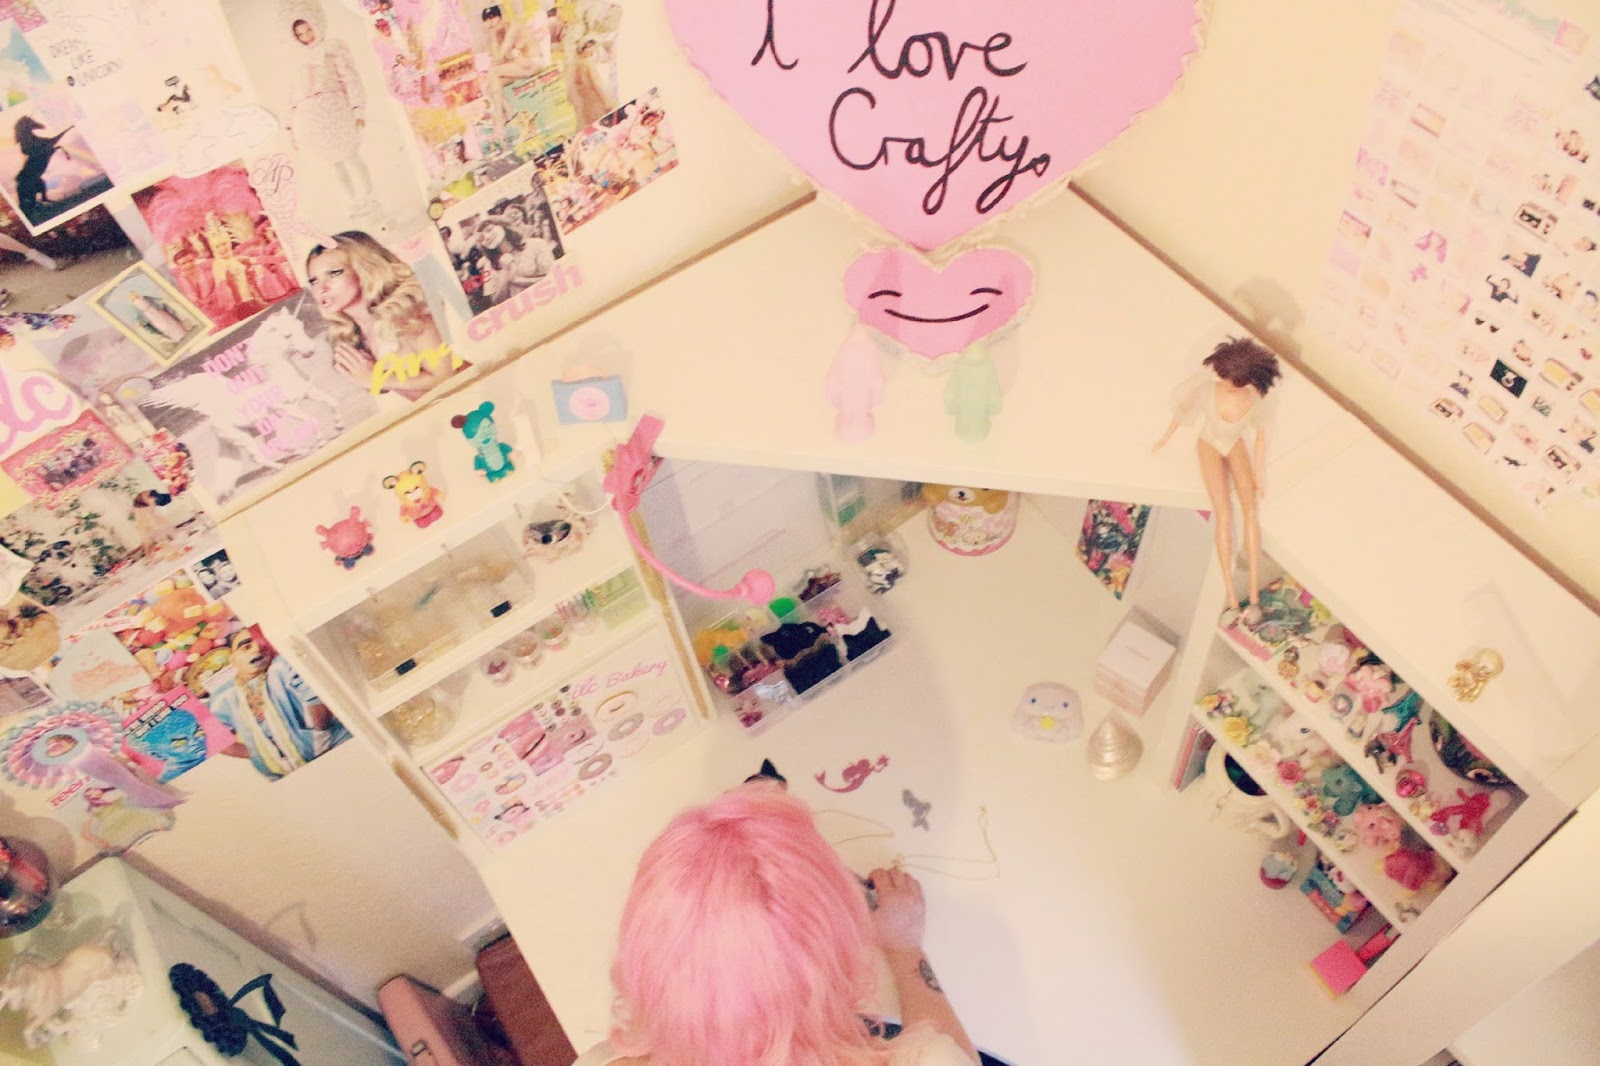
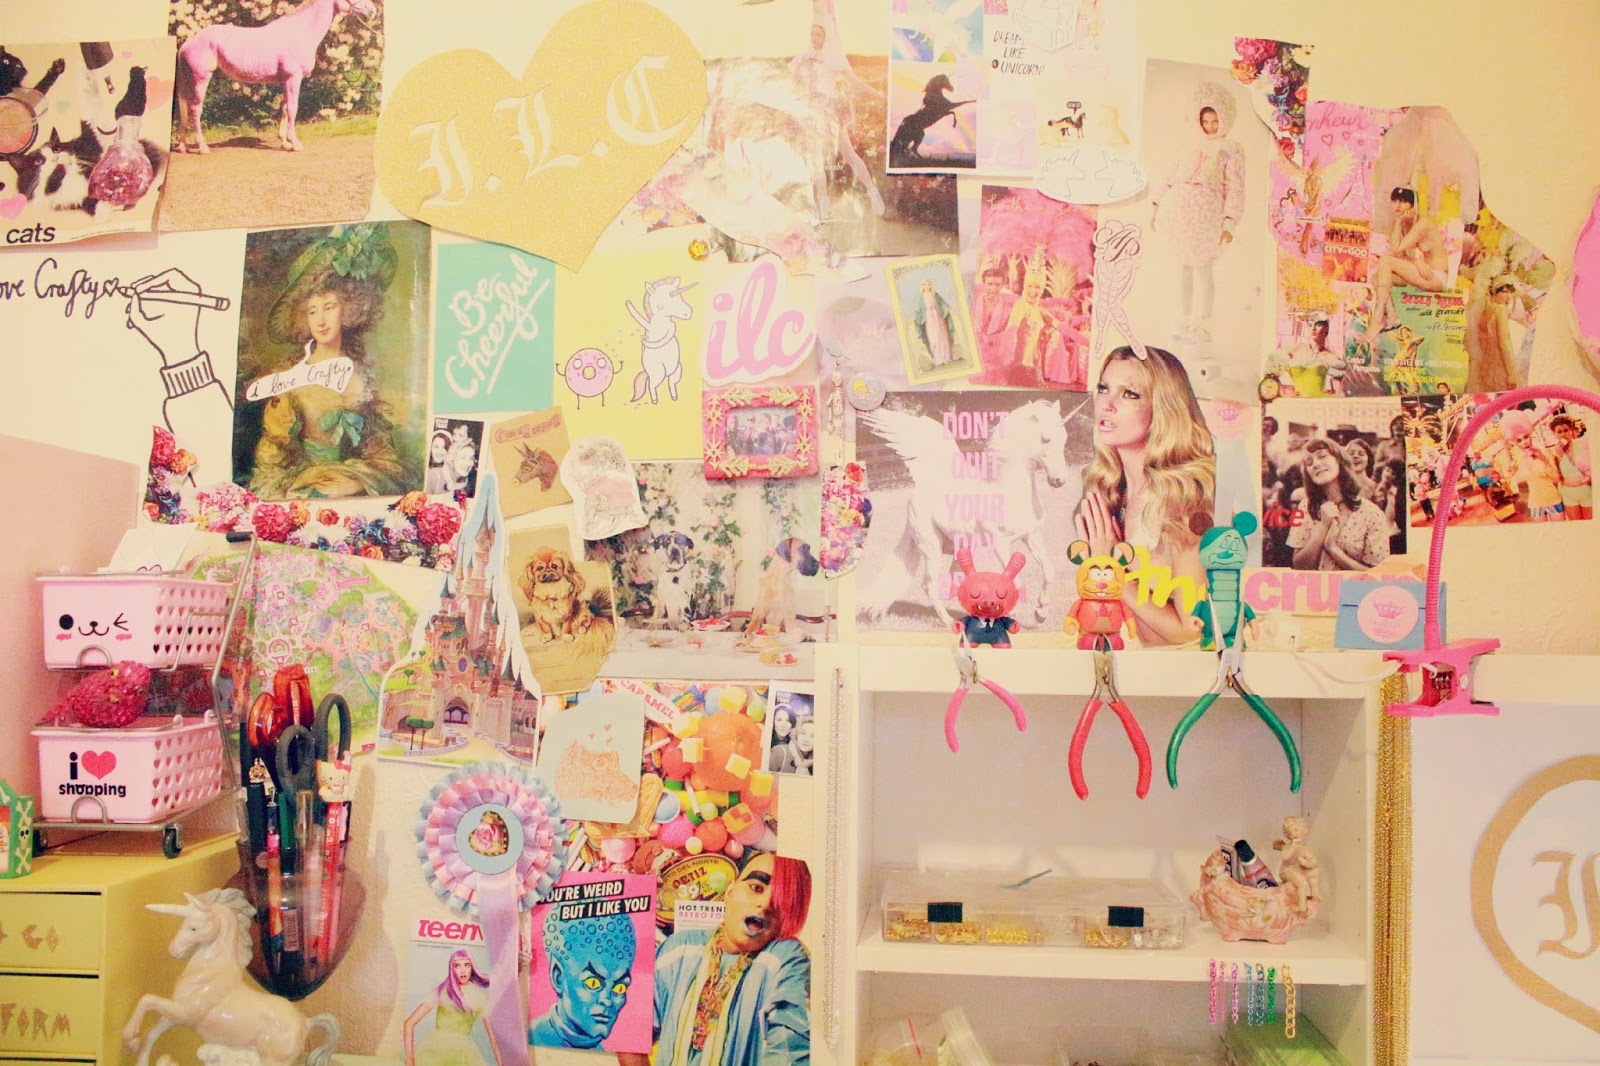
and lastly a breathtakingly beautiful home office and craft studio to inspire you to design your work space to fit your inspiration ala I Love Crafty:

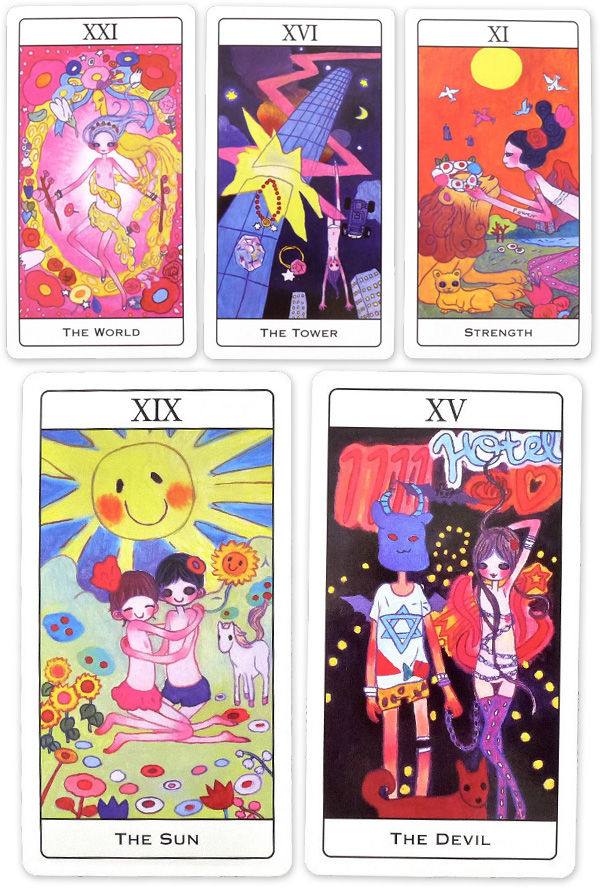
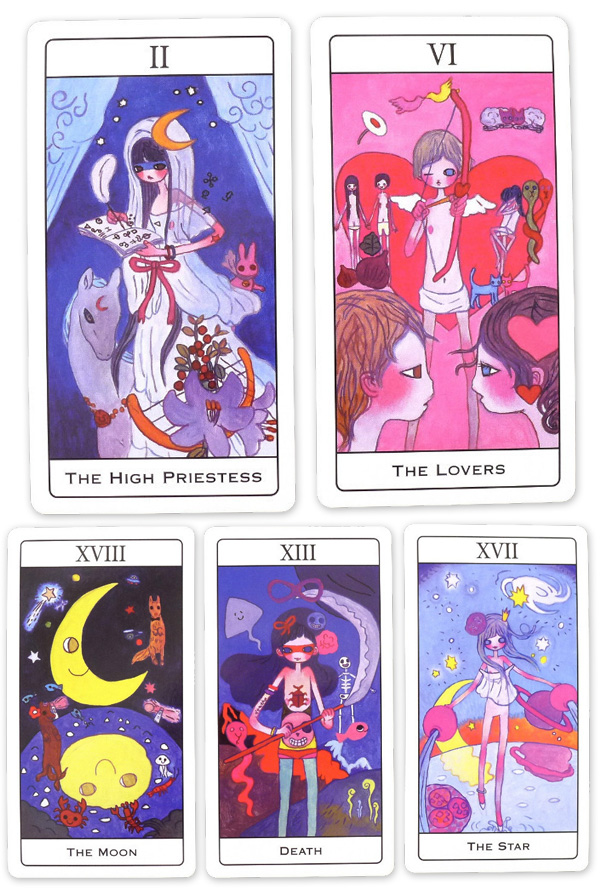
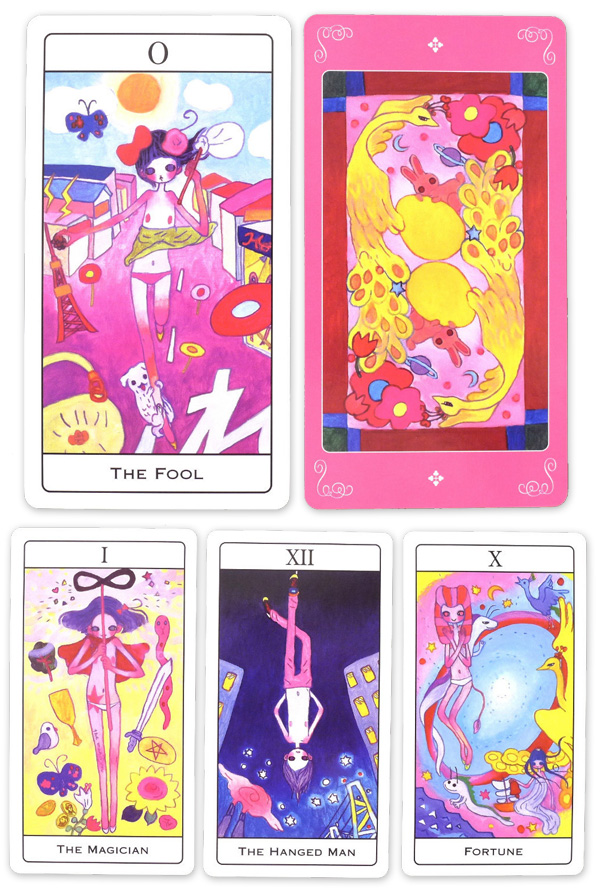
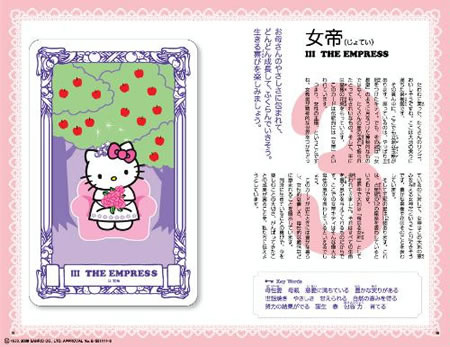
Who says the occult can’t be kawaii? For a long time I’ve loved tarot card art and the amount of dedication it must take to finish such a large deck. It’s a stretch, something totally new I never considered really doing. I know this is the next step!
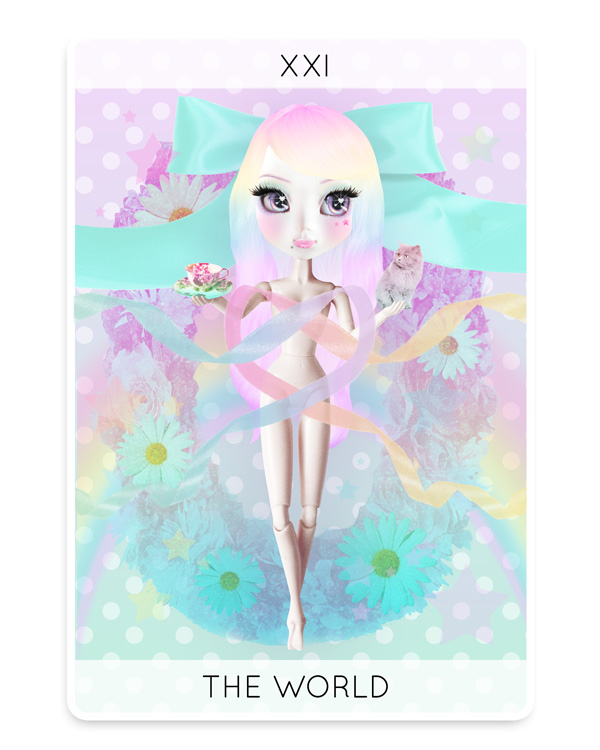
So my next huge personal project is designing an deck of TAROT CARDS >> This is big for me to admit. Dedicating my next year/s to producing extensively designed mixed media tarot cards (78 in a deck) that will be available as very limited large prints until the entire deck is complete and then they will be made into decks of cards included as a lovely kit complete with a book written by a friend on interpretations.
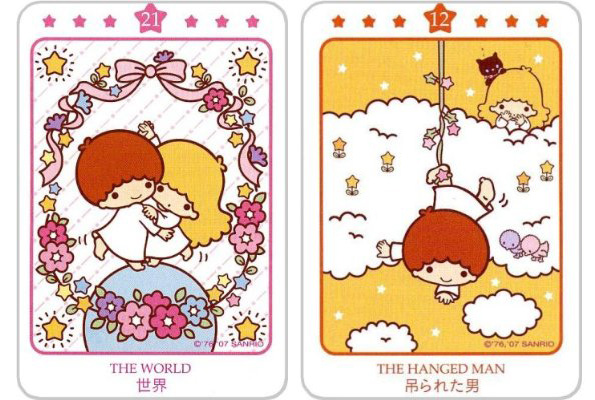
I’ve also recently become obsessed with cute tarot cards such as those by Sanrio, Aya Takano (THE BEST: top of my wish list), the numerous cat and animal tarot cards, etc so I had to feature them! I’ve always wondered how I can add a totally different style/take into the world of the tarot.
The first of my new prints will be on show RAW located at the Murat on [official date announced!!] March 19th (buy a ticket ($15), you wont regret it! if not in the area comment and receive a free print at $30~). “XXI The World” is the first card and, as stated, will be first available at RAW.
Once upon a time there was a kitschy Queen with a pretty, pretty princess and a bossy kitten that enjoyed the finer things in life. Things such as sugar, fluff, puff, stuff and more sugar sprinkled mayhem on top of that. In fact she thought the world might be a bit better if covered in sugar and so she spent her life running amok with her beautiful best friends while trying to make her dreams come true. Then the universe smiled on her and she met her King who had a couple princes and another pretty, pretty princess. They all 6 (her new lucky number) ran around with big handfuls of glittery love to throw onto the ground like petals at a wedding while the bossy little kitty sang the song of sunshine to all who would listen.
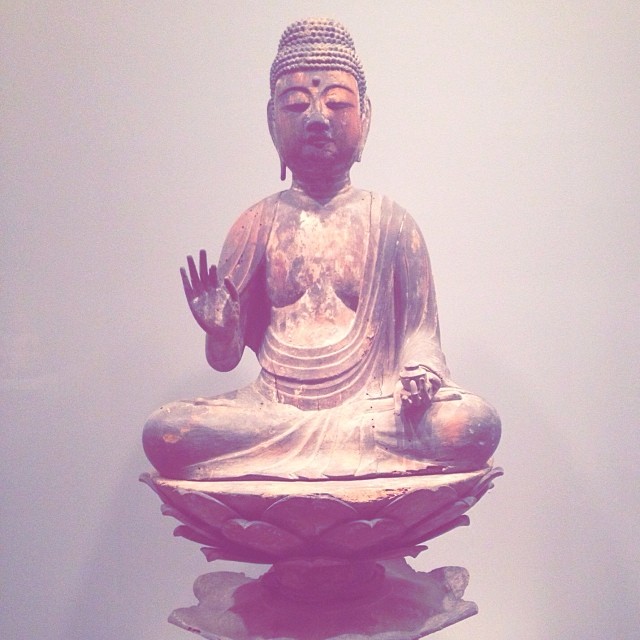
This is a beautiful Buddha from the Art Institute of Chicago where my King took me last week and it reminded me of old, happy memories. I love it and it reminds me of my home in Japan and our home here because we have mini Buddha’s all over the house.
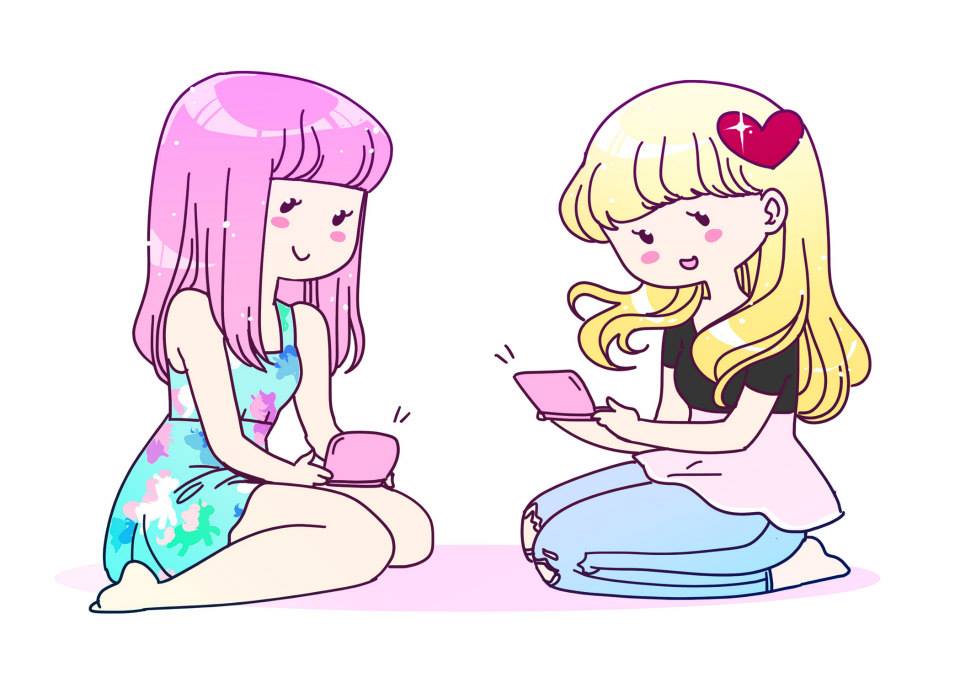
ZambiCandy drew this of Jamie and I recently! I commissioned it for her birthday because I knew she loved Zambi’s work and because we had been playing our 3DSs non-stop together and talking about how fun it was just like the cartoon above! It was perfect because we each got each other sentimental prints and gifts this year. Absolutely excellent work by an even sweeter artists. I highly recommend her for any chibi or manga work you want done!
PST! See more daily photos like this via instagram. My username is: amberrenee — xx!
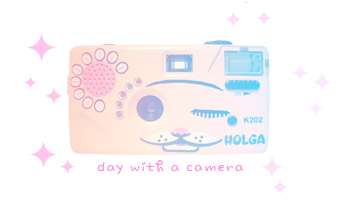
I reworked this article from a couple of past articles because I decided to give “vlogging” another try!
There have been quite few awesome recommendations for the DO IT OURSELVES feature on Miseducated (suggest to us what you’d like us to both make and share the process of making) and so I decided I would try something I was asked about years ago.. mostly because I’m a bit shy/critical of myself and it’s VERY hard for me to force myself to make a video blog. I’ve done a couple through the years but I’ve deleted or never published most of them.
What I’ve been trying to do is to be as relaxed as I am when I’m writing.. as though I’m just hanging out with my friends and you’re coming along on the sugar trolly.
This first try is my new vlog introduction. It’s not perfect, it’s not even that great but I did check off my long list of basics such as finding a setting (key!), making the intro using an image and the custom theme (I got tired of the animation — maybe later) and having an idea of what I might say (but not scripted and slow!). I tried to put forth the basic tips I’ve collected throughout the internet years when creating this quick and dirty video show introduction. Stay tuned for both my notes and steps to try it yourself!
1. Theme Visual & Theme Song (or voiceover)
2. Introduction
3. Video Blog
4. End / Bloopers / Goodbye / Theme Close (with a cute animation??)
5. Credits (if needed)
What do you need to do this? Do you have any friends that compose original music? Can you use music that is free for public use? The possibilities are endless.
Again you can use and get creative with videos of public domain or grab your webcam and record some. You can settle for Quicktime Pro for quick and easy editing such as cutting, copying and pasting clips. If you’re interested in more advanced video editing software you should try Final Cut Pro~ for quick and easy editing I used iMovie.
Of course this depends on what kind of video blog you’re making — if you’re interviewing a guest or featuring an event then obviously you would prepare questions and feature them as much as, if not more than, yourself.
AND if Miseducated has taught you anything it’s to pay attention to your mise-en-scene. Actually pay attention to what’s in the frame. If you’re filming in front of a pile of dirty laundry it probably wont have the same effect as in your local soda-shop or your cute office.
So if you want to start, read the following steps and join me in this fun medium of communication.
Check out your friend’s blogs, their friend’s blogs, you favorite model’s blog and more. Surf around Flickr and Youtube and see how other’s carry out their video blogs. Pay attention to the content, length and format. Note what you like and don’t like about them.
Write down what you plan to talk about, keep it short and to the point so you can freely elaborate on video. Make sure you don’t look like you’re actually reading the notes to yourself; make it spontaneous but don’t get too lengthy. I think the best videos are short and sweet.
Practice in front of the camera. Take long videos, short videos, videos of you talking with your best friend, whatever video ideas you have practice them. Pay attention to how you present yourself in front of the camera and take notes. Re-record re-record re-record.
After following all the above steps you may or may not be ready to post your video. Post it anyway. We all have to start somewhere and that only leaves room for improvement.
“Don’t worry about getting it right your first video. It will probably be too long, you’ll look like a huge dork, and the guys building a hotel next door will probably take the exact moment you’re recording to use their jackhammer. Whatever.” – Kontrary
Have you given it a try? Are you considering it now? Do you think we should further investigate this form of blogging?
