Browsing Tag

buttons

Crafts DIY

Decadently Decorate your Camera

09/30/2009
w194587369

Once I saw the milk chocolate camera on Fuji’s official website, I knew I had to decorate it with sweets and delicious desserts as much as I could! haha

w203001227

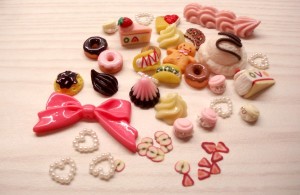
Here I bought some very cute plastic sweets (cabochons) from shops at Yu Chau Street in Hong Kong. The street is very popular for its accessory shops. You can find a broad variety of components with different styles, which can be used in DIY (such as earrings, brooches, etc.) or to customize anything you like!

WOW… yummy!!!

w203001225

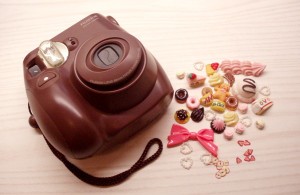
This is my nude camera and the components.

w203001228

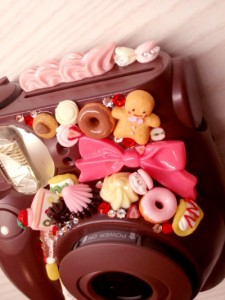
Finally I squeezed all the sweets and cream on it! haha!!!! Love it so much! 😀

My boyfriend nearly cried after seeing the new look of the camera (that HE had bought me). He thinks it is to abnormal for one to carry such a cluttered, exaggerated camera to take photos. hehe.. but then I read the information about Miseducated, “Be who you are and say what you feel, because those who mind don’t matter and those who matter don’t mind.” – Dr. Seuss, hoho! That’s right! I know my boyfriend really doesn’t mind my crazy works. It’s really important for us to be who we are or else we will lose our own personalities and the ability to imagine and create new things! 😀

Crafts DIY

Cute as a Button Earrings You Can Make

01/13/2009

Most of us have seen button stud earrings, and maybe even the cluster button earrings. Either way, here’s a new twist on the popular trend. I call them Swivel Stacked Button Earrings. They are extremely easy to make, and can be done using all kinds of variations, colors, and different kinds of beads.

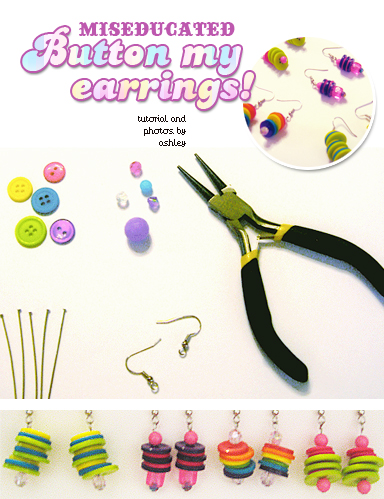
button my earrings

What you’ll need

Flat Headpins (preferably the long ones)
Buttons in assorted colors and sizes (you could also experiment with different shapes for unique looks)
Various beads (small ones are used to keep buttons on headpin, while others can be used for decorative purposes)
French Hook Earrings
Wire Trimmers
Needle Nose Pliers

Step 1

Since most buttons have too large of a whole, you’ll need to first put a small bead on the headpin to keep buttons from sliding off.

Step 2

Take your buttons and put them on in any order you want. You can vary from size or colors depending on the look you want. At this point, you can also add various beads if you choose.

Step 3

Once you’ve got your earrings looking the way you want, it’s time to attach the headpin to a French hook earring. Assuming you have quite a bit of length left on your headpin, this is where you can trim off any excess. Be sure to leave enough length to make a loop to attach your earring hook. Now you will use your needle nose pliers to loop the excess of the pin (like a jump ring) so the earring hook is attached. Make sure you close your loop tight enough so they don’t slip off your earrings.

If all went well, you should now have a funky pair of dangling earrings!