Browsing Tag

blythe pattern

Crafts DIY

Quilt an Easy Blythe Doll Duvet

11/15/2011
pile of squares

This is an easy charm quilt pattern for a beginner. I am COMPLETELY new to quilting. In fact this is my very first quilt so I’ll be learning along with you! Because I am so new I looked at a few patterns, one for a rag quilt, one for a charm quilt and one for a baby quilt, and altered them a bit for my Blythe-sized doll quilt. Remember this is a rag doll quilt so it’s not going to look pristine unless you are a seasoned quilter which I definitely am not. Also be sure to read to the end of this post for things learned upon making this. 😉

cutting the squares
line them up (blurry!)

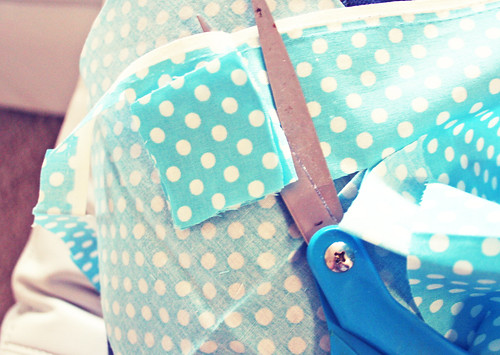
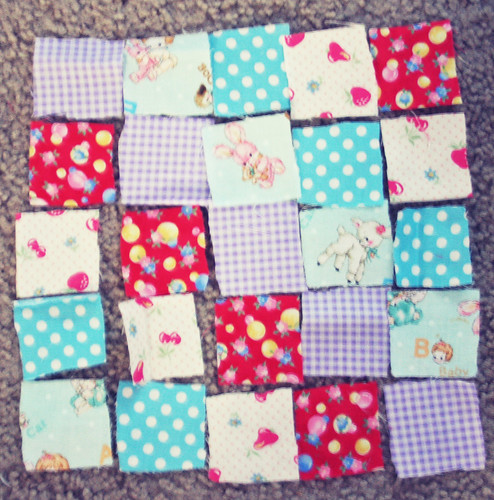
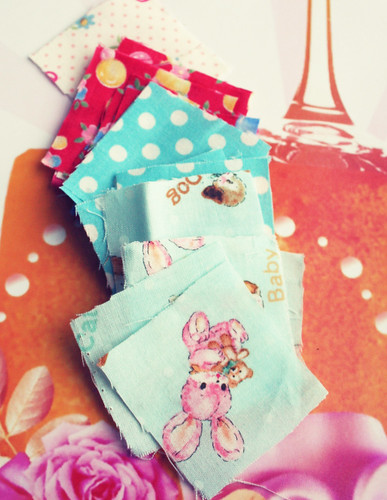
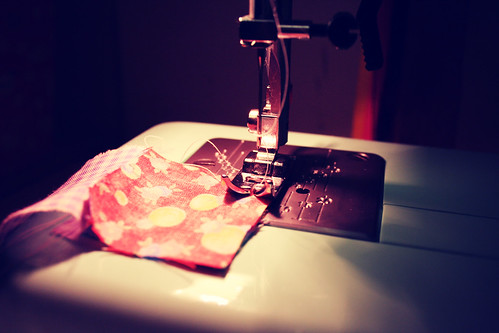
First cut out 25 1.5 inch wide squares of your chosen fabric(s) and lay them out as you would prefer them to look by your sewing area. If you want a rectangular quilt you’ll need to cut 5 rows of 8 squares = 40 squares.

sewing charms
sewing messily

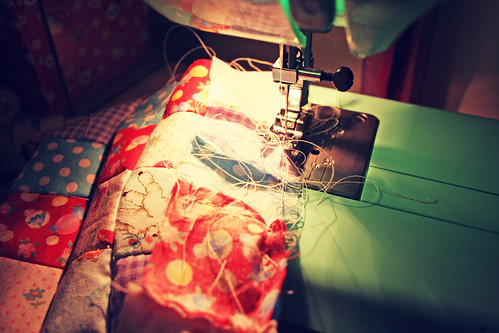
Next sew 5 rows of 5 squares each with a 1-2 cm seam allowance. After you’ve sewn all of your rows press them and sew them in numerical order to each other (see how messy I sew??).

Next cut out a thin piece of fabric in your desired pattern the size of your quilt and piece them off sides together if you’re quilt stitching. Quilt stitching is the part I don’t understand so after doing extensive research online I found out that there really is no easy way to do it. You can do it yourself or ask a quilter to help you out. You can find a pattern online and follow the pattern by hand or machine. I chose to skip it.

sewing

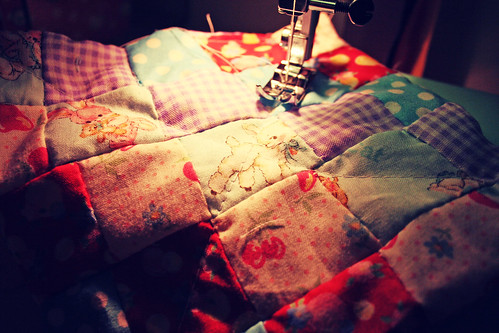
To give your quilt a more finished look you’ll want to bind the borders with fabric — or make it easy and use thick-ribbon. I’m also new at binding so I decided to skip it this time and sew my quilt to the other panel as though I was making a pillow. I put them right sides together and sewed around the edges leaving a small (2-3 inch) space. Then I turned the blanket right-side out and, because I am not a quilter, sewed a line from one corner to the other making a big X to keep the pieces together.

sew a doll quilt

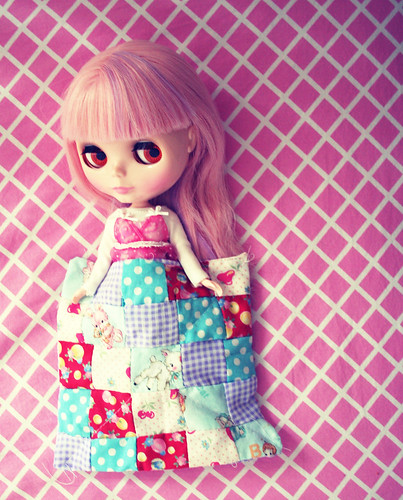
Things I learned: Next time I’m going to make it 5 squares by 8 squares for a Blythe-bed sized quilt. I didn’t think about how small it would be getting upon sewing it, duh!

Crafts DIY

Blythe Clothing Pattern Collection

04/15/2010

One of the best things about Blythe is she’s just the right size to whip up an adorable outfit for in a couple of hours (or less!) .. and she looks adorable in anything!

Blythe is known as a model among the community and a creative inspiration. Some of my favorite outfits were handmade painstakingly with a cute photo in mind — yet another creative way to spend your free time.
berrycloth

Sewing Patterns

Puchimadam
XOXO Blythe
Jam Fancy (new)
Jam Fancy (old)
Tshirt

Knit Patterns

Wooly Rockers
knitty

Crochet Patterns

Suncatcher Eyes

.. and remember we have a pattern here as well you should try!

Crafts DIY

Sew a Blythe Doll Skirt in Minutes

12/20/2008

It’s super easy to sew a simple felt skirt for your Blythe! This is an easy pattern to try, even if you’ve never sewn or embroidered before. Feel free to download a PDF of the printable pattern here.

DIY Blythe Skirt

You Need

1 piece of felt, approximately 6×4 inches
Embroidery floss in 2-3 colors
Small piece of velcro
Needle
Scissors

Step 1

Print and cut out the skirt pattern, use it to cut a piece of felt the same shape.

Step 2

Embroider a design. Even if you’ve never embroidered before, you can
easily make a pretty design with variations on just one simple stitch. Thread your needle, tie a knot in one end and pull the floss through from the backside. Put your needle back down through the felt again, there you have a Straight stitch! You can trace the flower design onto your skirt with fabric transfer paper, but you might find it easier to just stitch it up freehand. The flower is several Straight stitches in a circle, the center of the flower is Satin stitch, several Straight stitches side by side. For the
vine, make several small Straight stitches in a line, one after the other. This is called a Running stitch.

Step 3

Sew one side of the velcro to each end of the skirt, one on the front and one on the back. Dress up your dolly in your cute new creation!